Red Oak Hardwood Floor Refinish

Red Oak Hardwood Floors refinished by Alex Hardwood Floors April 27th - 29th 2026 in Raleigh, North Carolina
Introduction & Red Oak Hardwood Floor Damage
Like many homeowners who move into a 1960s-era property, I was thrilled to discover original hardwood floors hiding beneath the carpet in most of the house. Unfortunately, at the time, a full restoration wasn't in the budget.
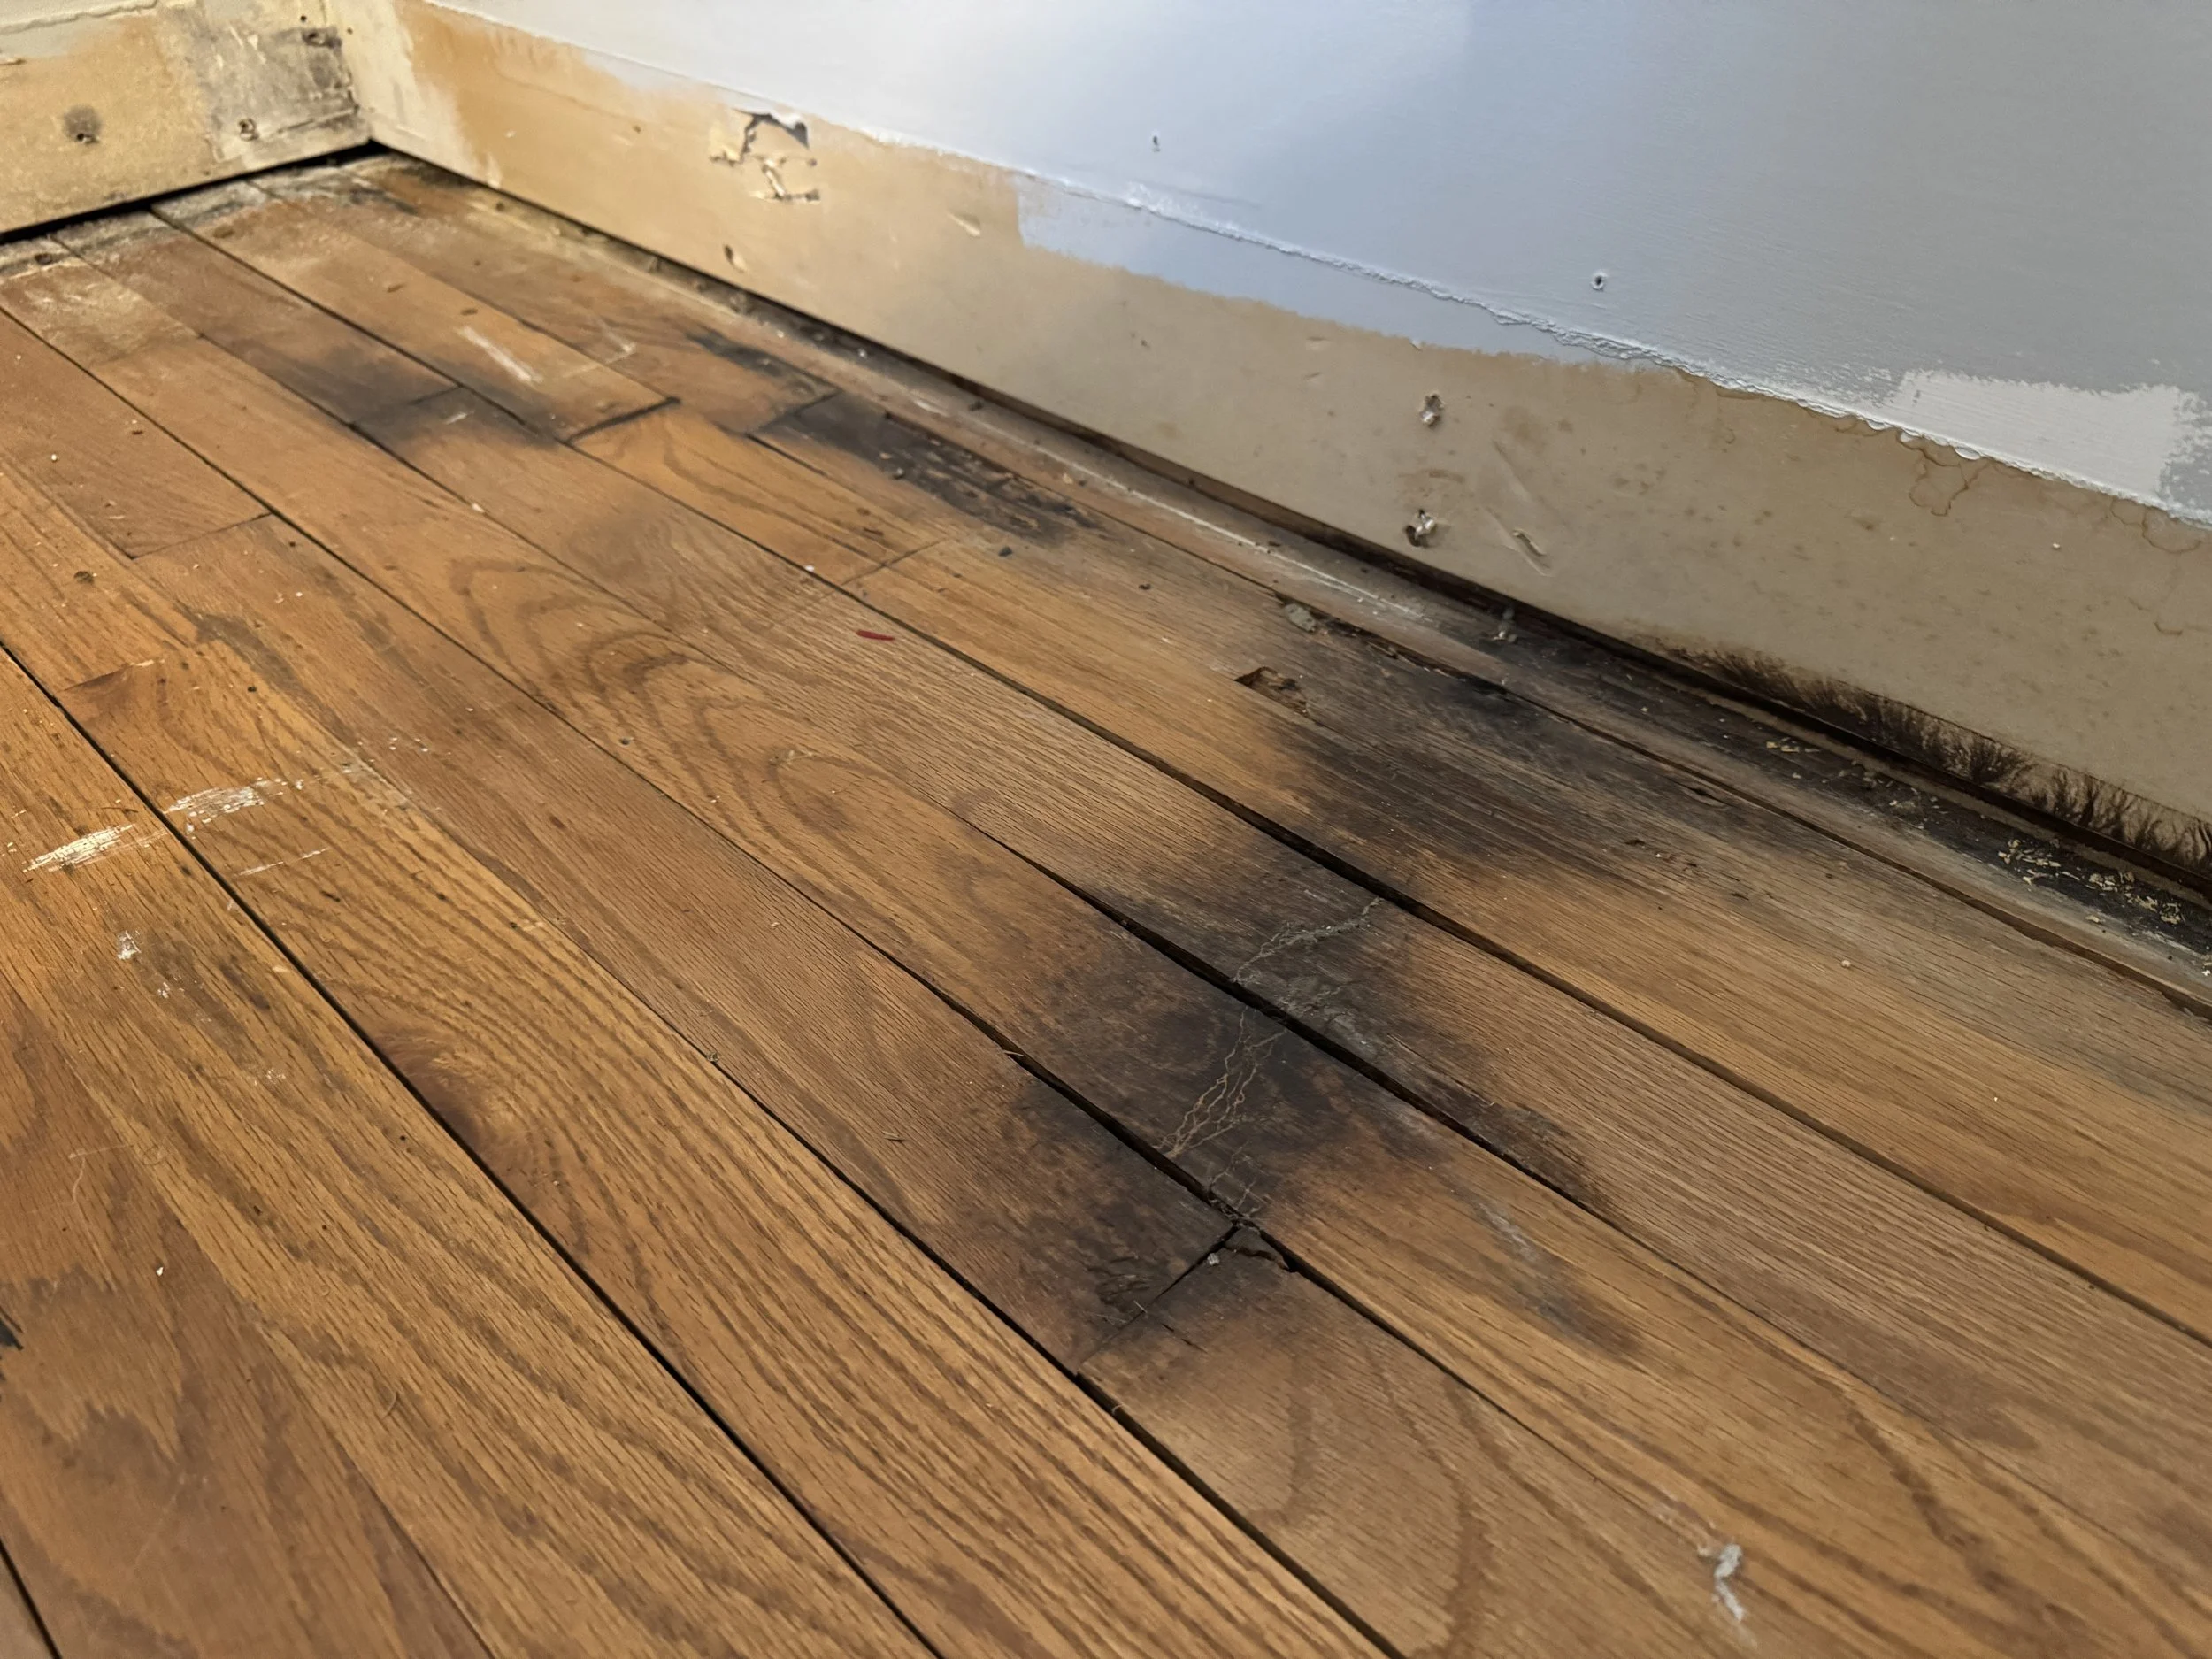
The photos below capture the state of the floors after the carpet was removed back in 2015. For over a decade, these boards remained completely unfinished and unprotected simply because I didn’t have the budget to address them. Without a seal, the wood was vulnerable to the daily wear and tear of life, resulting in water damage, cup rings, and various household stains that settled into the grain.
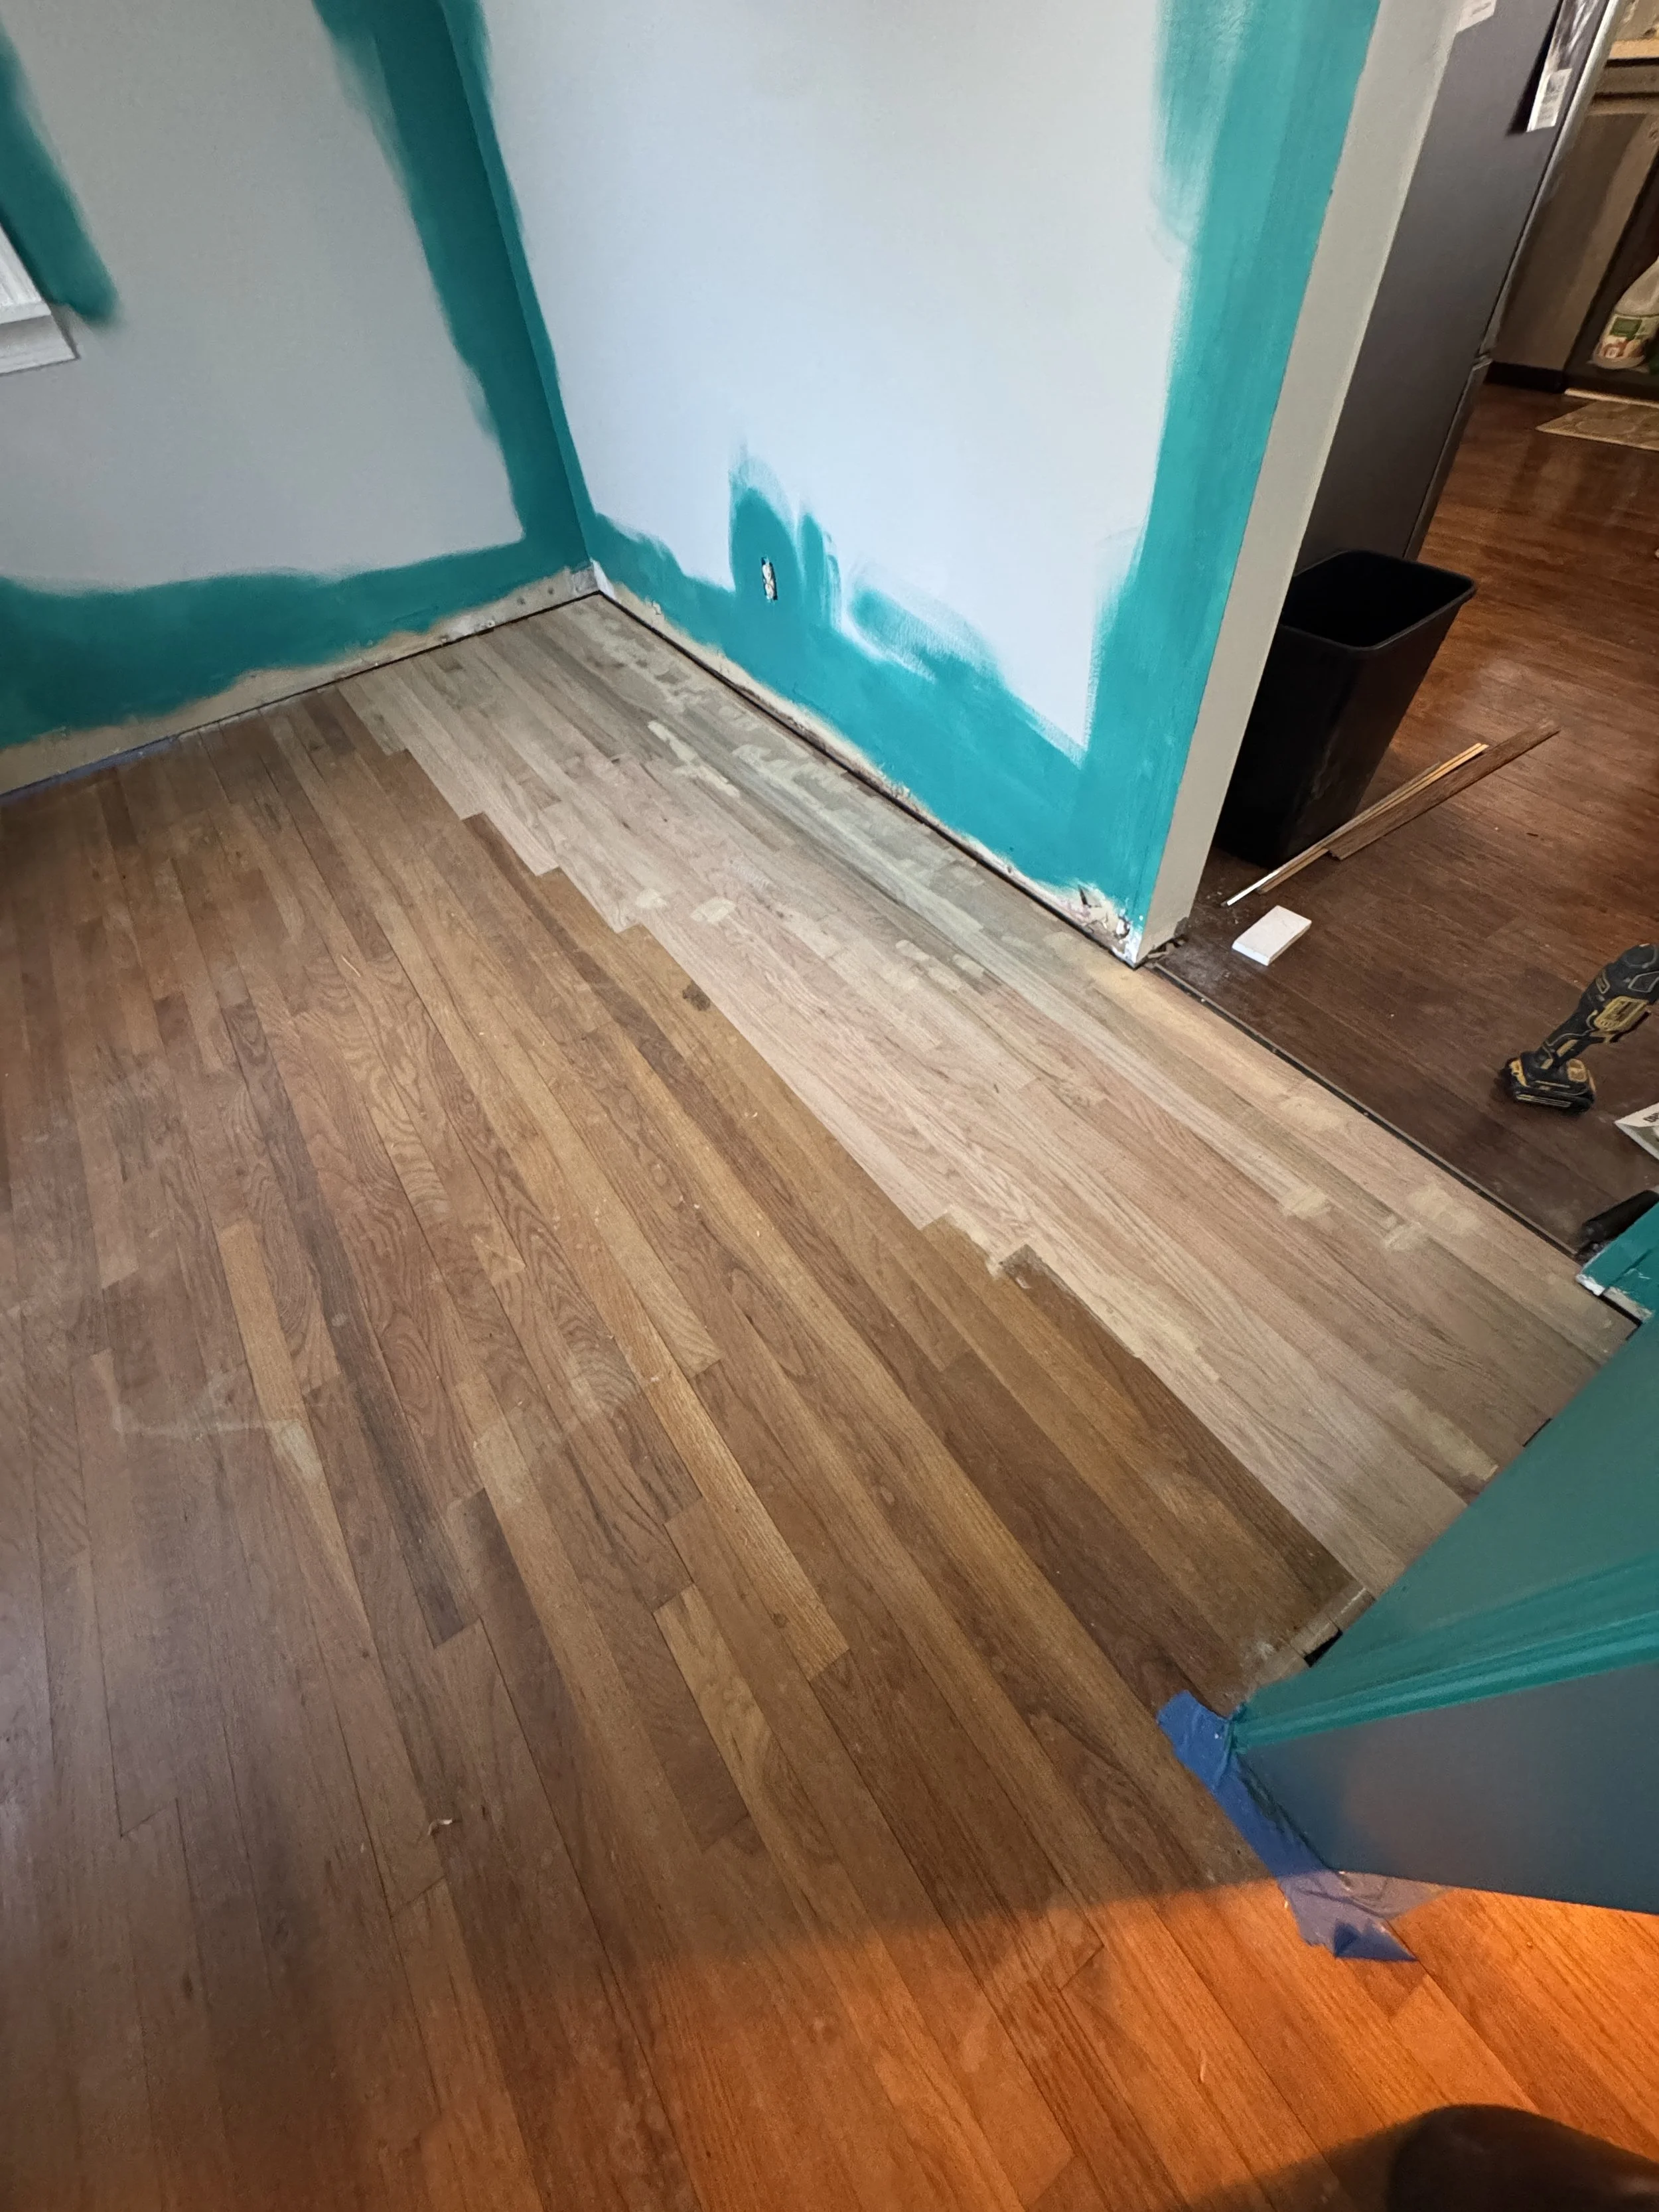
The most significant issue was a patch of water damage caused by a leaky refrigerator line on the other side of the wall. This area had deteriorated to the point where the boards would audibly protest when stepped on, and the wood failed a screwdriver test spectacularly. The damage eventually spread, causing the surrounding boards to separate.
For several years, I simply kept the area hidden under a coffee buffet. However, recently I found Alex Hardwood Floors to properly address the damage and restore the home's character. What made me say yes to Alex was affordable pricing and great work. I should also mention he was referred to me by the contractor I continuously hire to paint, install molding in my house, and do other various small jobs. Here is a look at the "before" photos and the extent of the work that needed to be done.


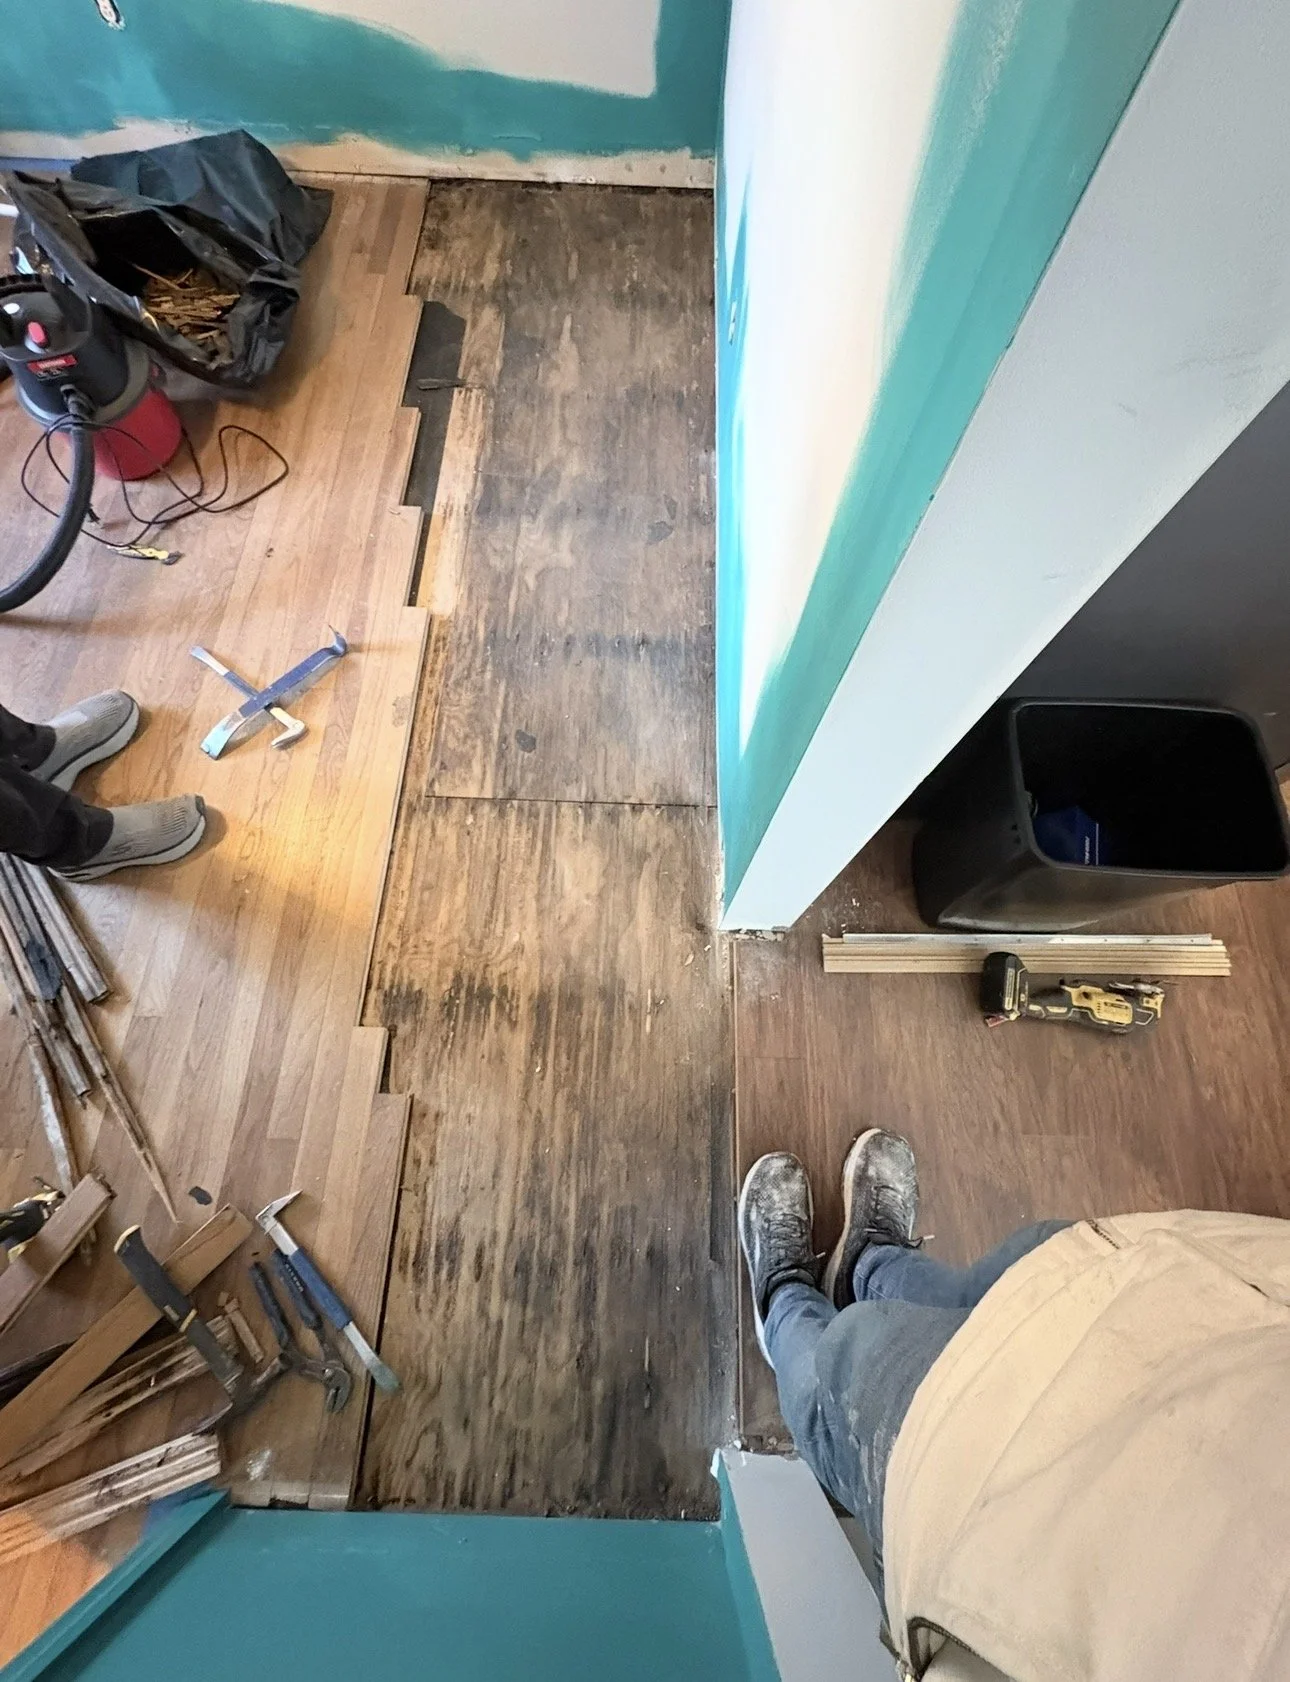
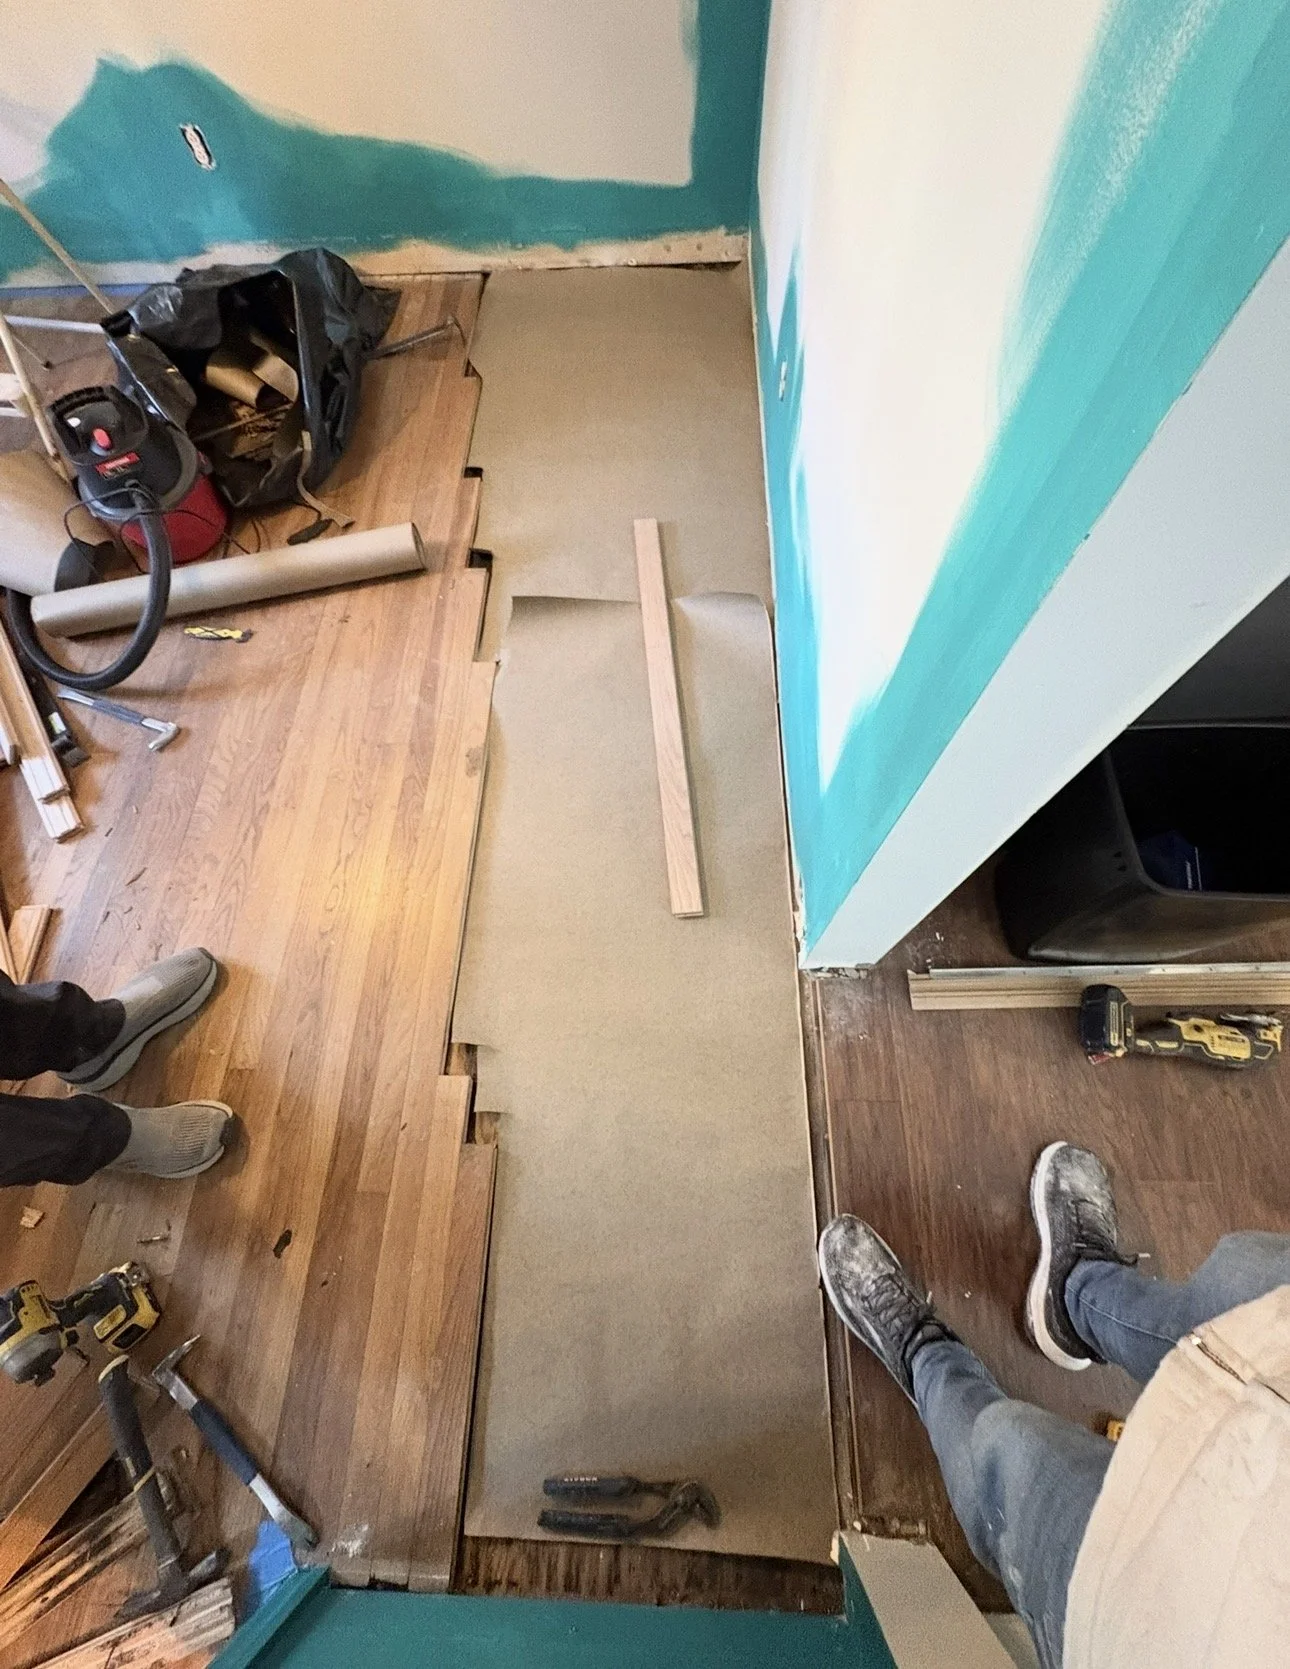
Red Oak Hardwood Floor Replacement (Section)
When the team at Alex Hardwood Floors visited and provided a fair estimate with a straightforward plan, it was a breath of fresh air. After dealing with some inflated quotes and a previous experience with an unreliable contractor, I was admittedly a bit cautious about the whole process.
On January 13th, the team got to work removing the damaged sections to inspect the subfloor. Fortunately, the subfloor was still in good condition and didn't need to be replaced. They moved quickly to install high-quality underlayment before laying and prepping the new red oak boards.
Take a look at the eight photos below to see how the repair came together. A few days after installation, I stepped over the new hardwood, and it was absolutely solid.

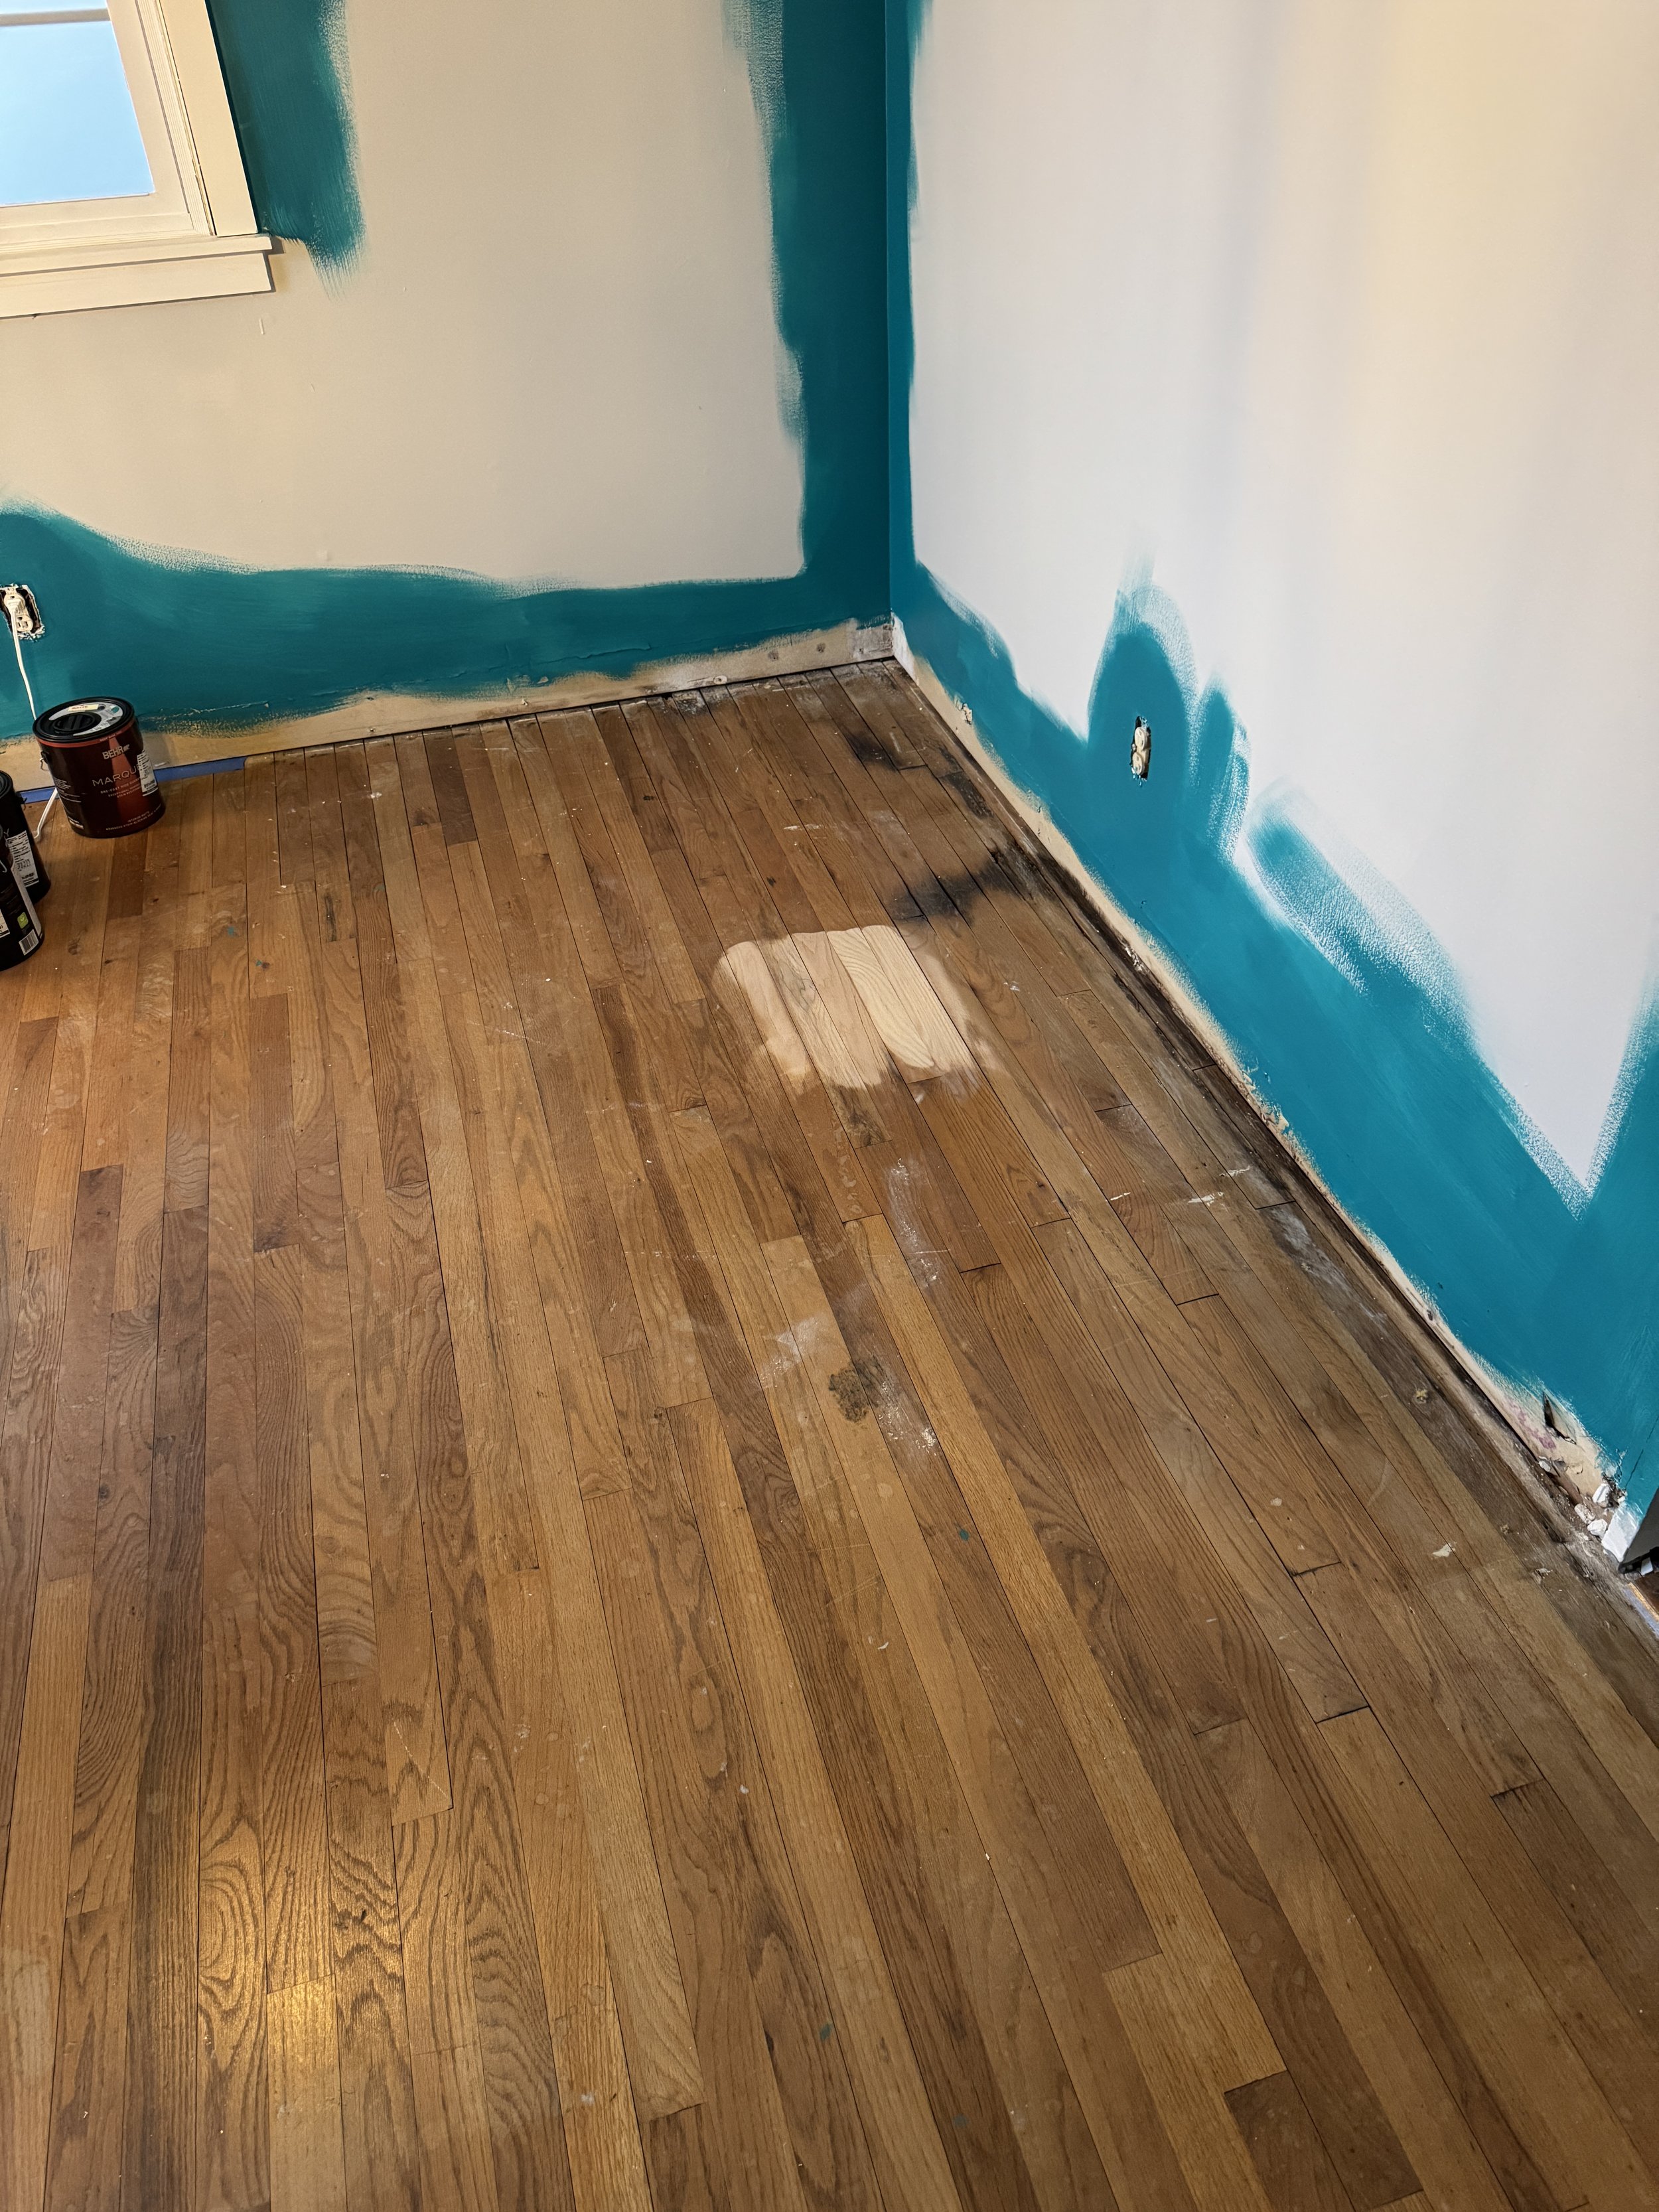
Red Oak Hardwood Floor (Before)
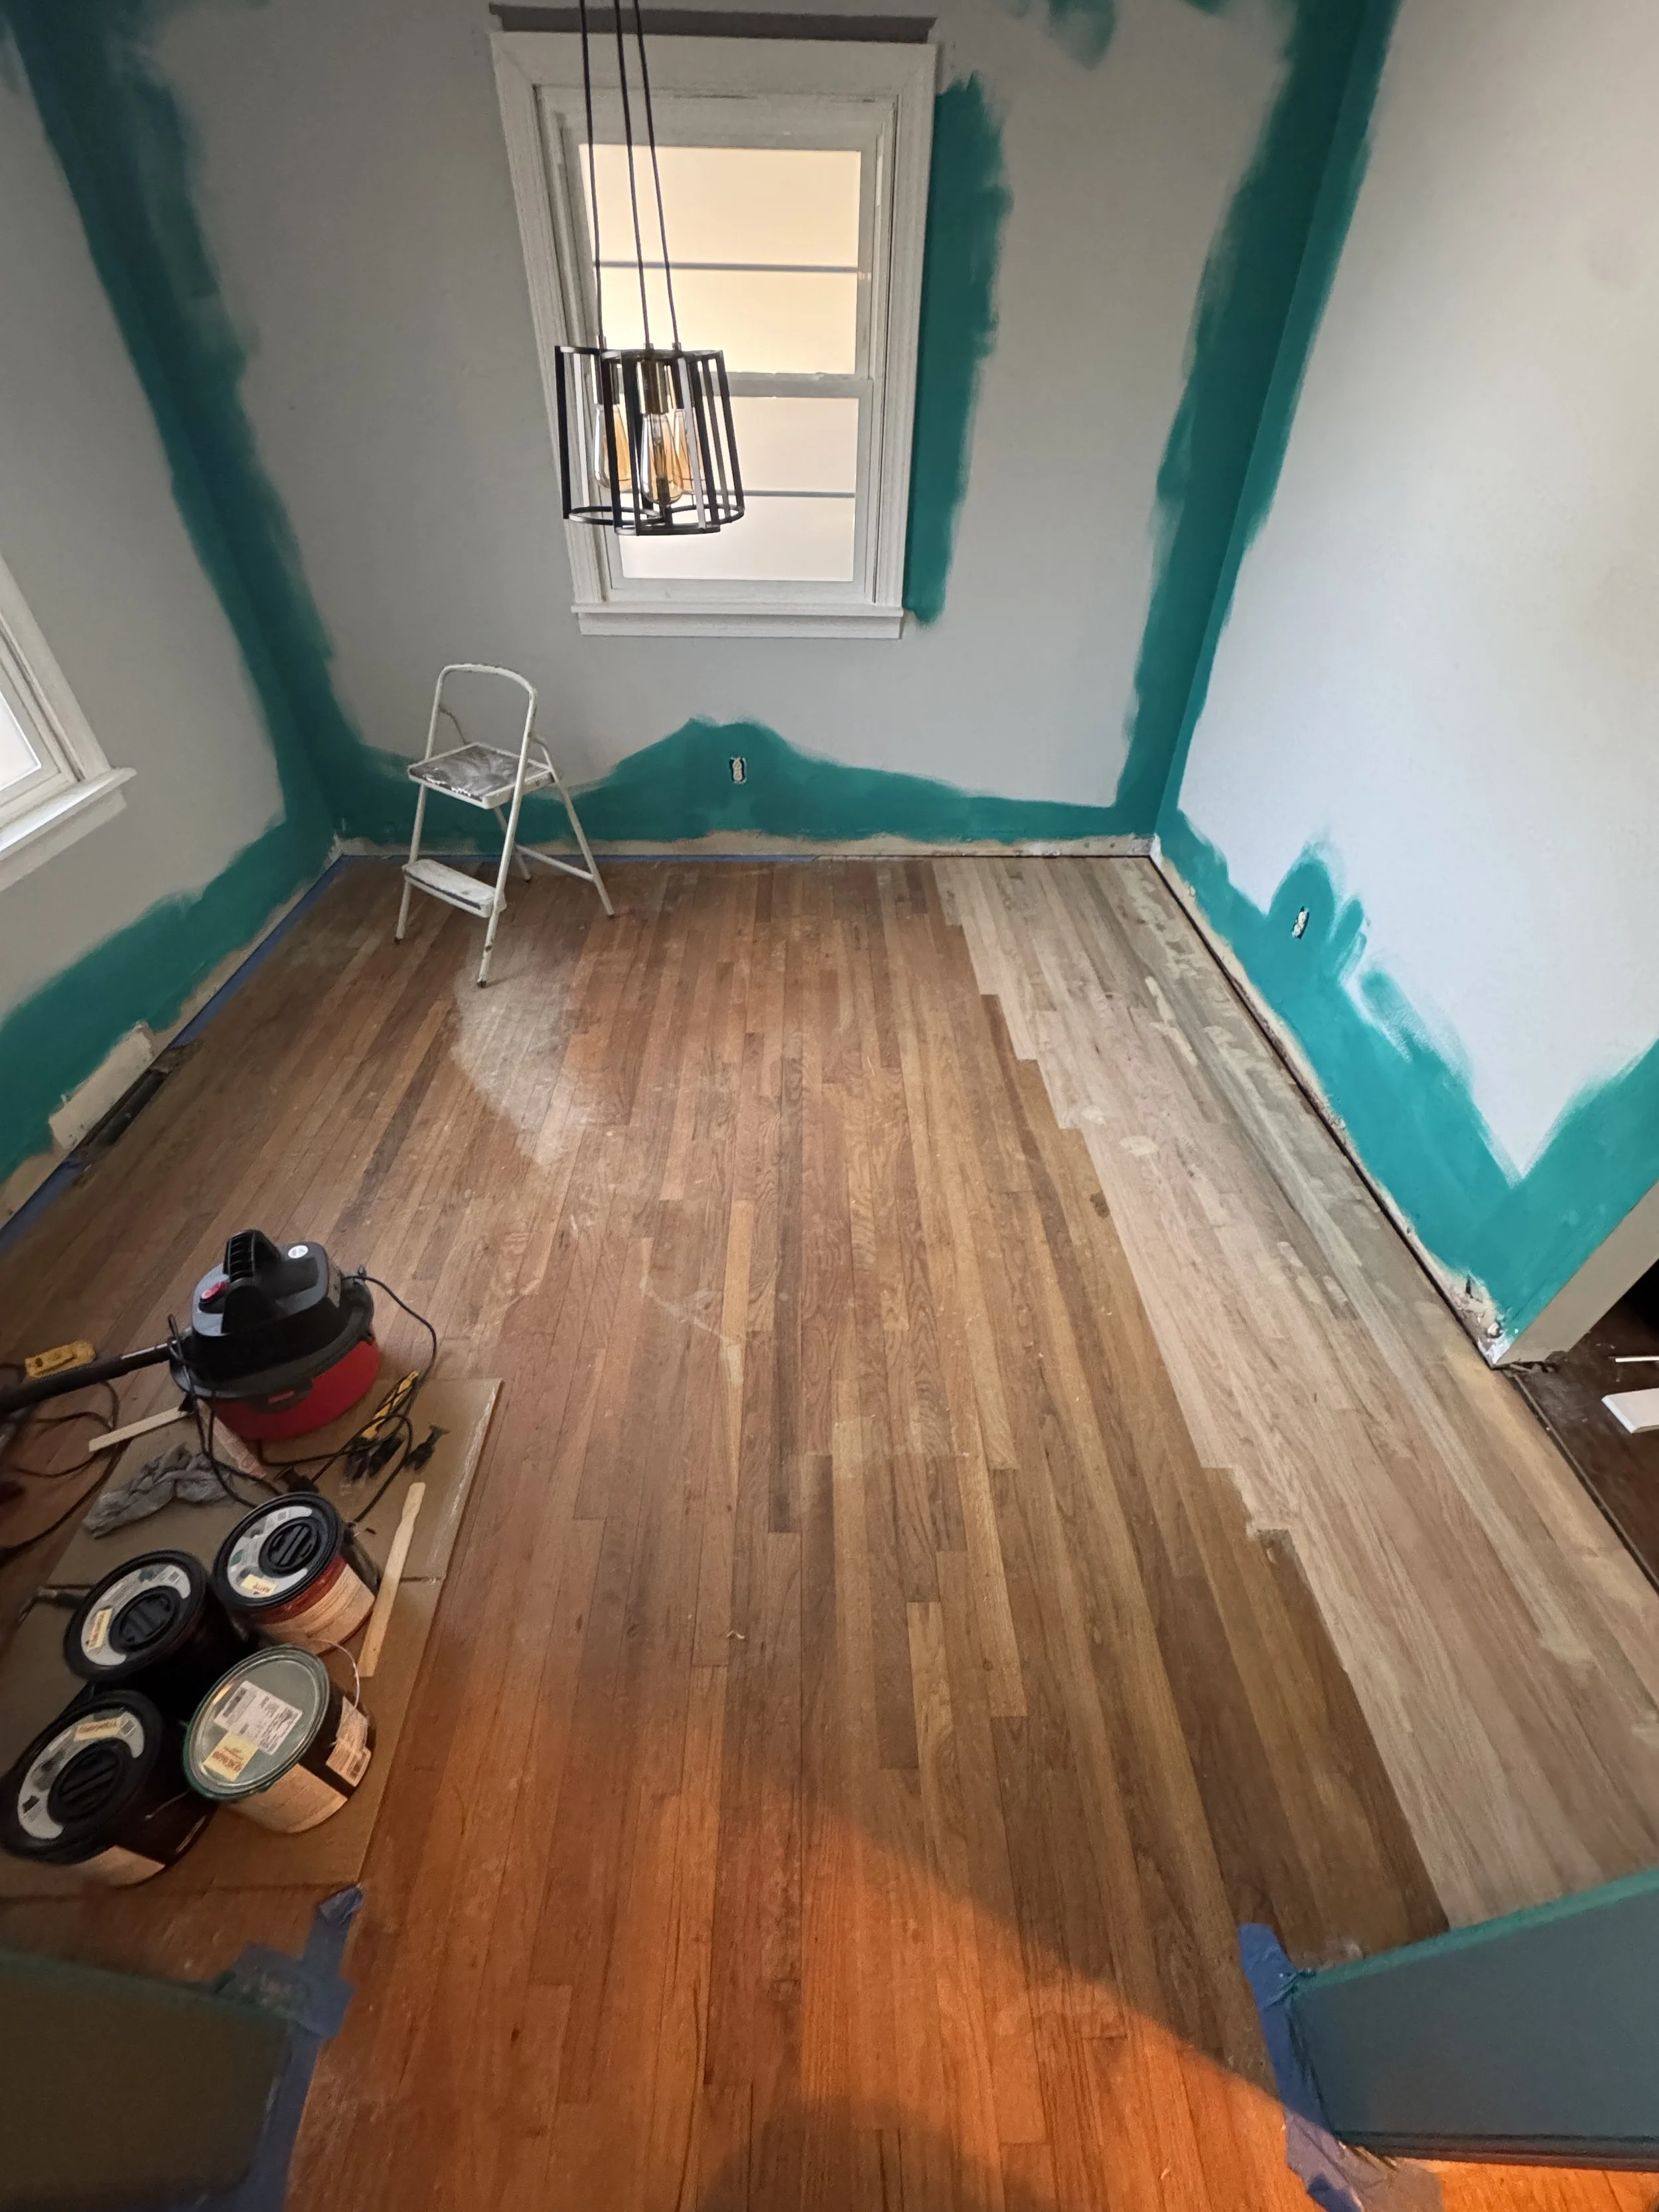
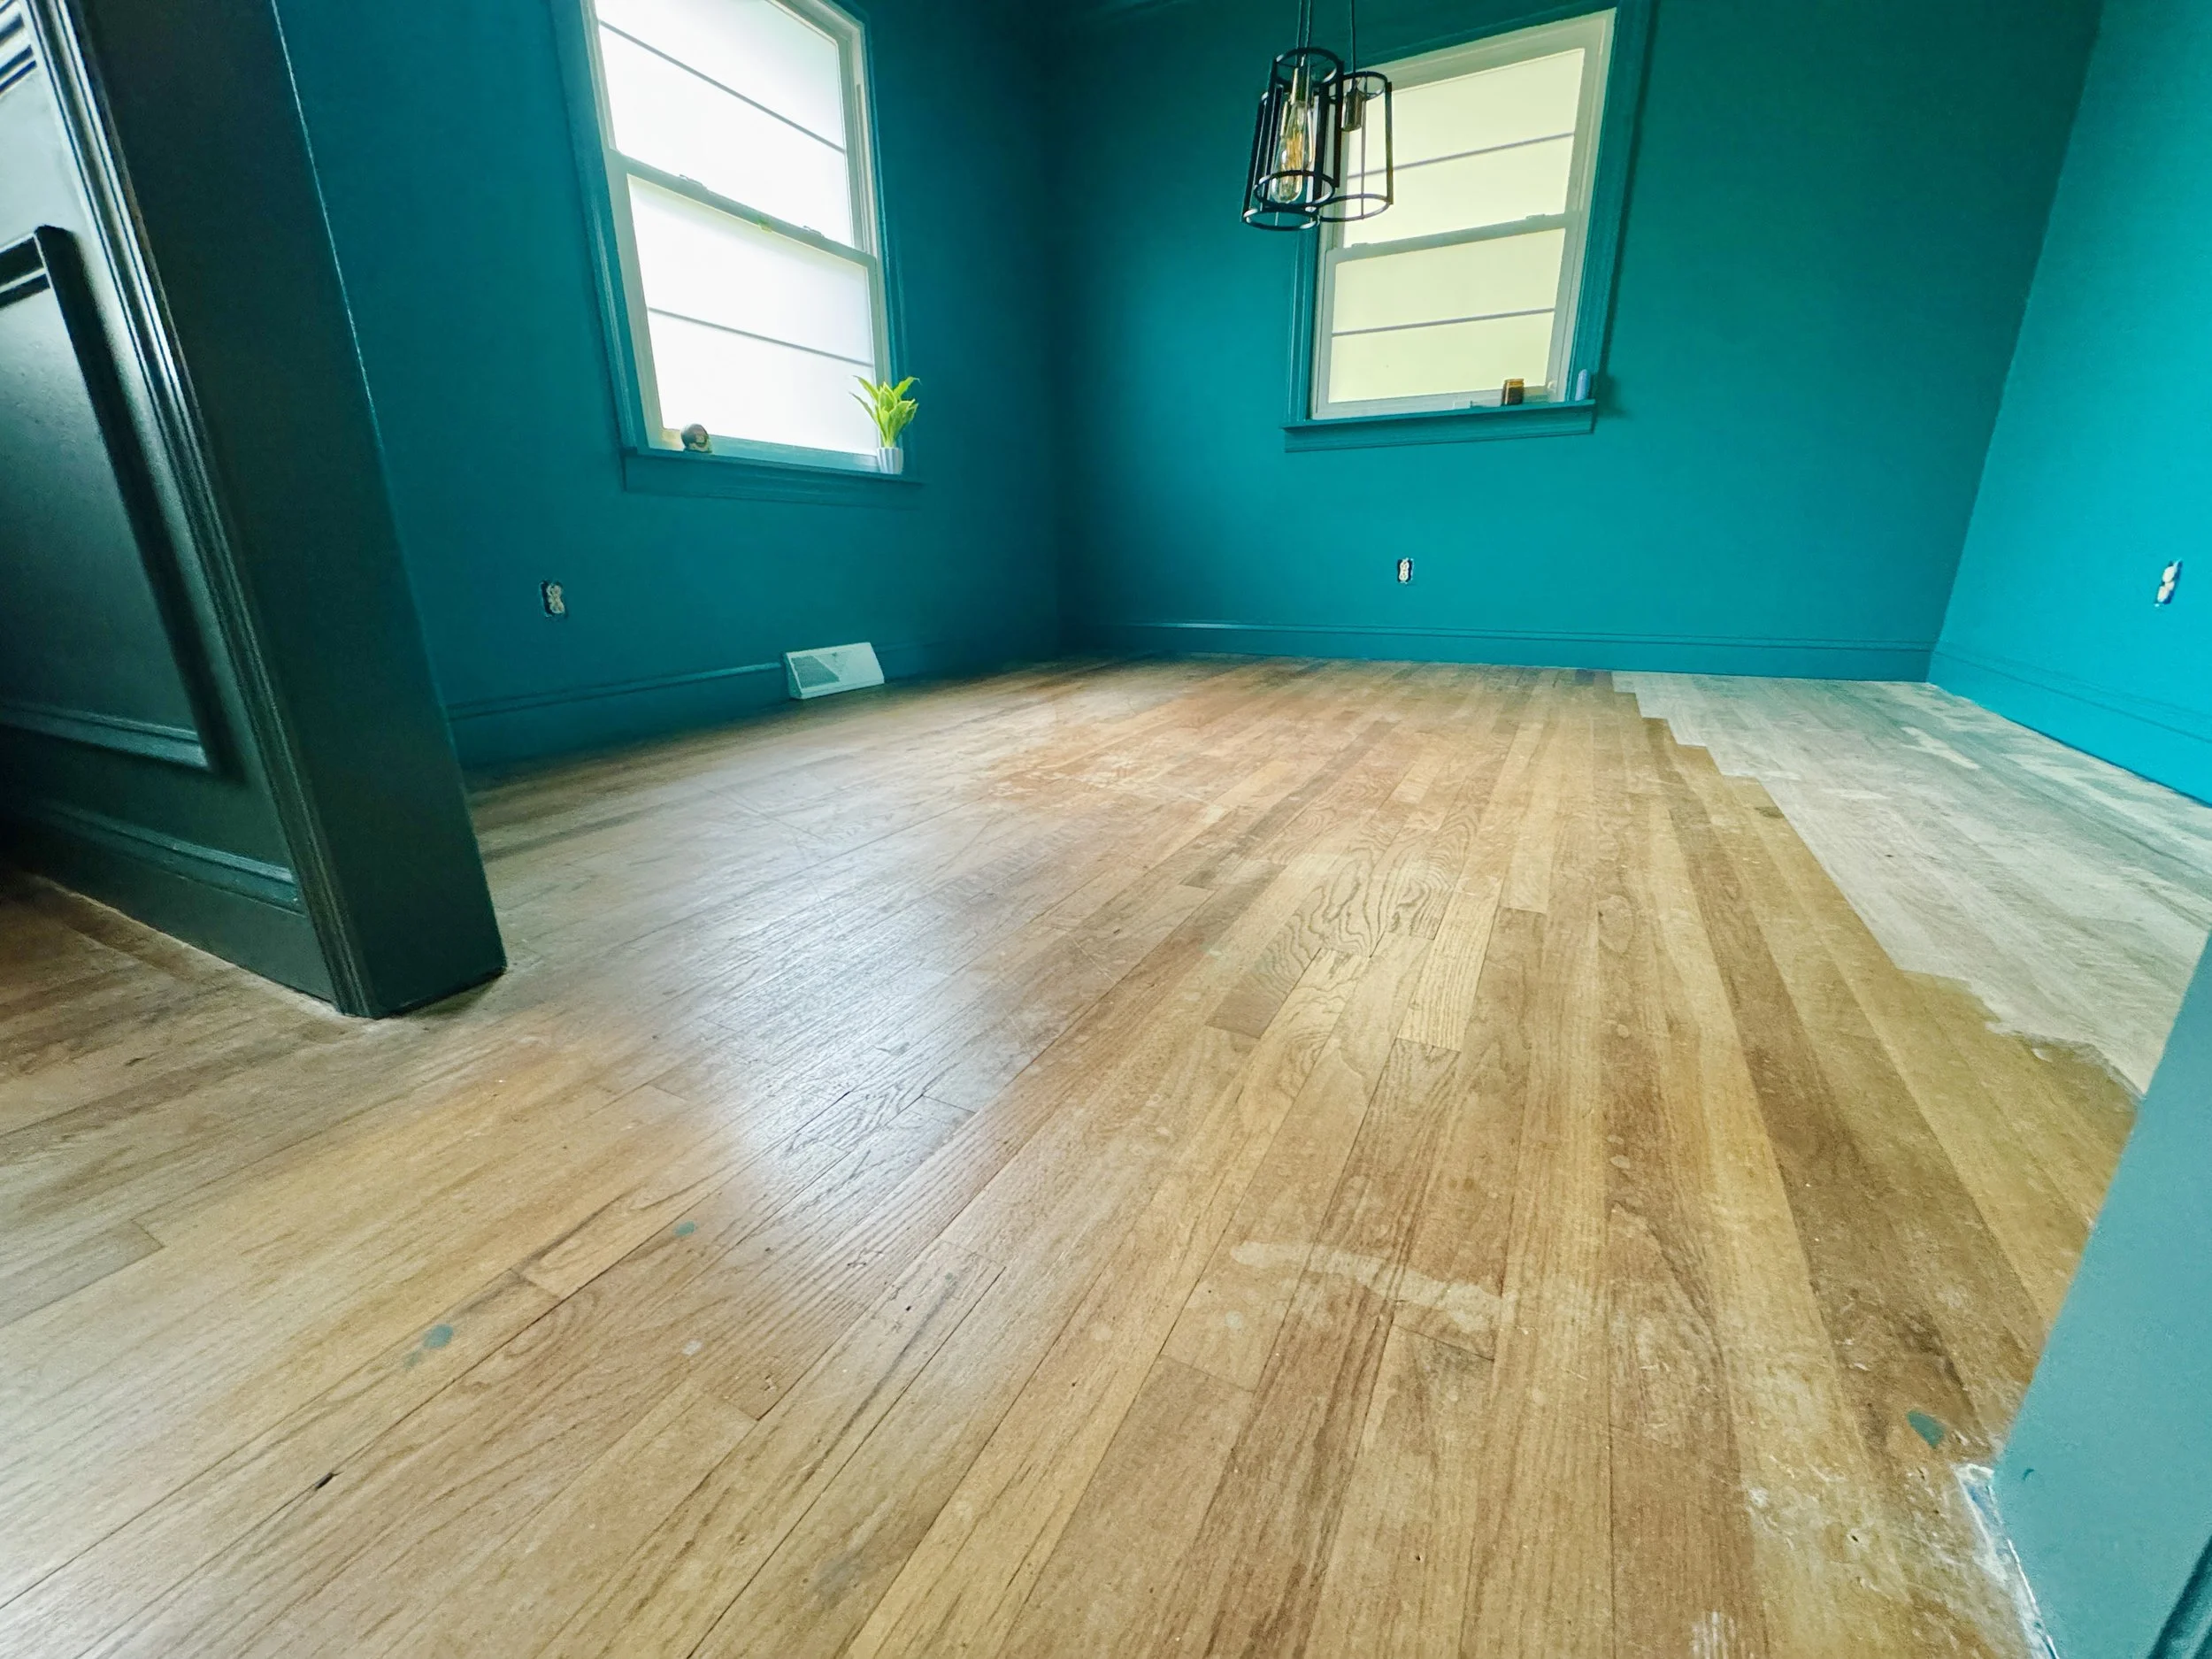
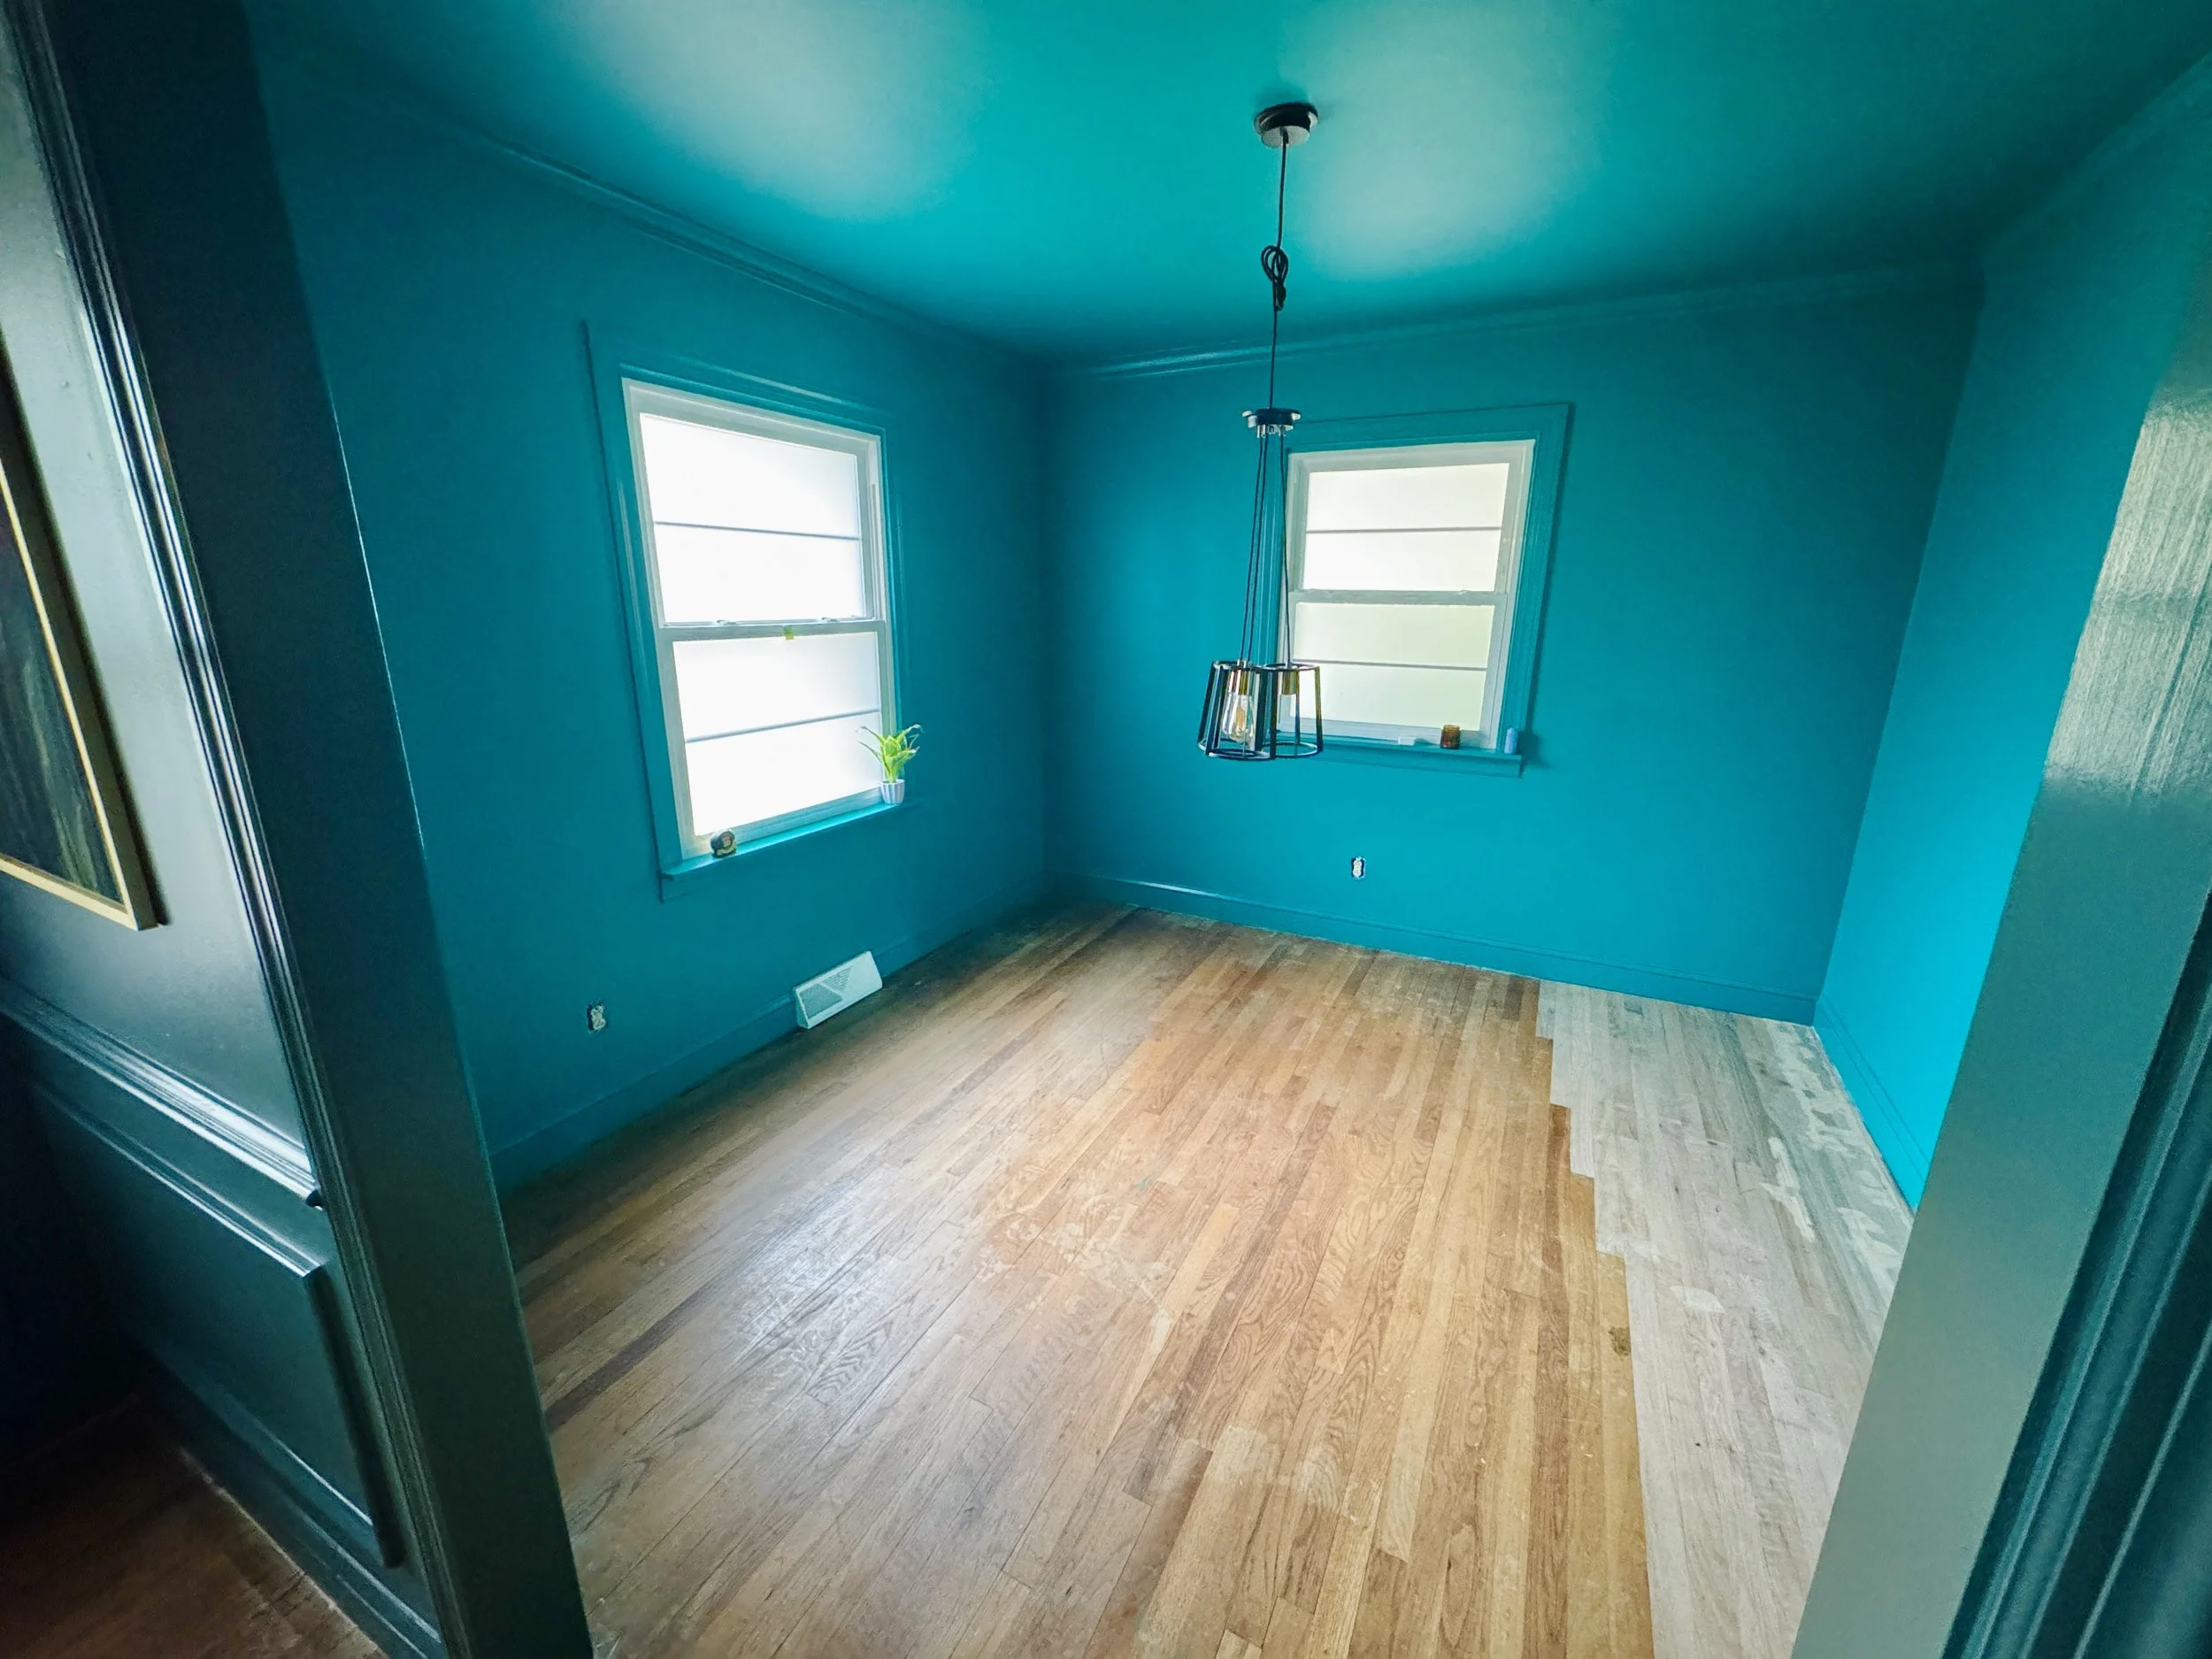
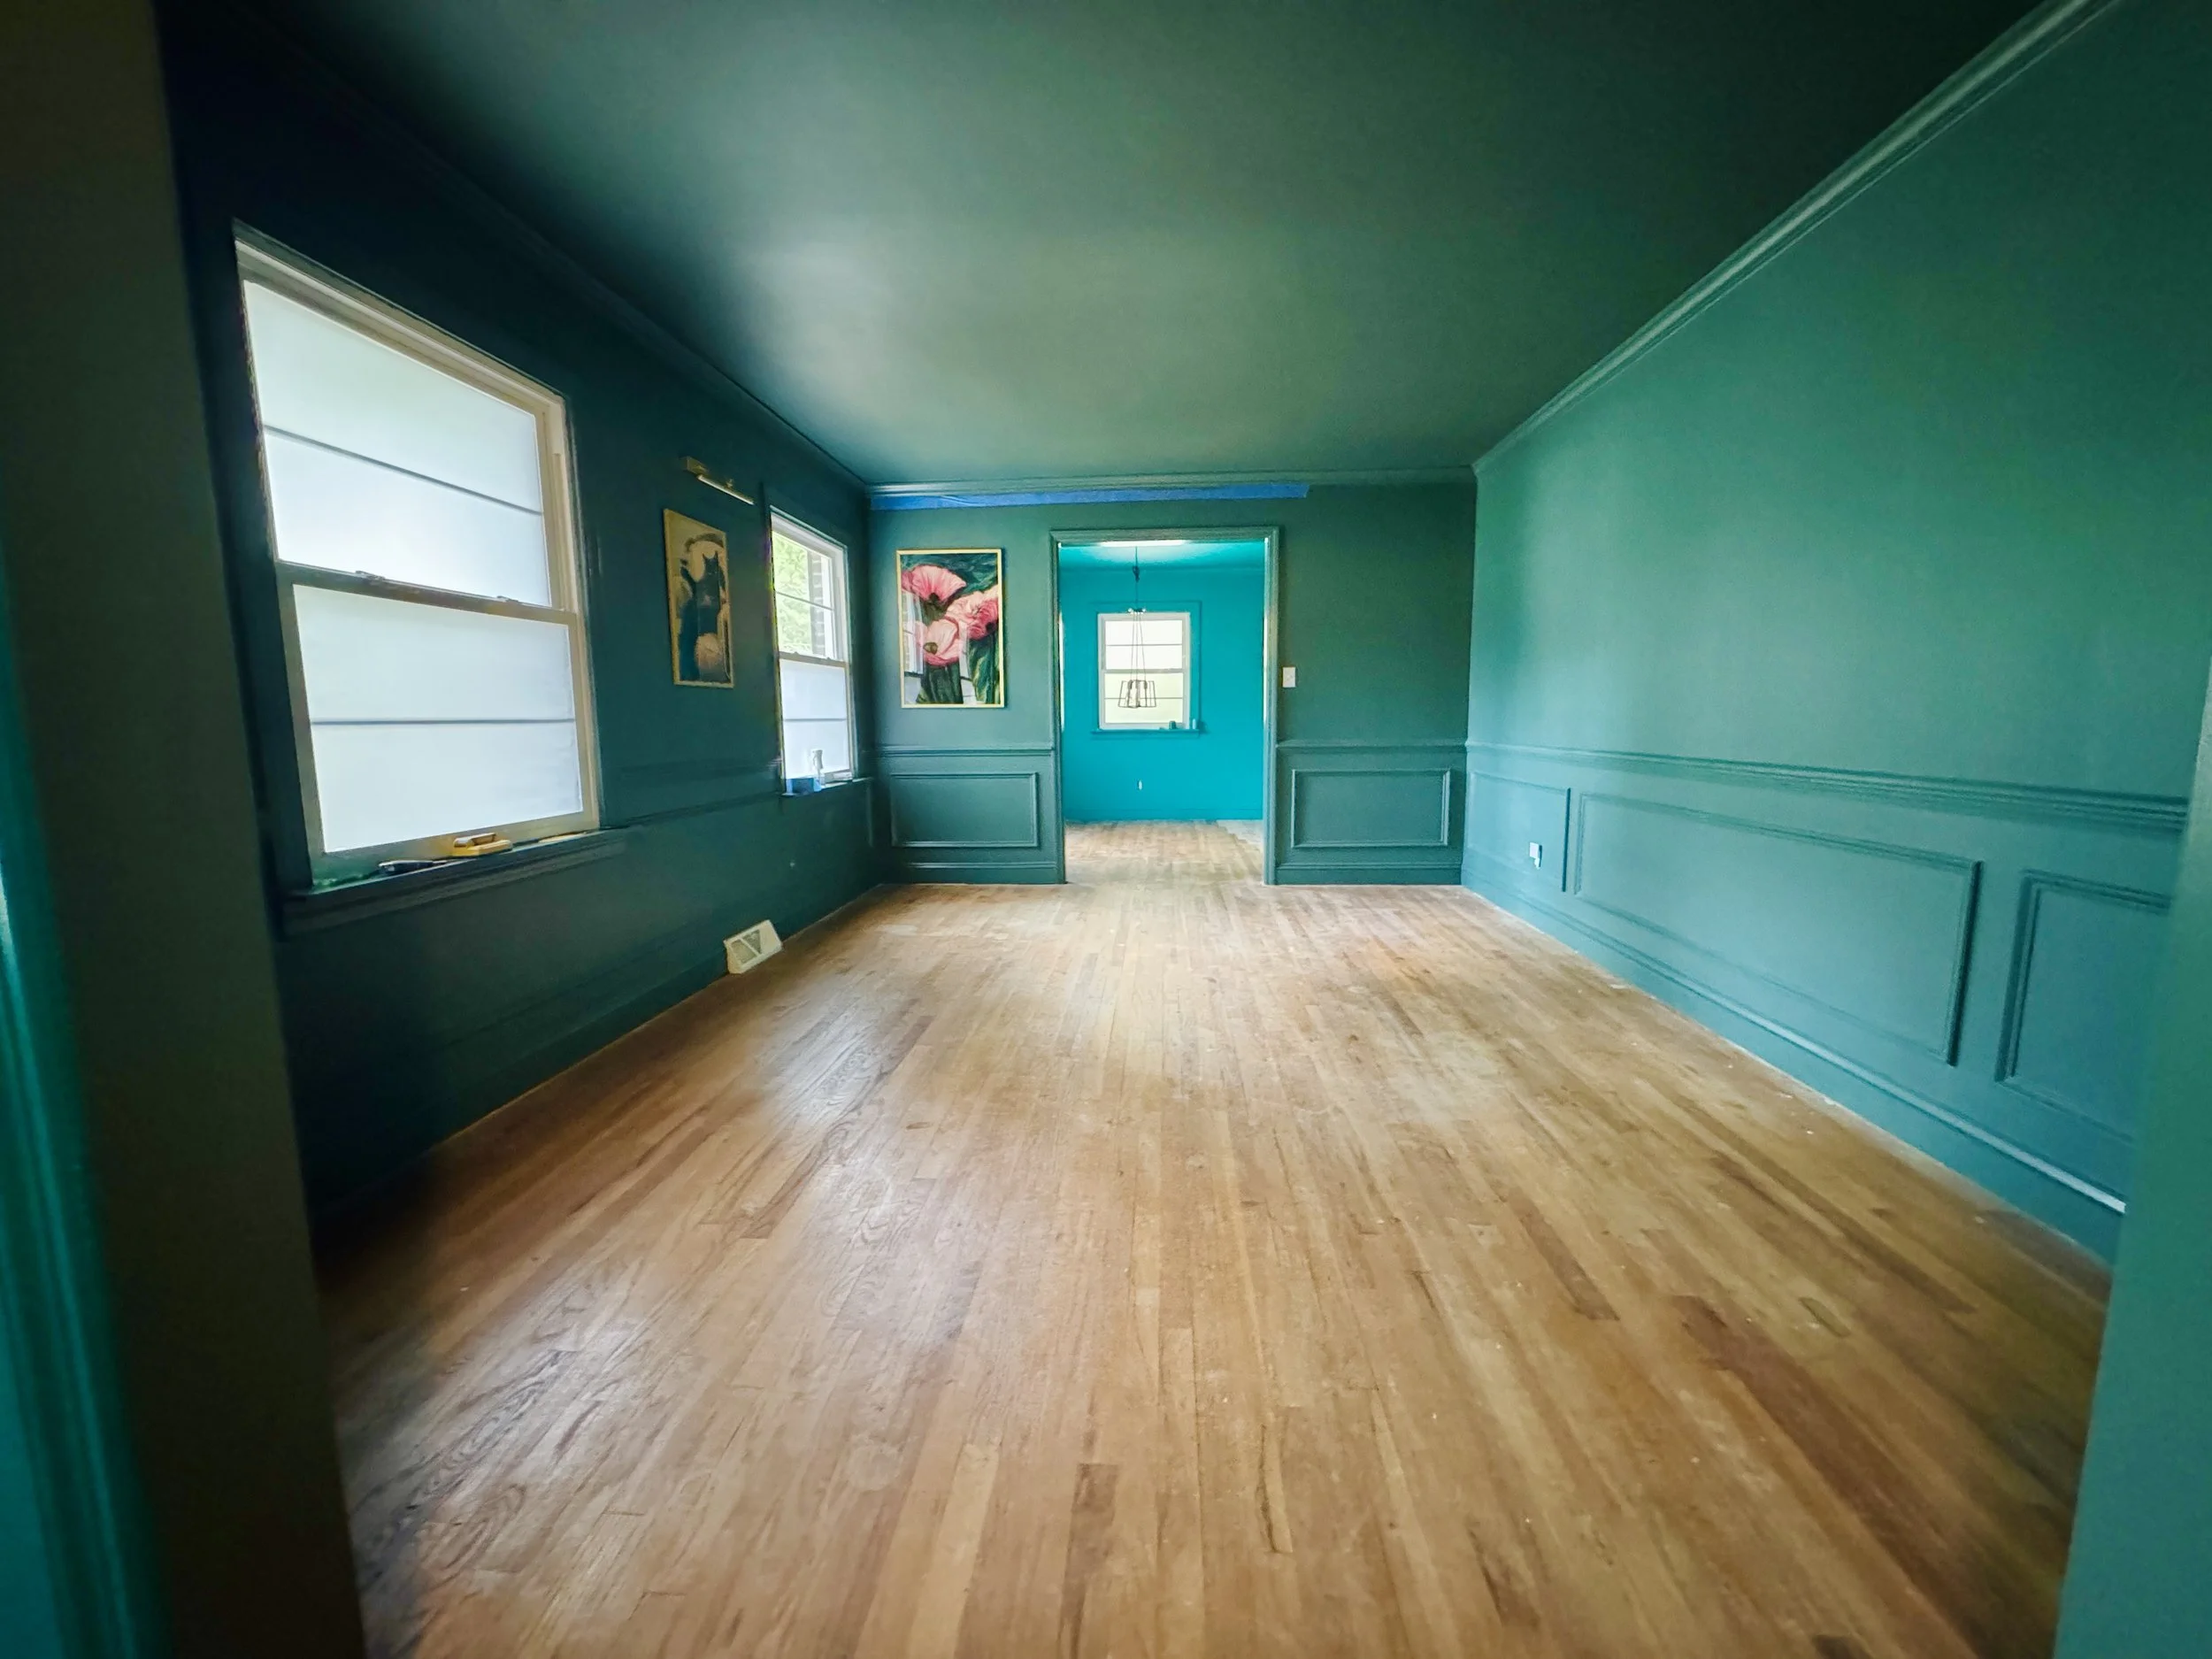
Three months elapsed between the replacement of damaged hardwood and the start of the sanding and refinishing process, partly for financial savings and decision-making on my end, but also to finish painting all the rooms before addressing the floor. As seen in the pictures below, the hardwood floor was not in ideal shape for living, despite what transpired over the last 10 years.

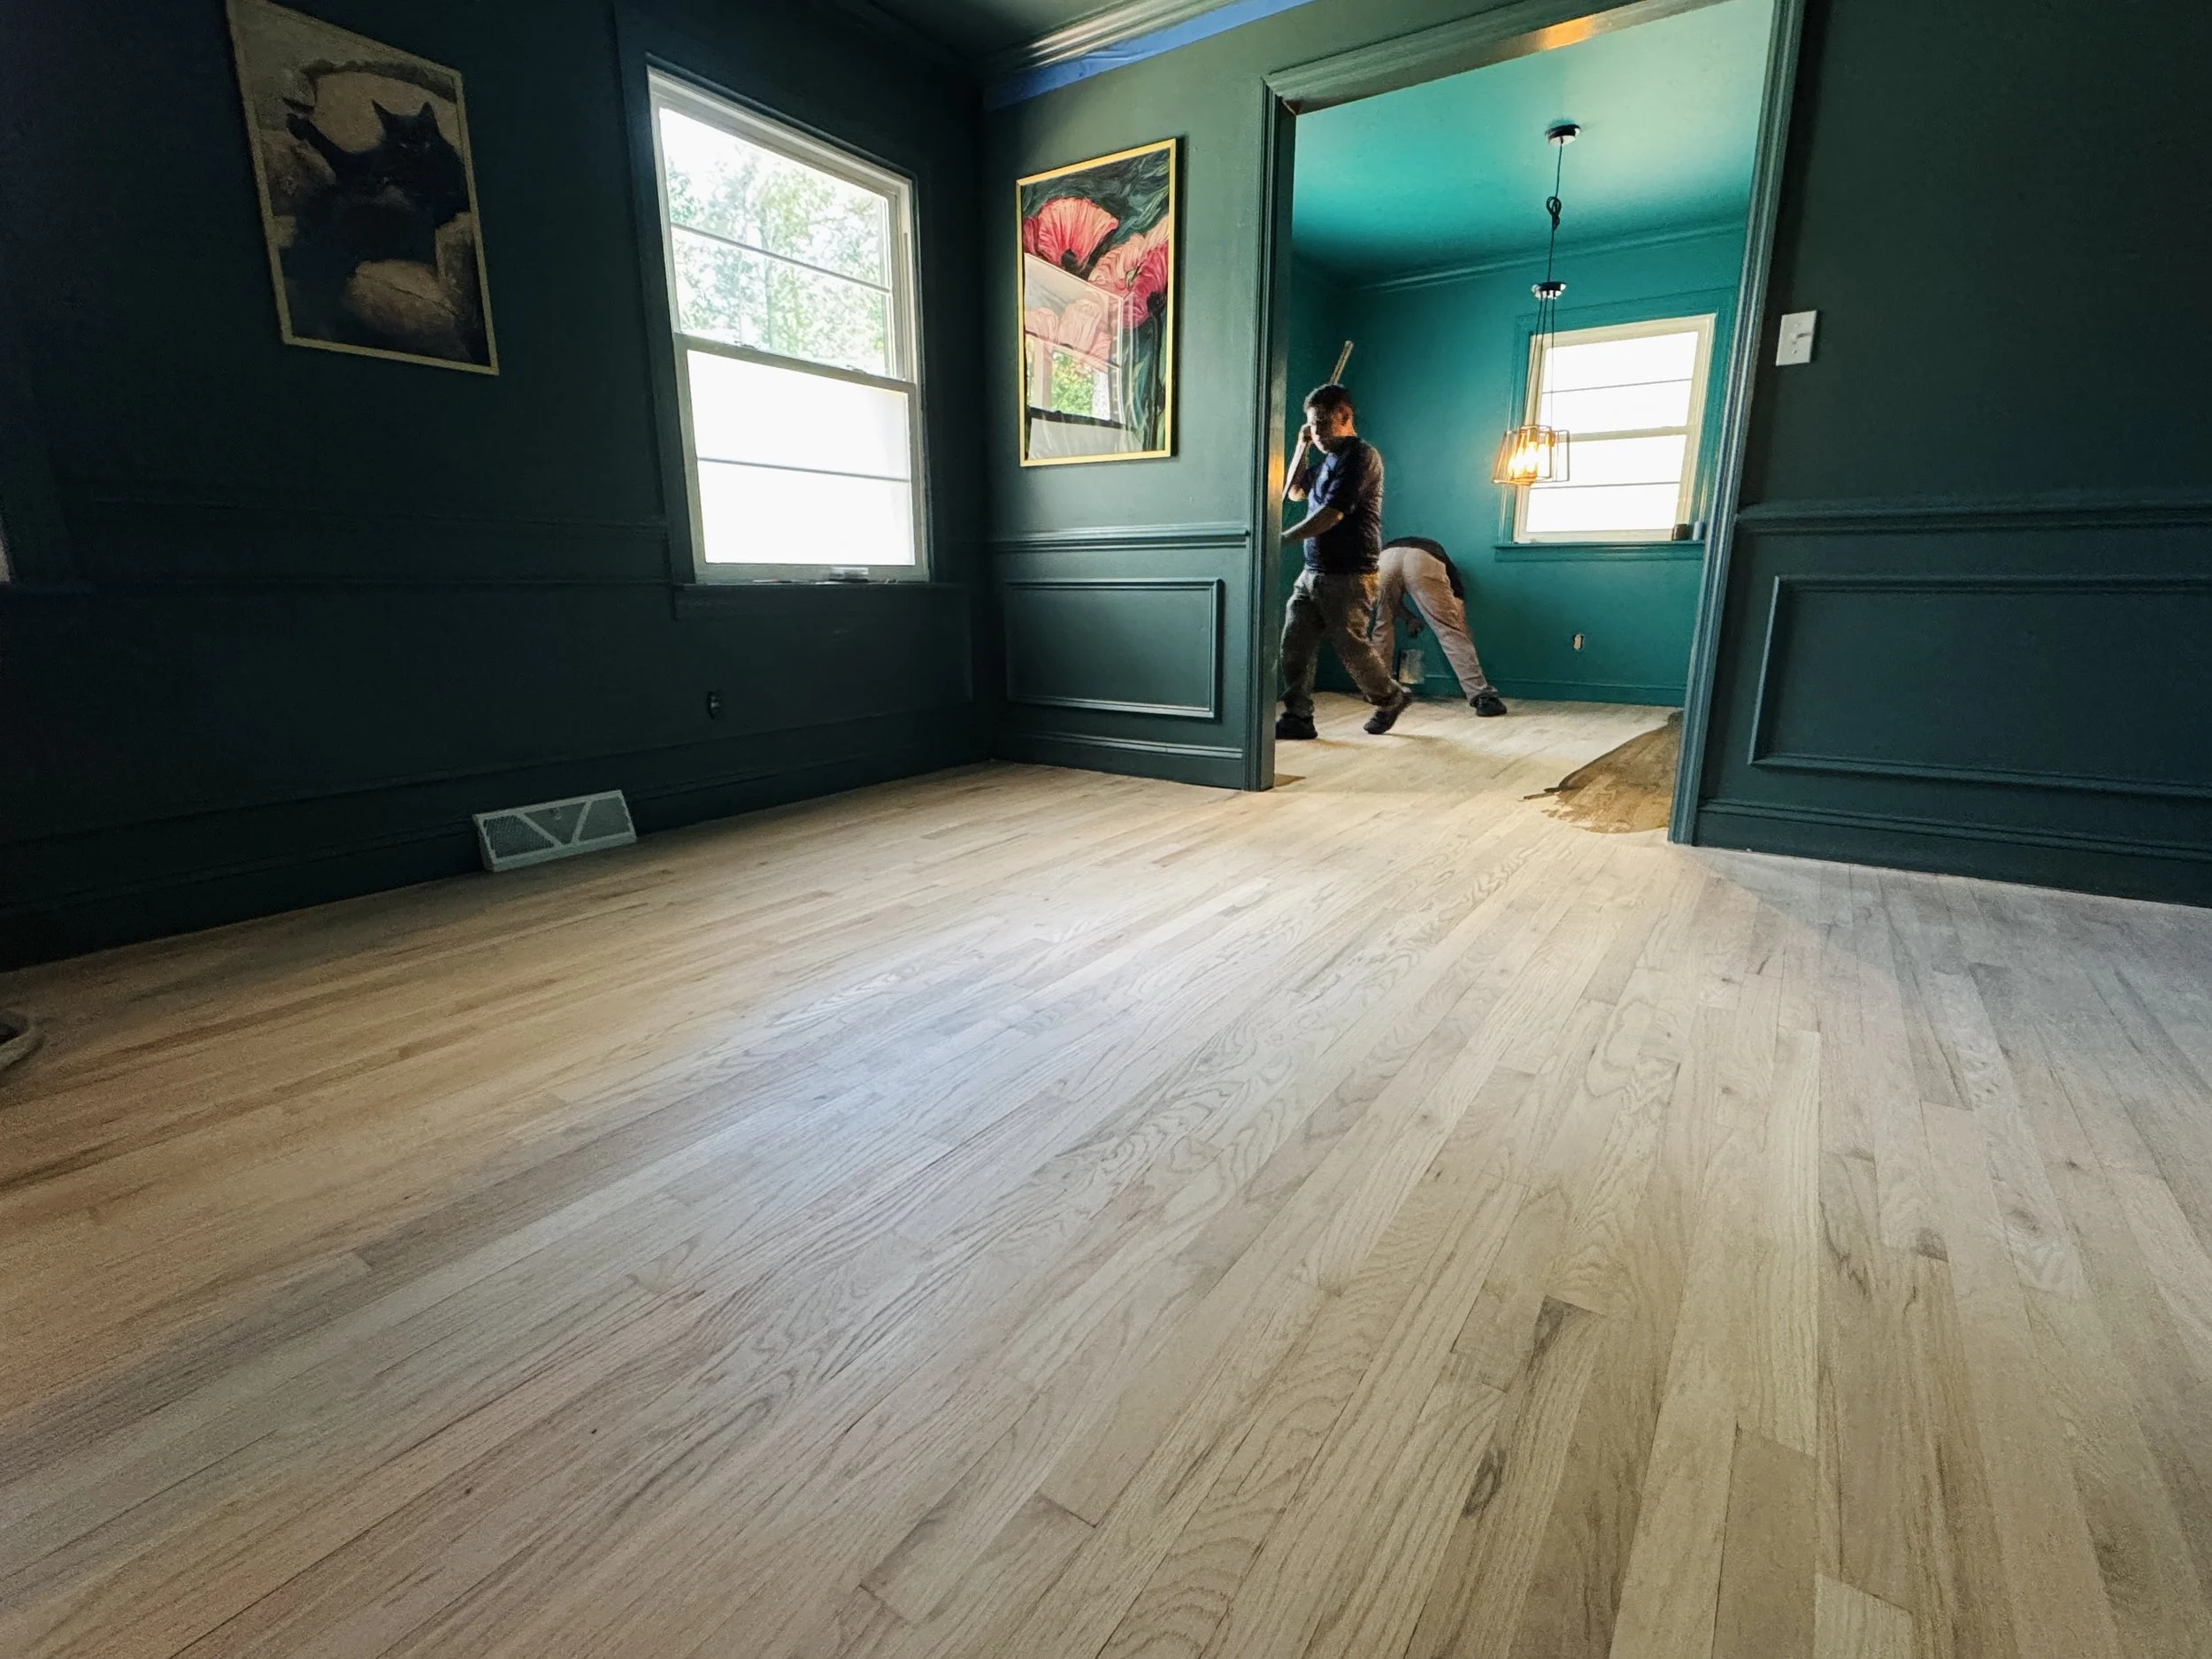
Red Oak Hardwood Floor Sanding
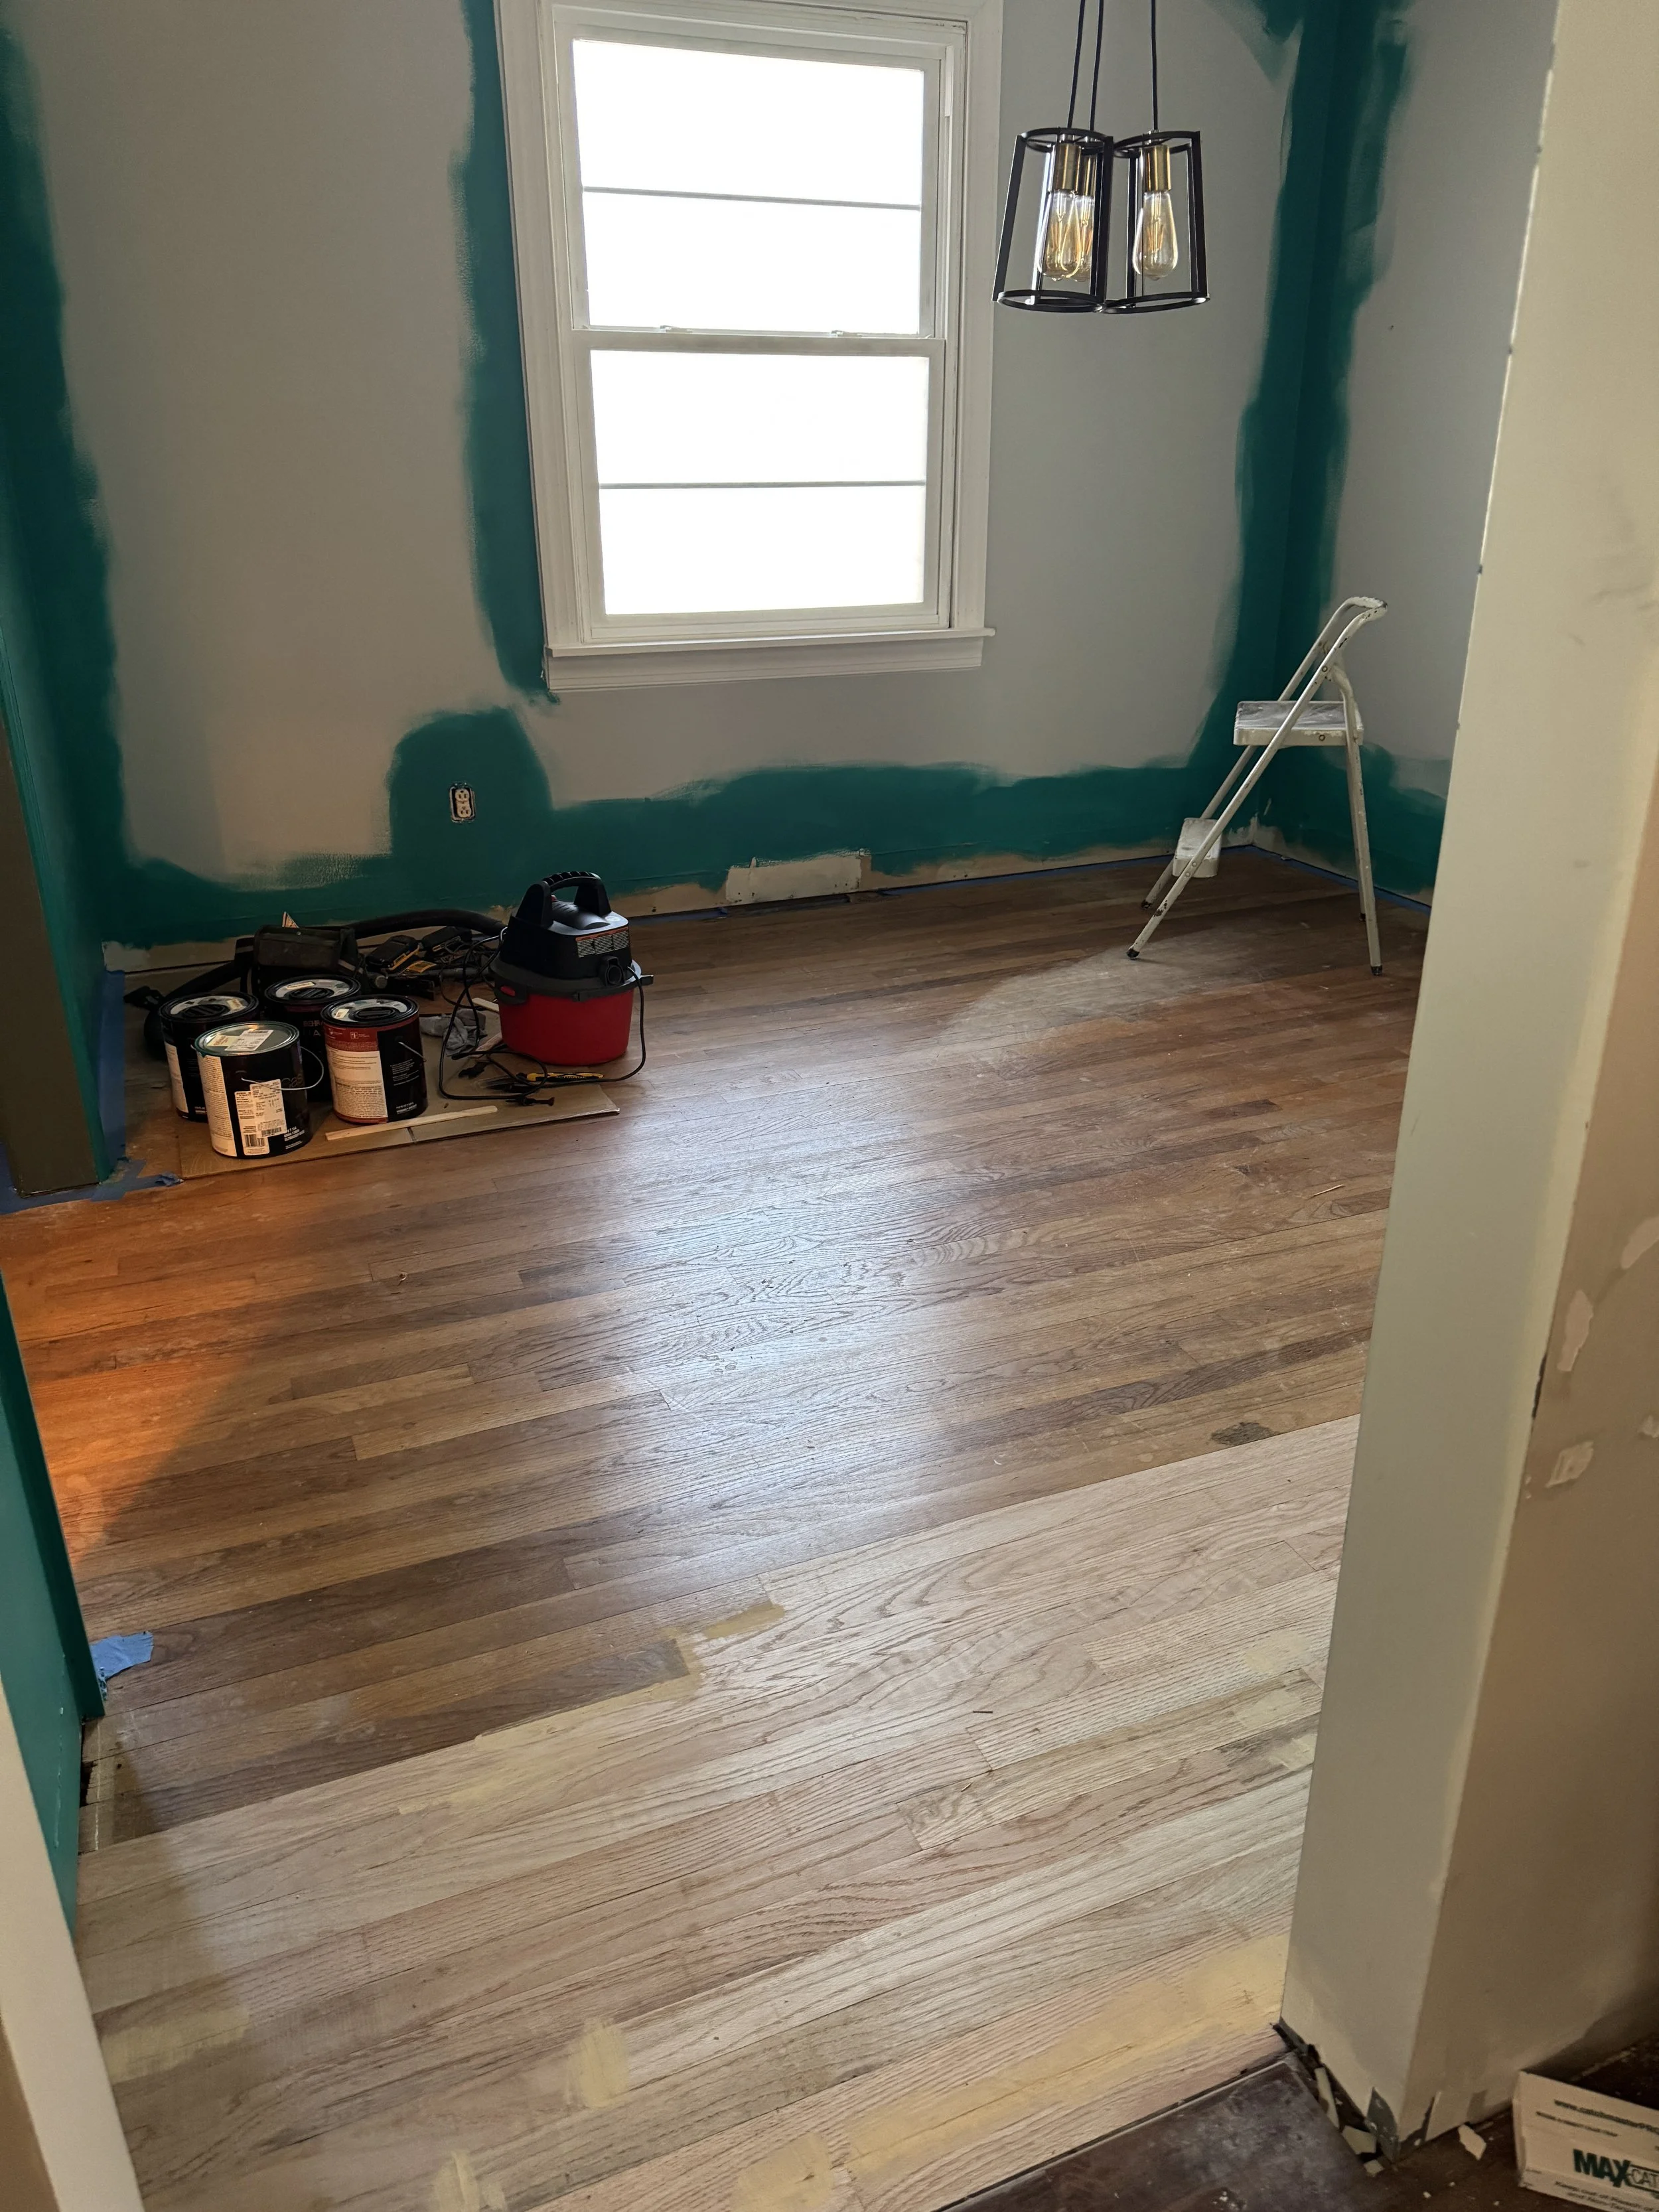
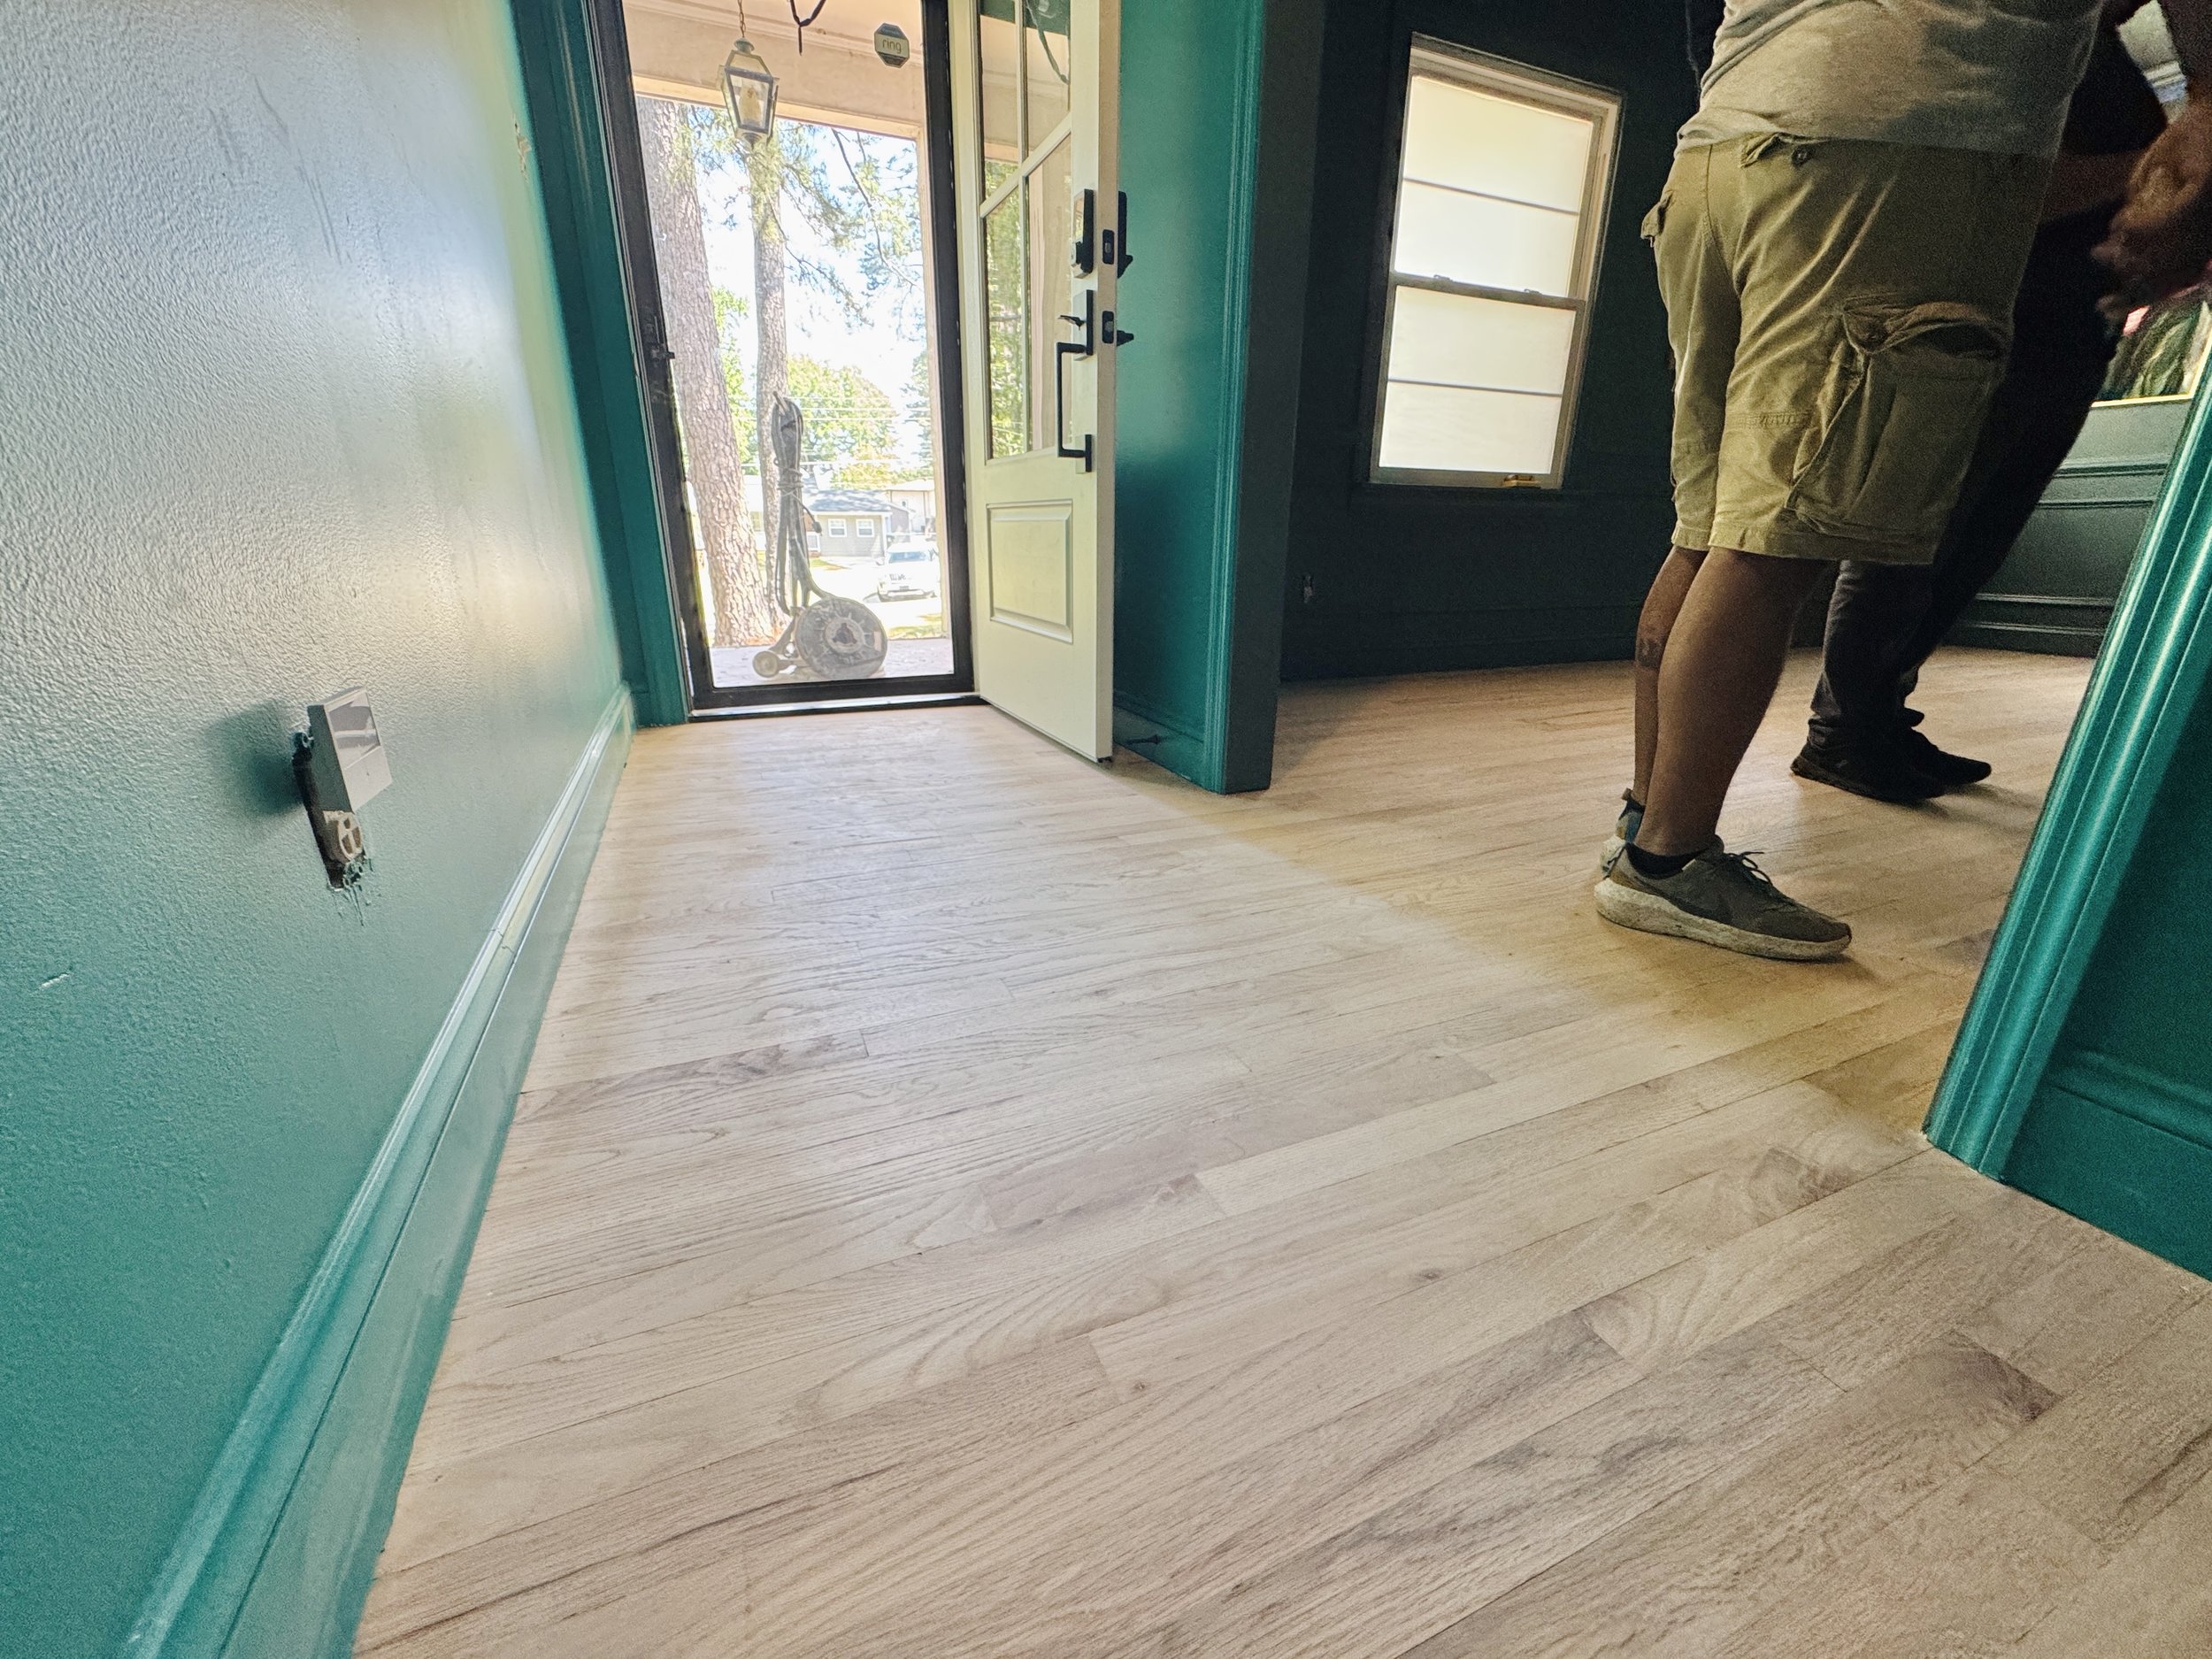
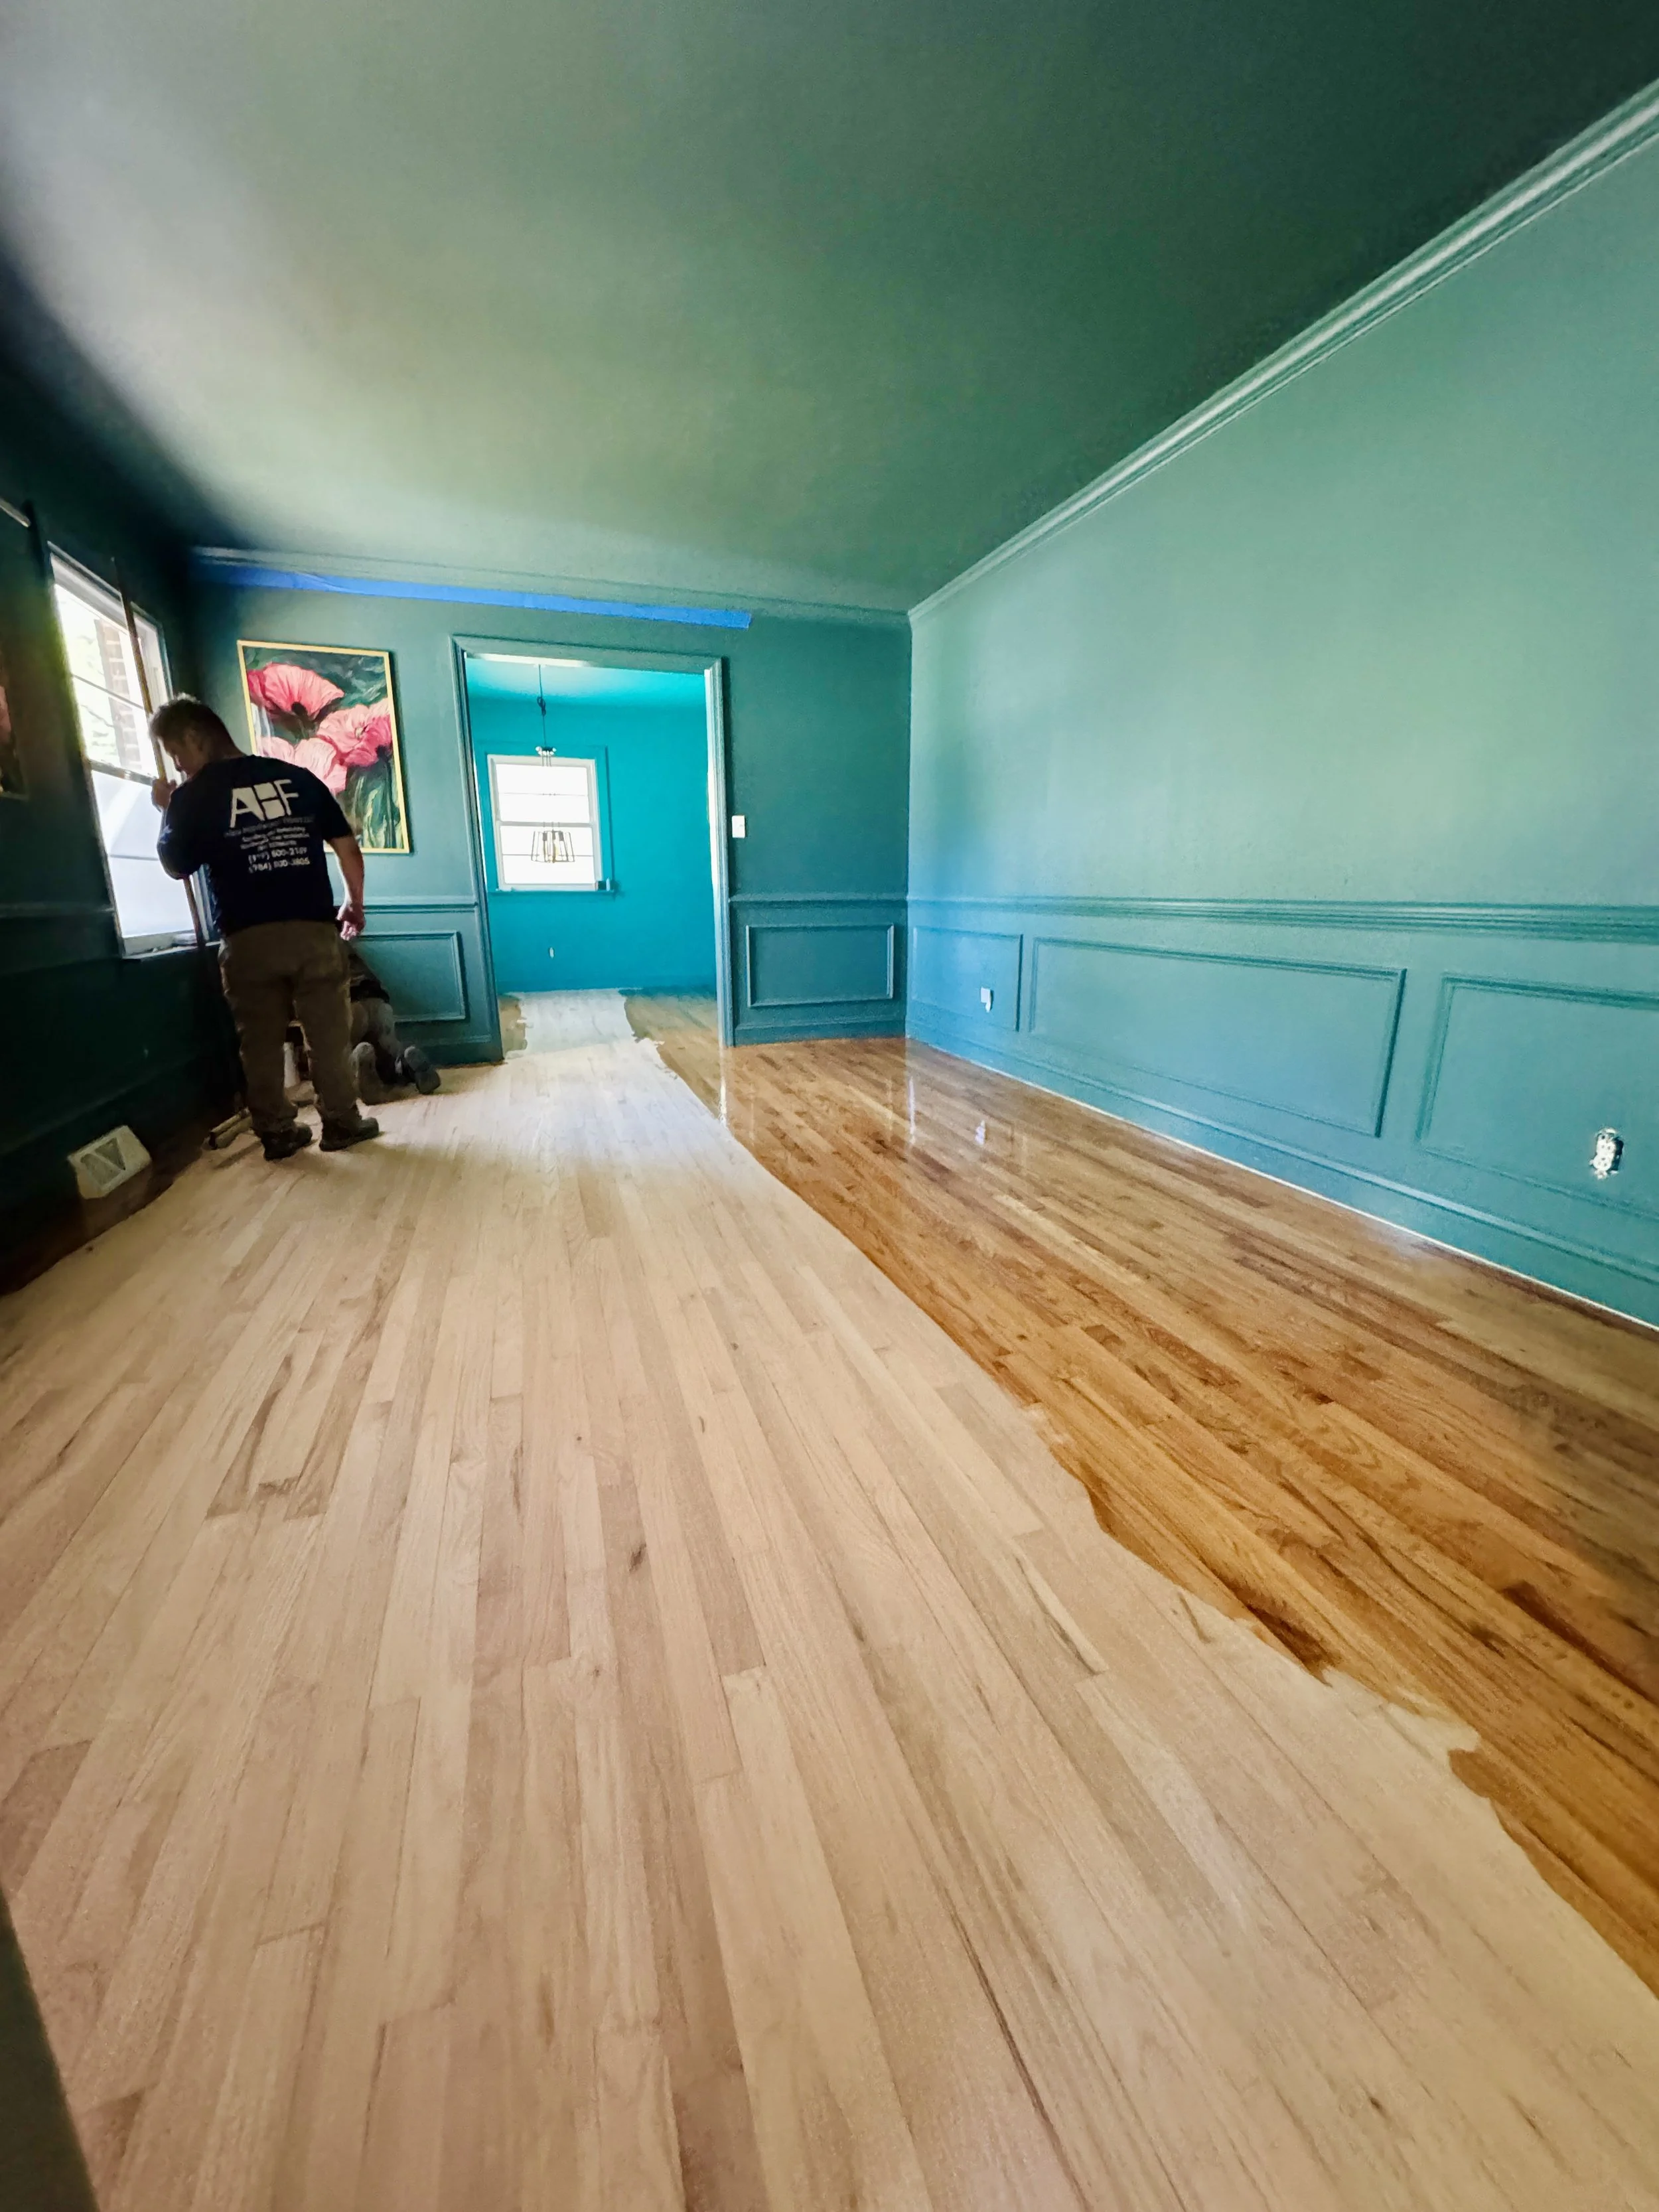
On Day 1, the Alex Hardwood Floors team arrived promptly, organized their equipment on the front porch, and got straight to work. To keep the rest of the house clean, they carefully taped off and covered the entryways to prevent dust from migrating into the other rooms.
The first day took roughly three hours and was incredibly productive. The team focused on pulling up old staples, prepping the surface, sanding, staining, and finally applying the initial coat of oil-based polyurethane.
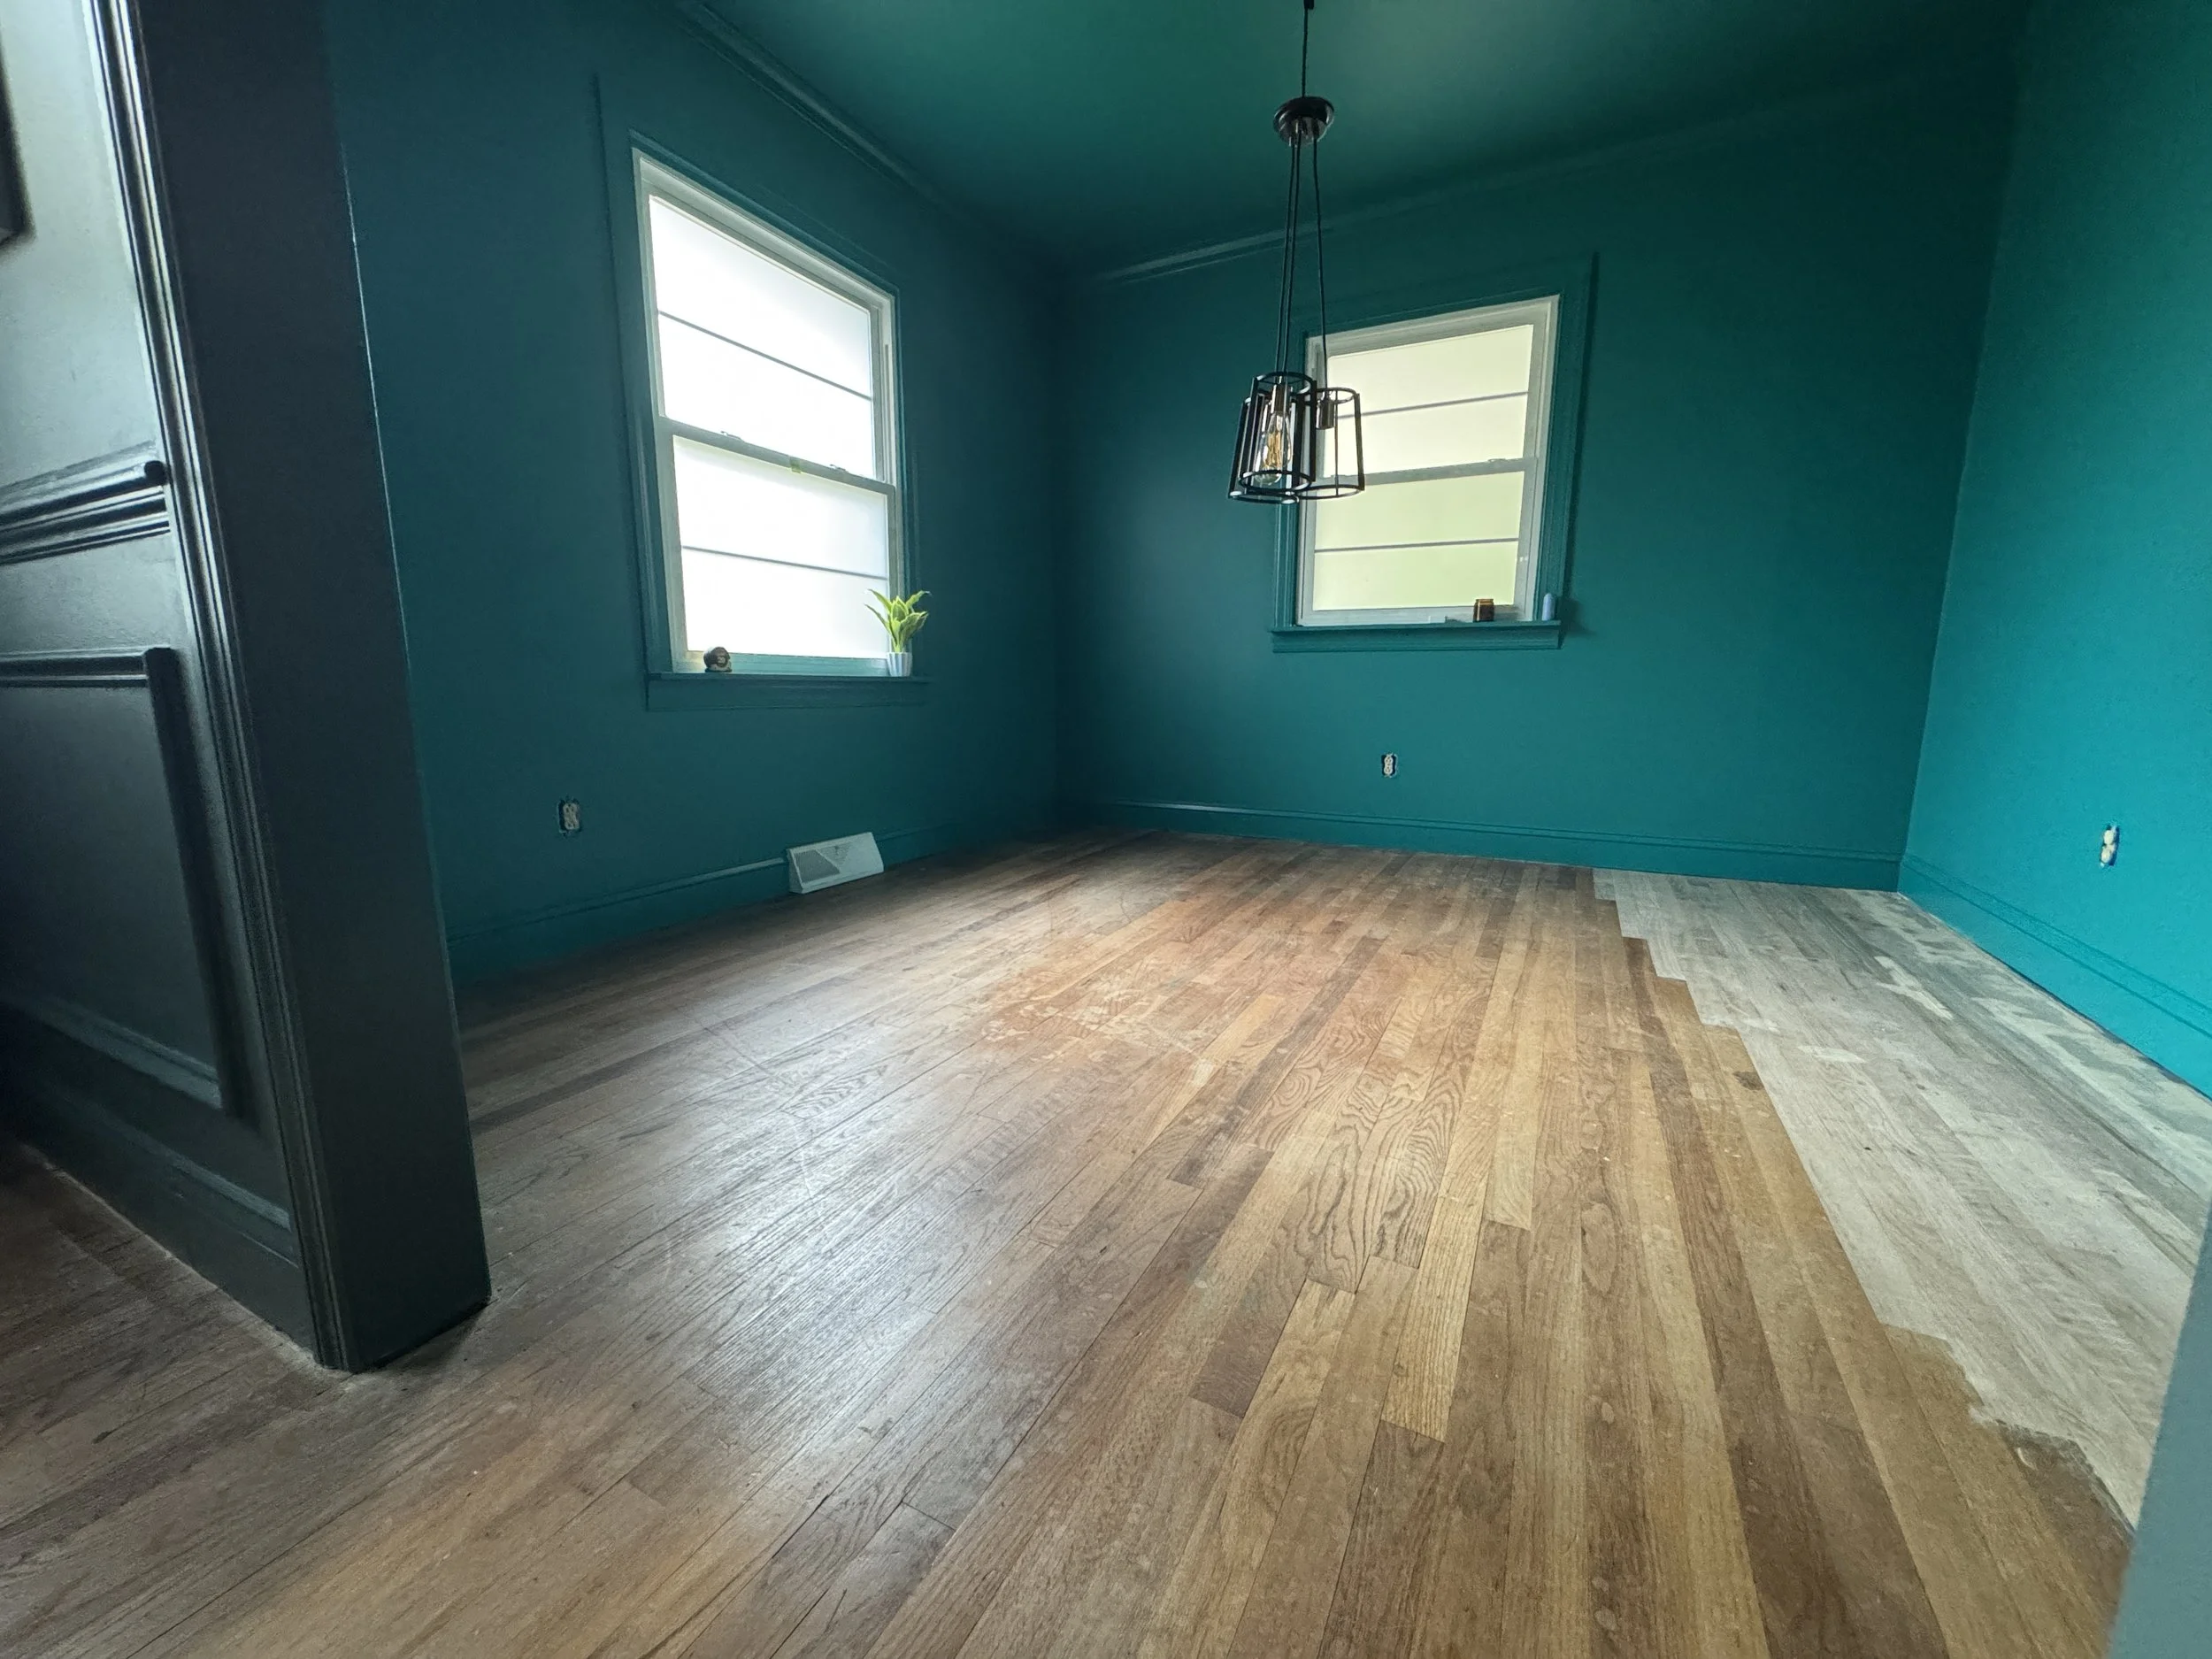
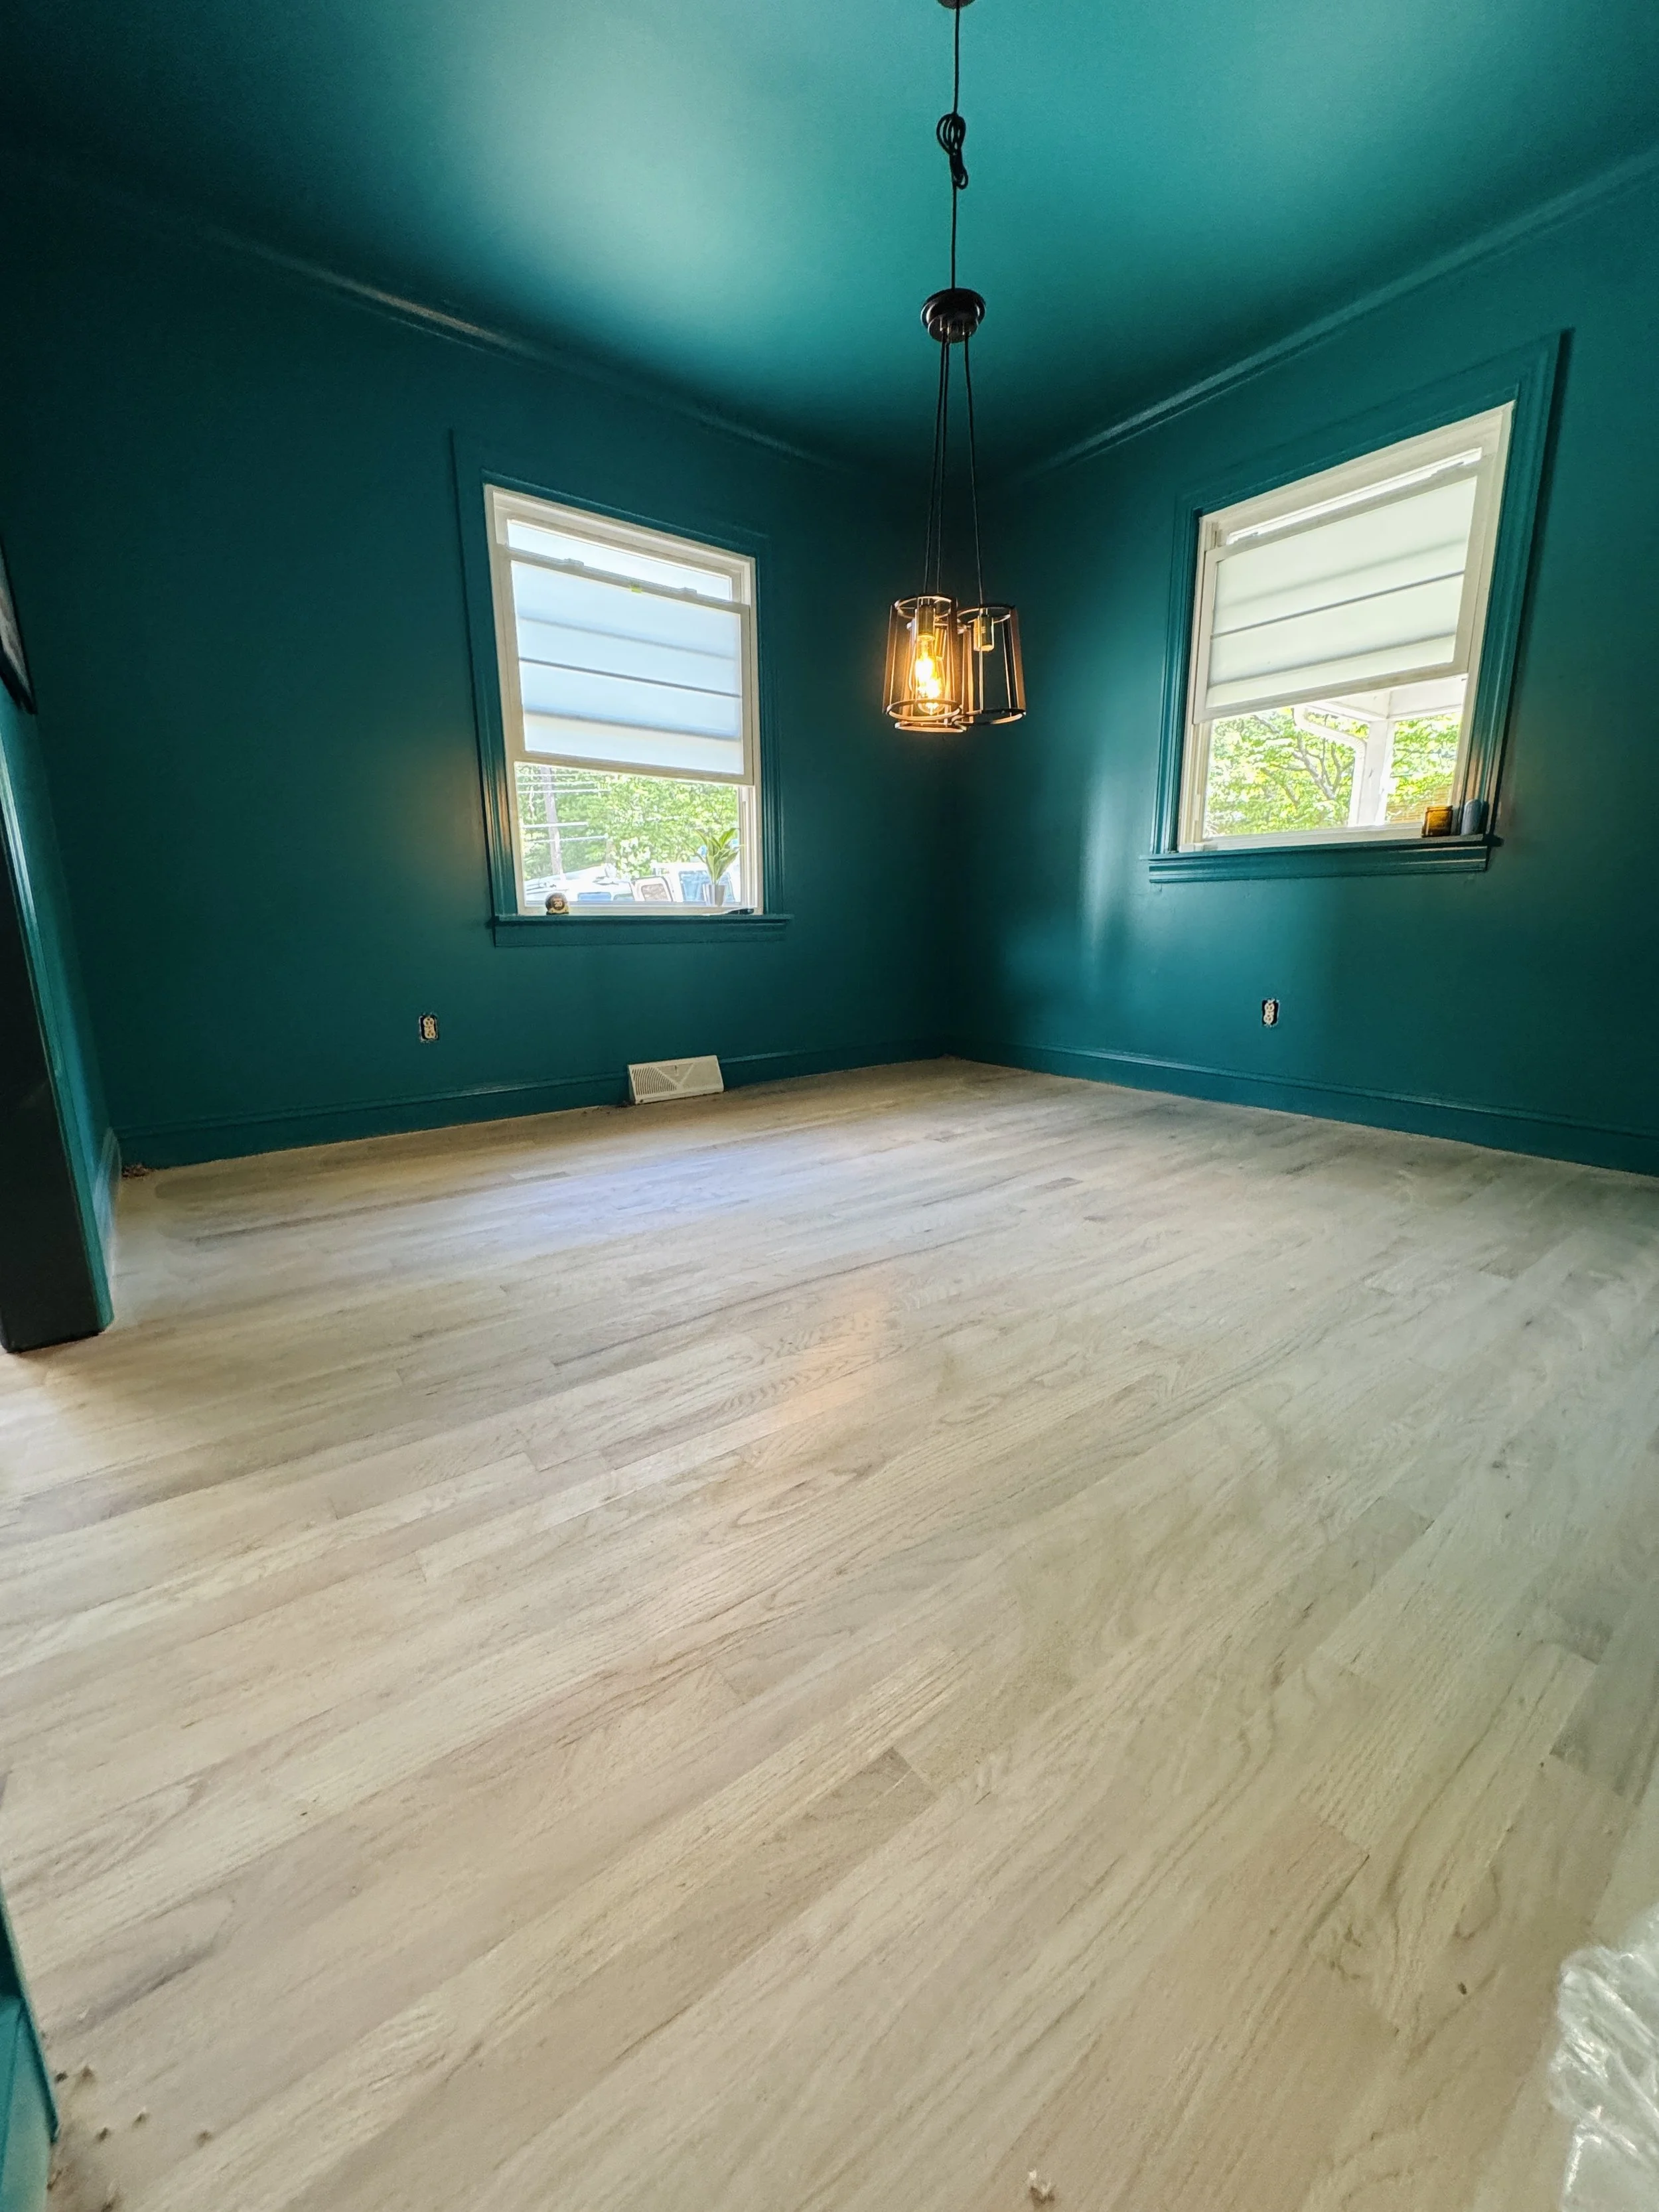
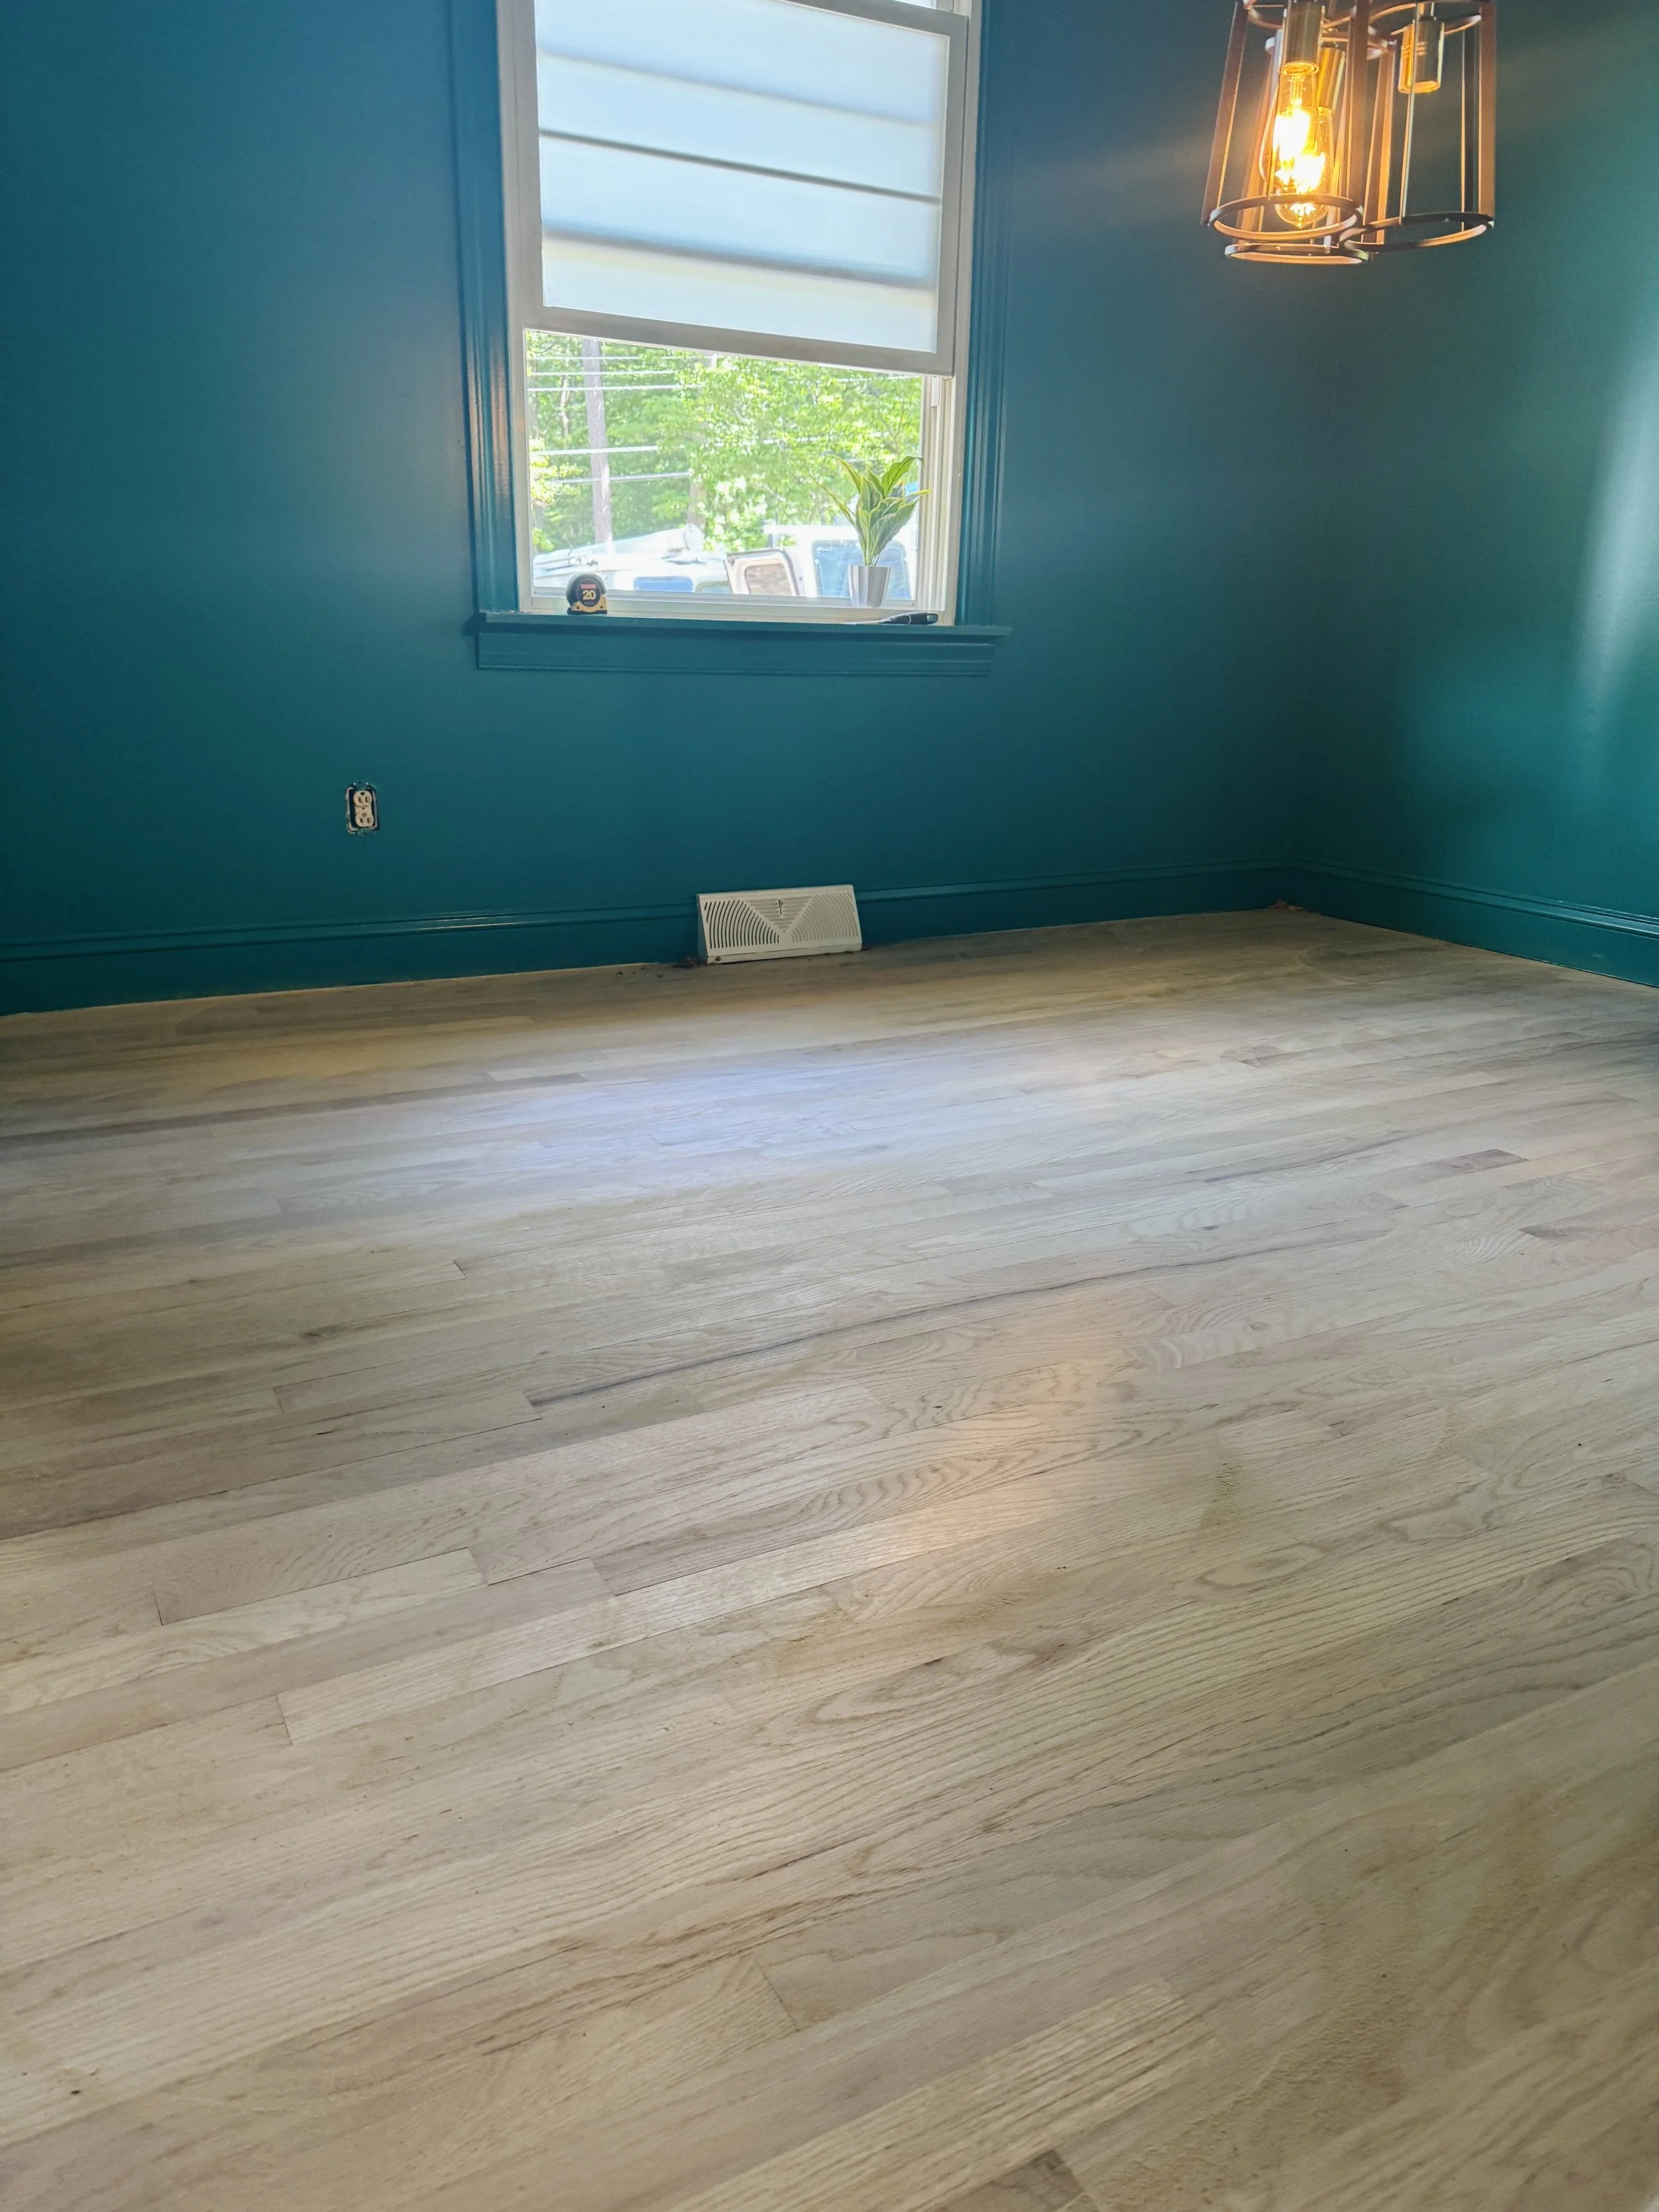
Below are the photos of the floors immediately after the old finish was sanded away. I’ll admit the lighter, raw wood look was tempting to keep, but I remained committed to my original vision: restoring that classic, warm glow that gives the home so much character.
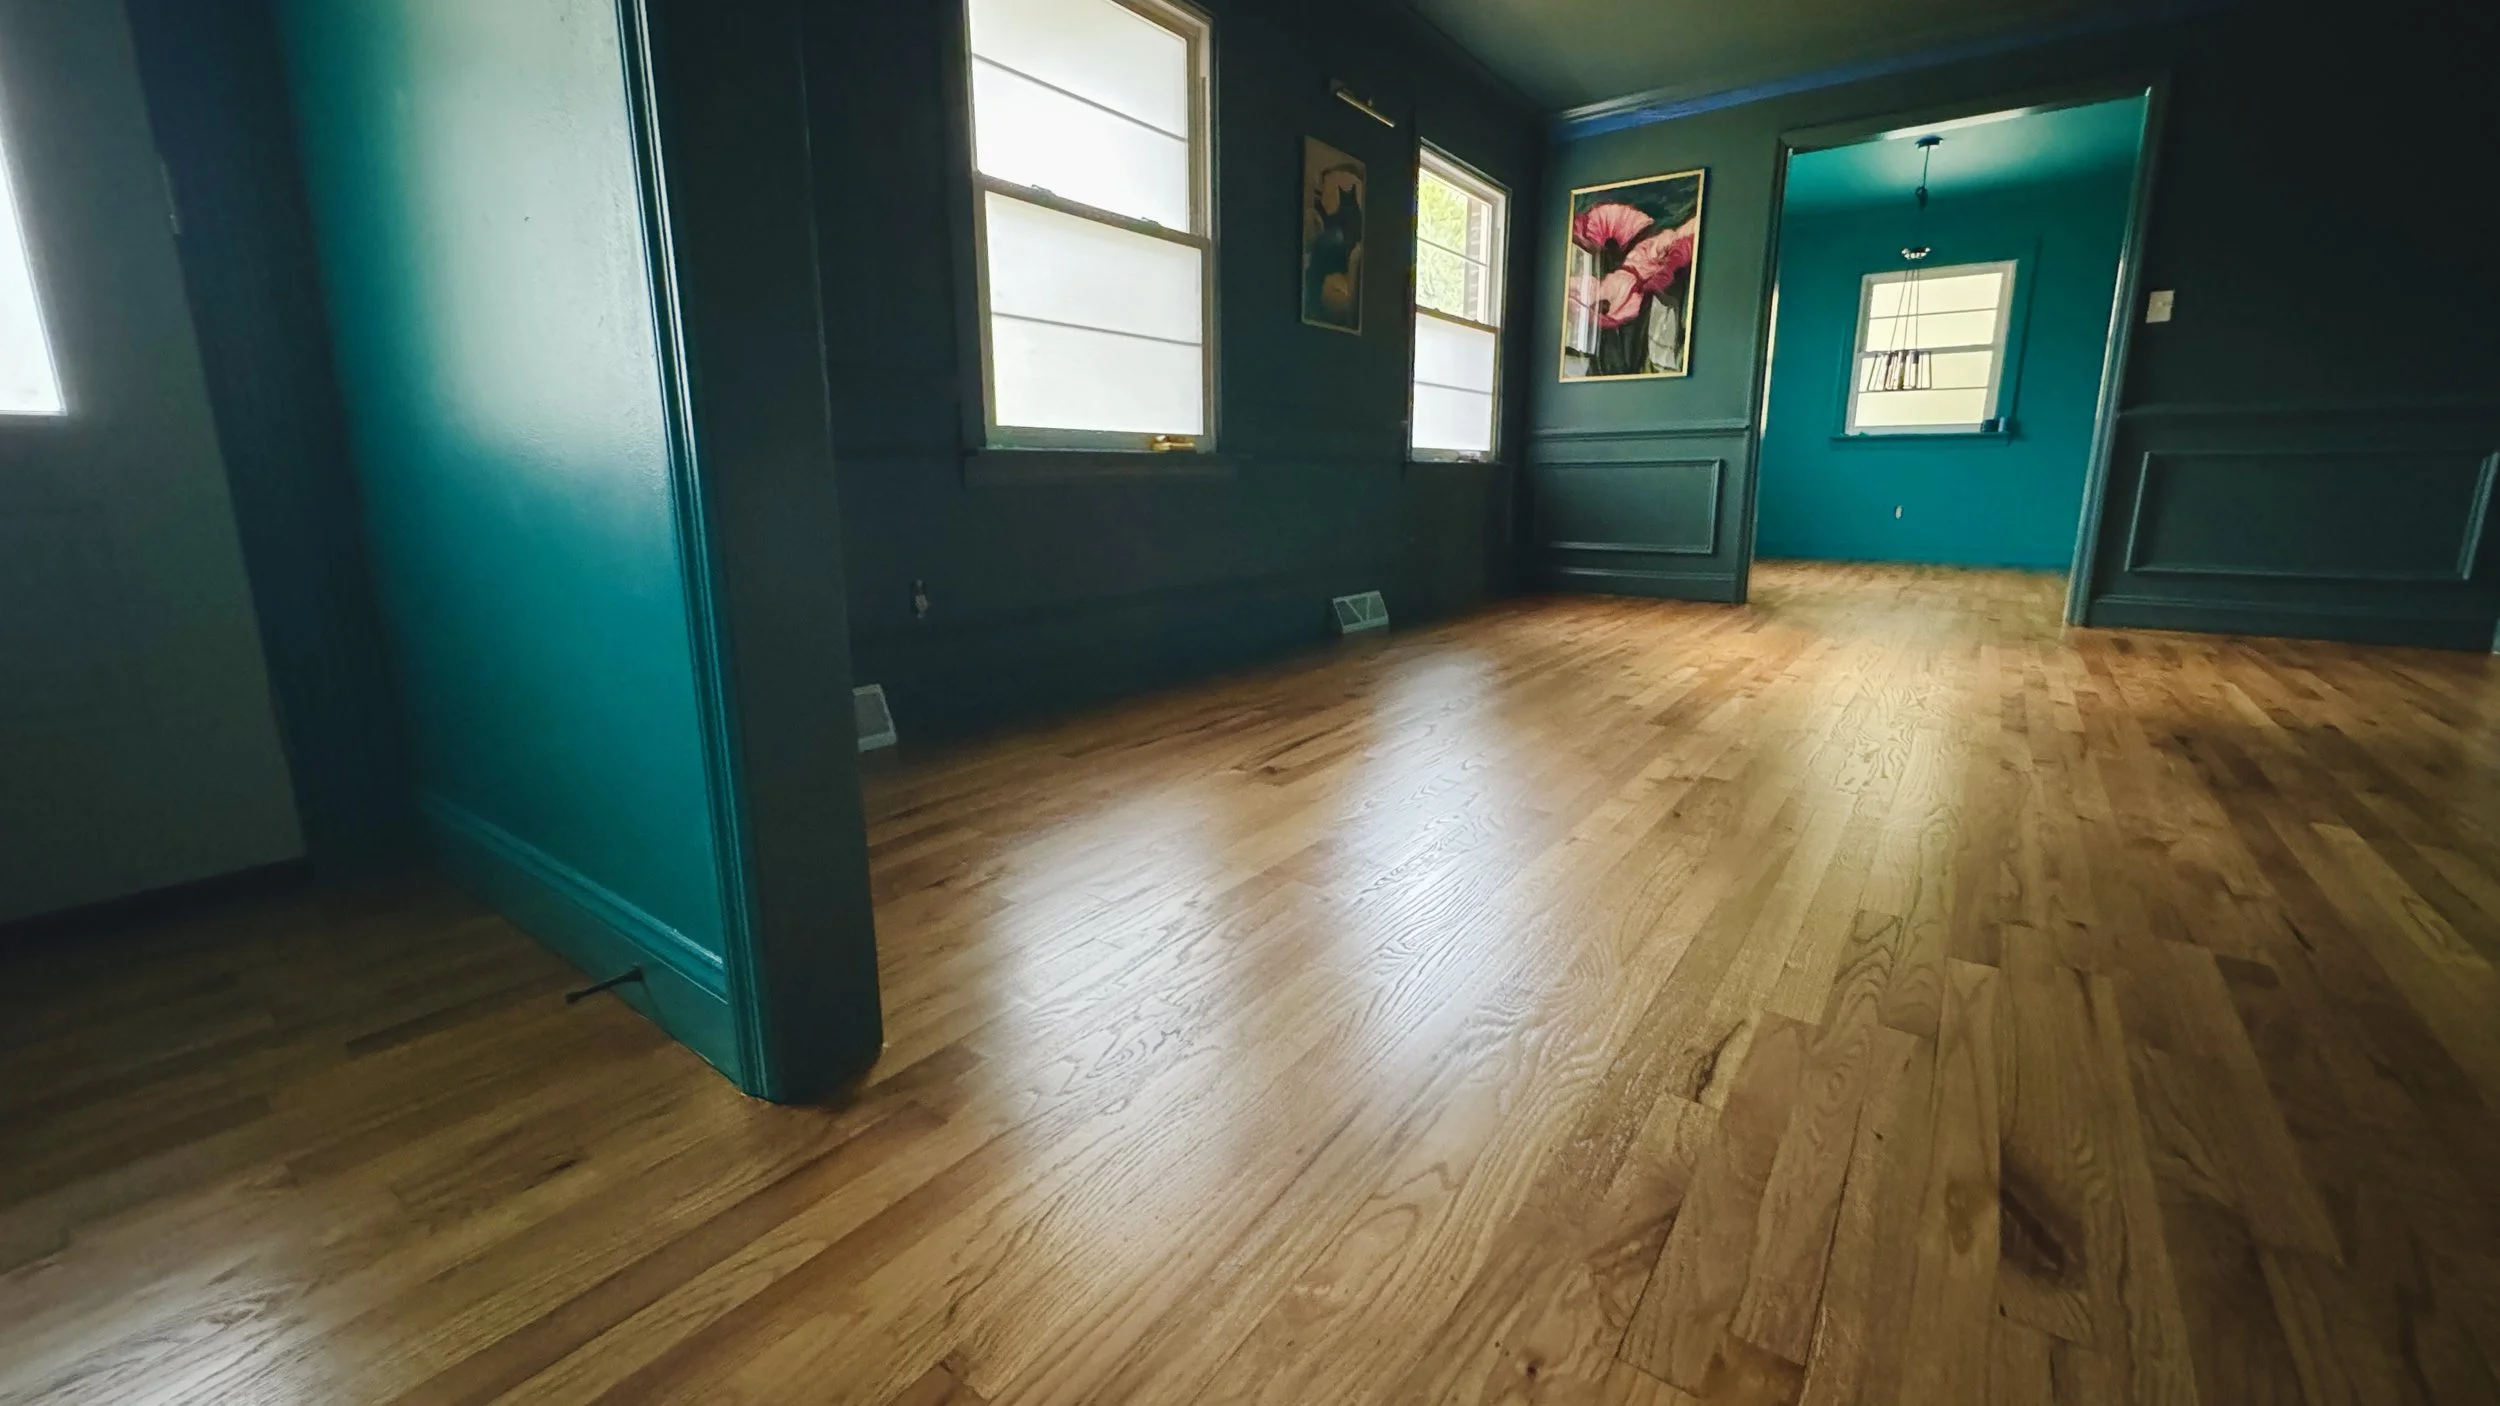
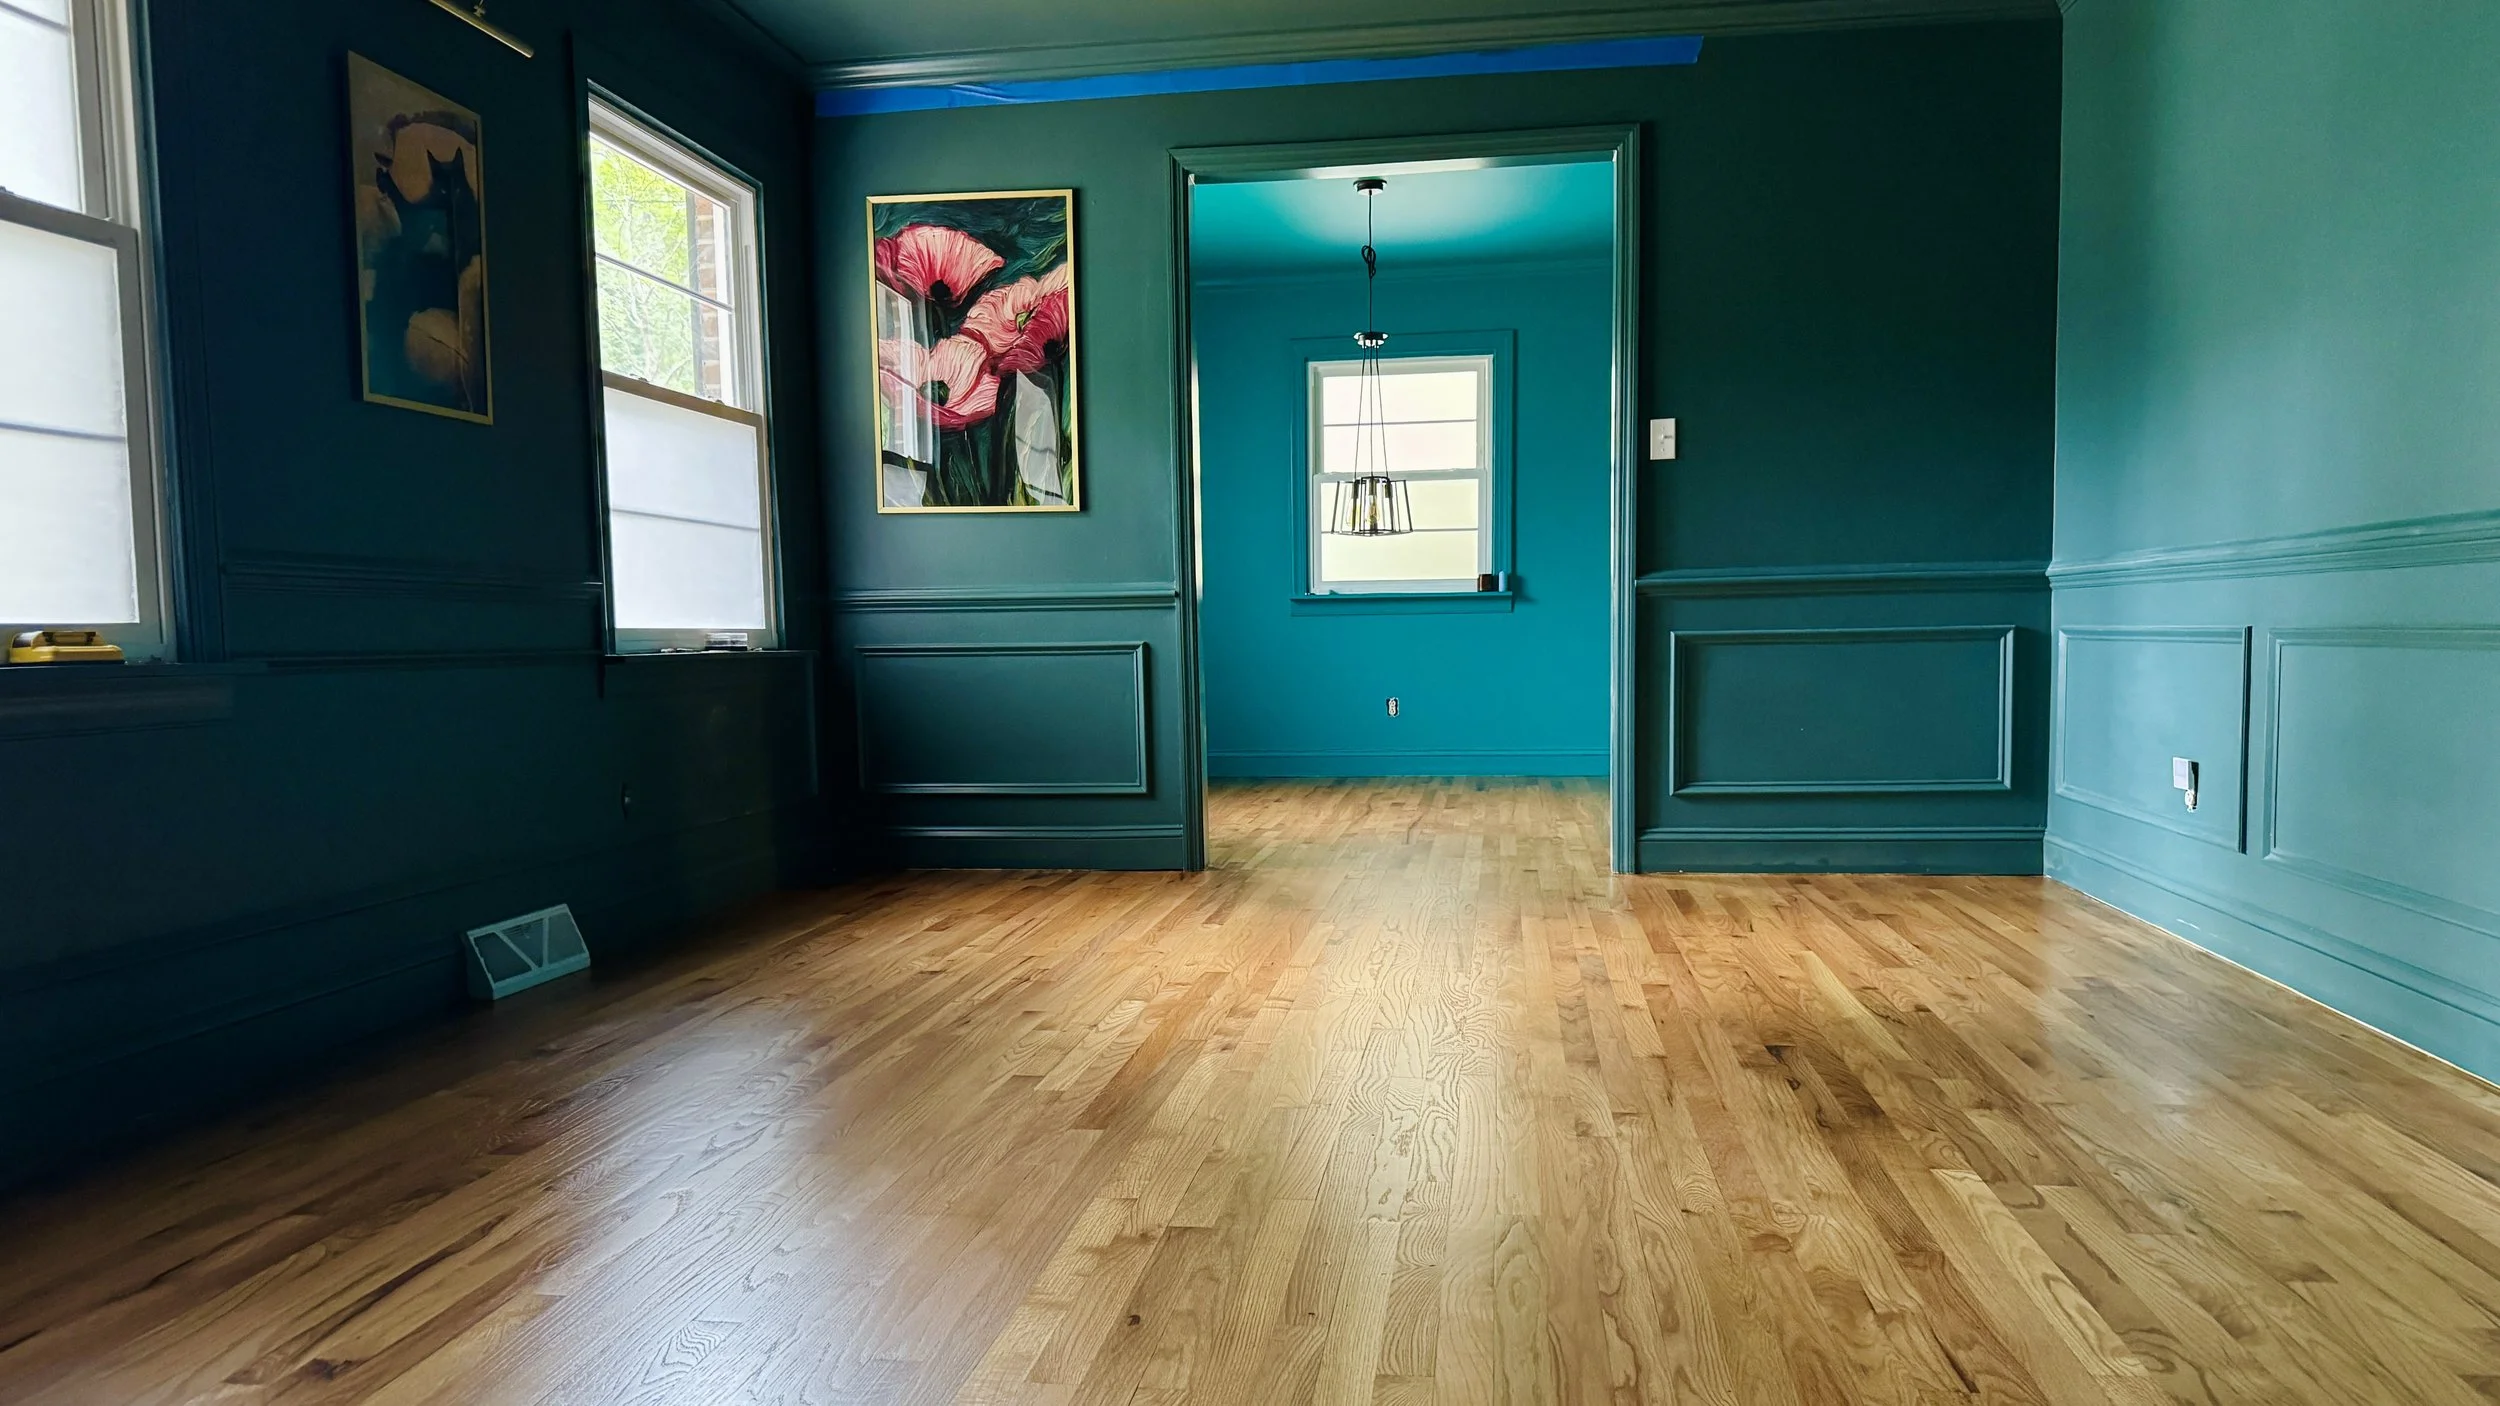
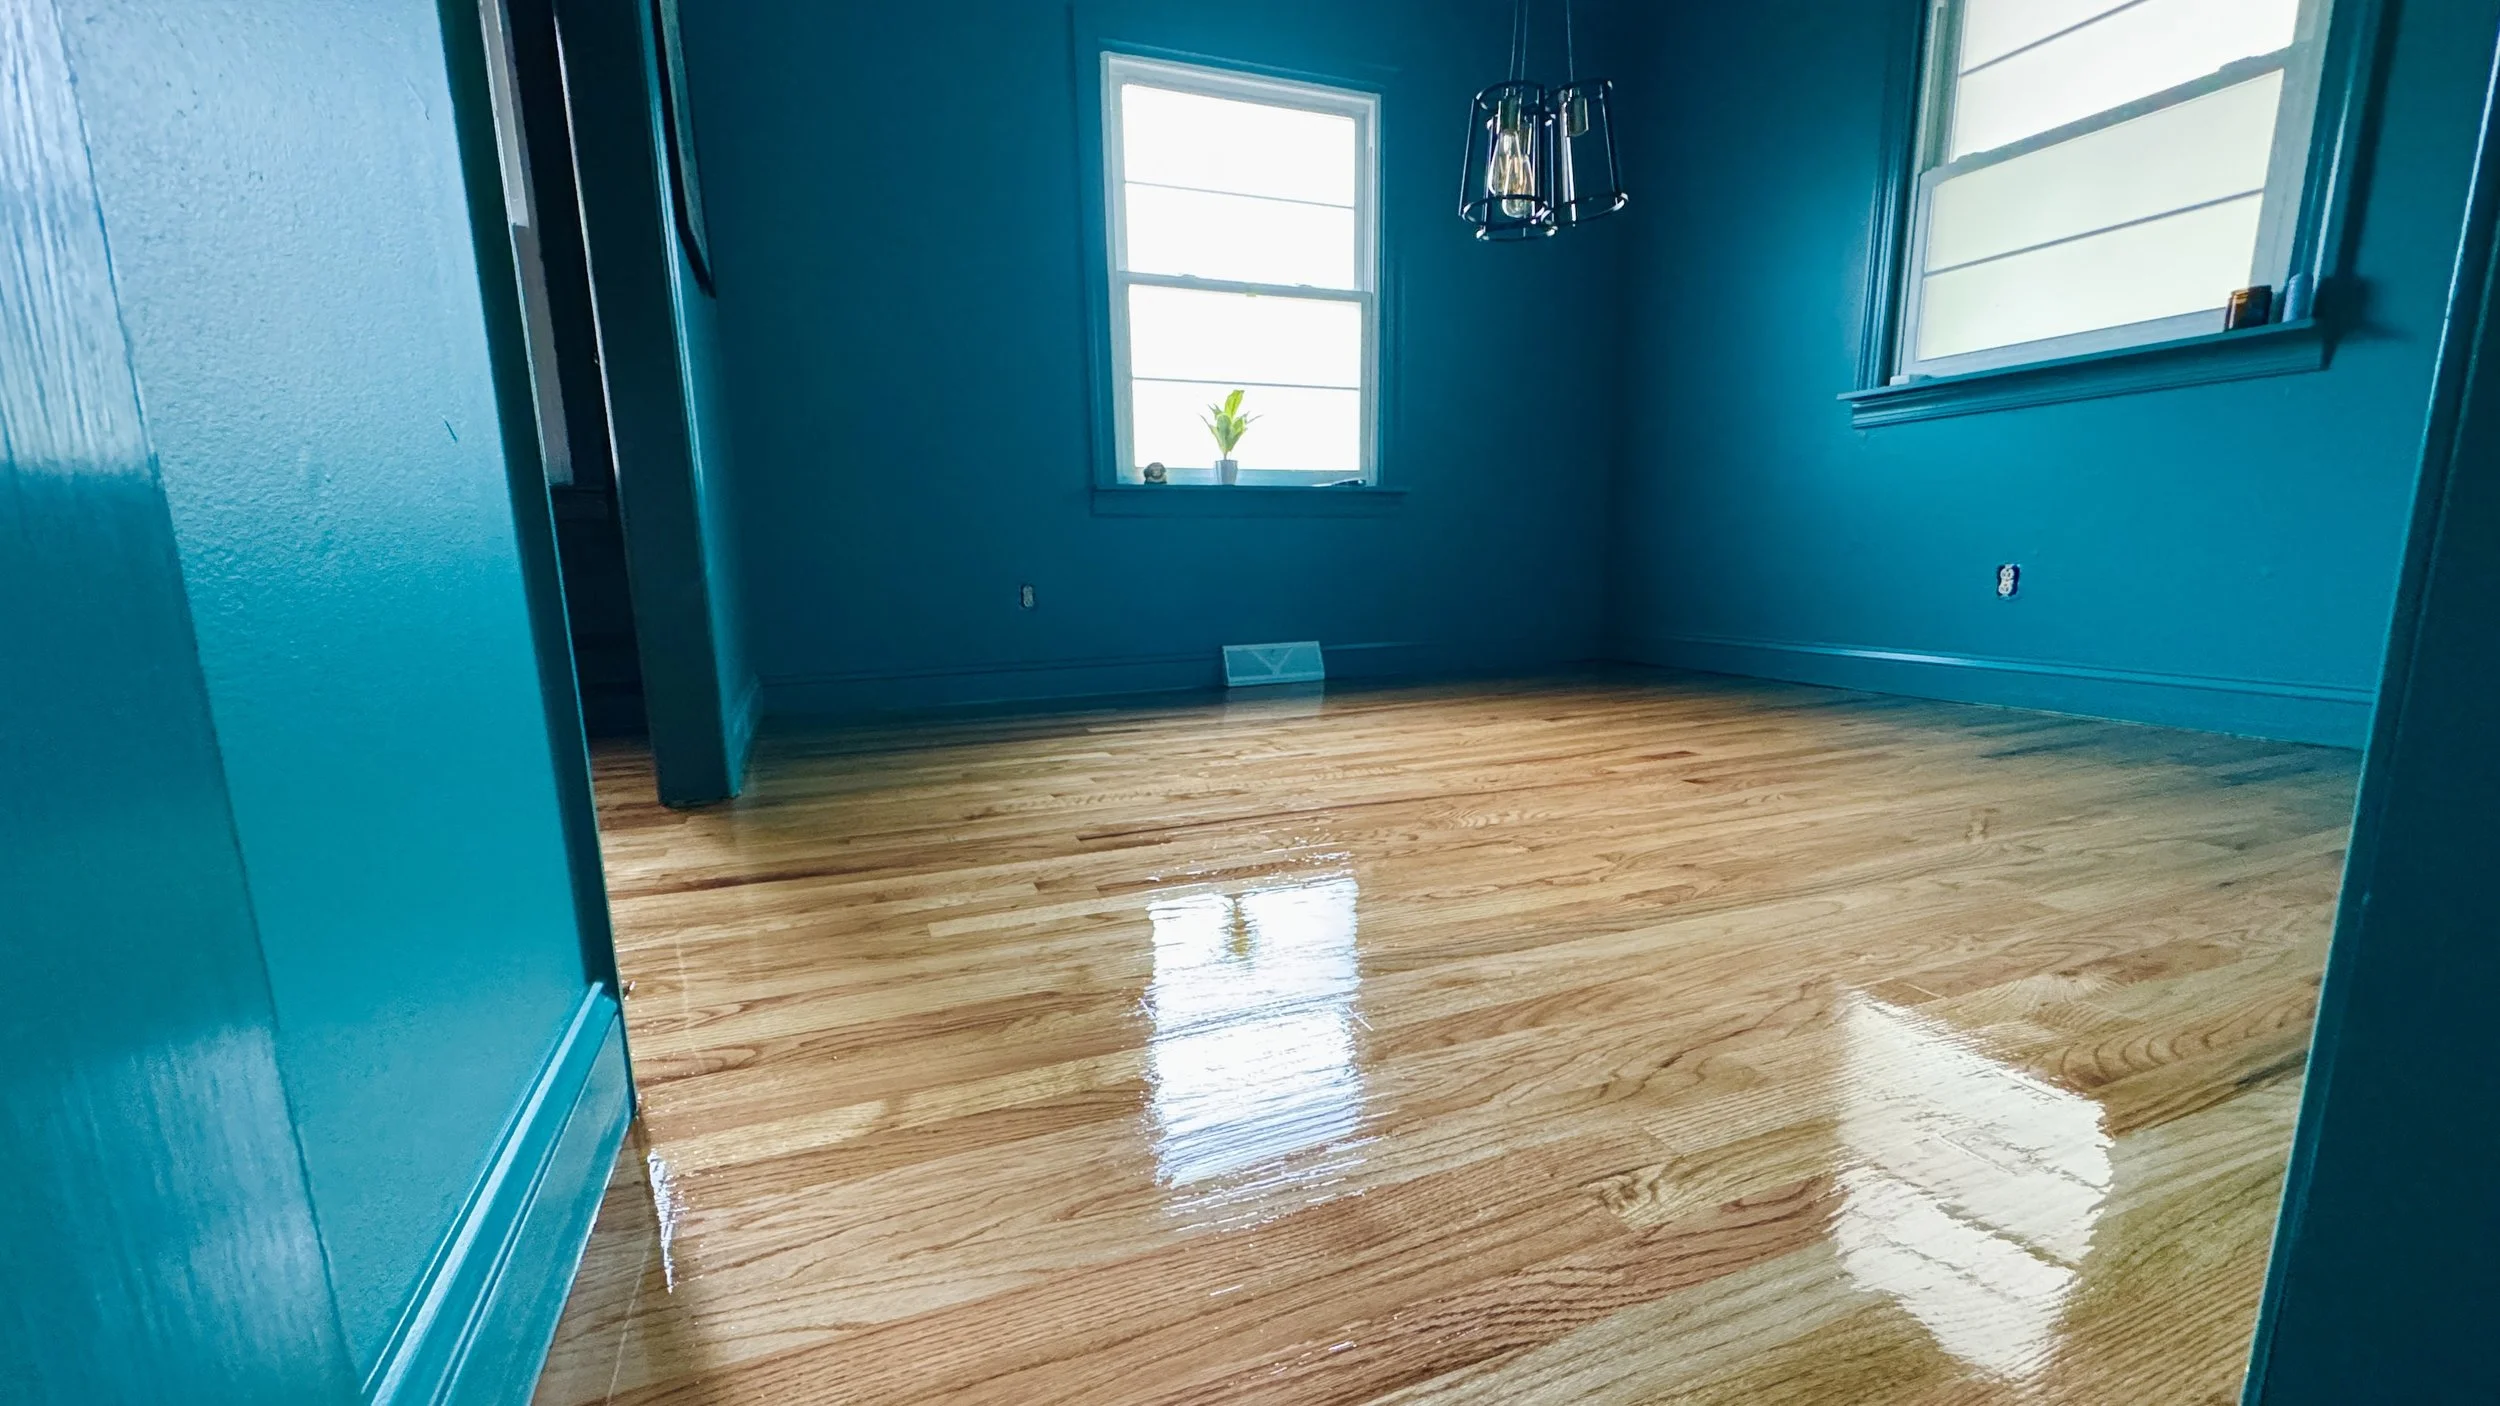
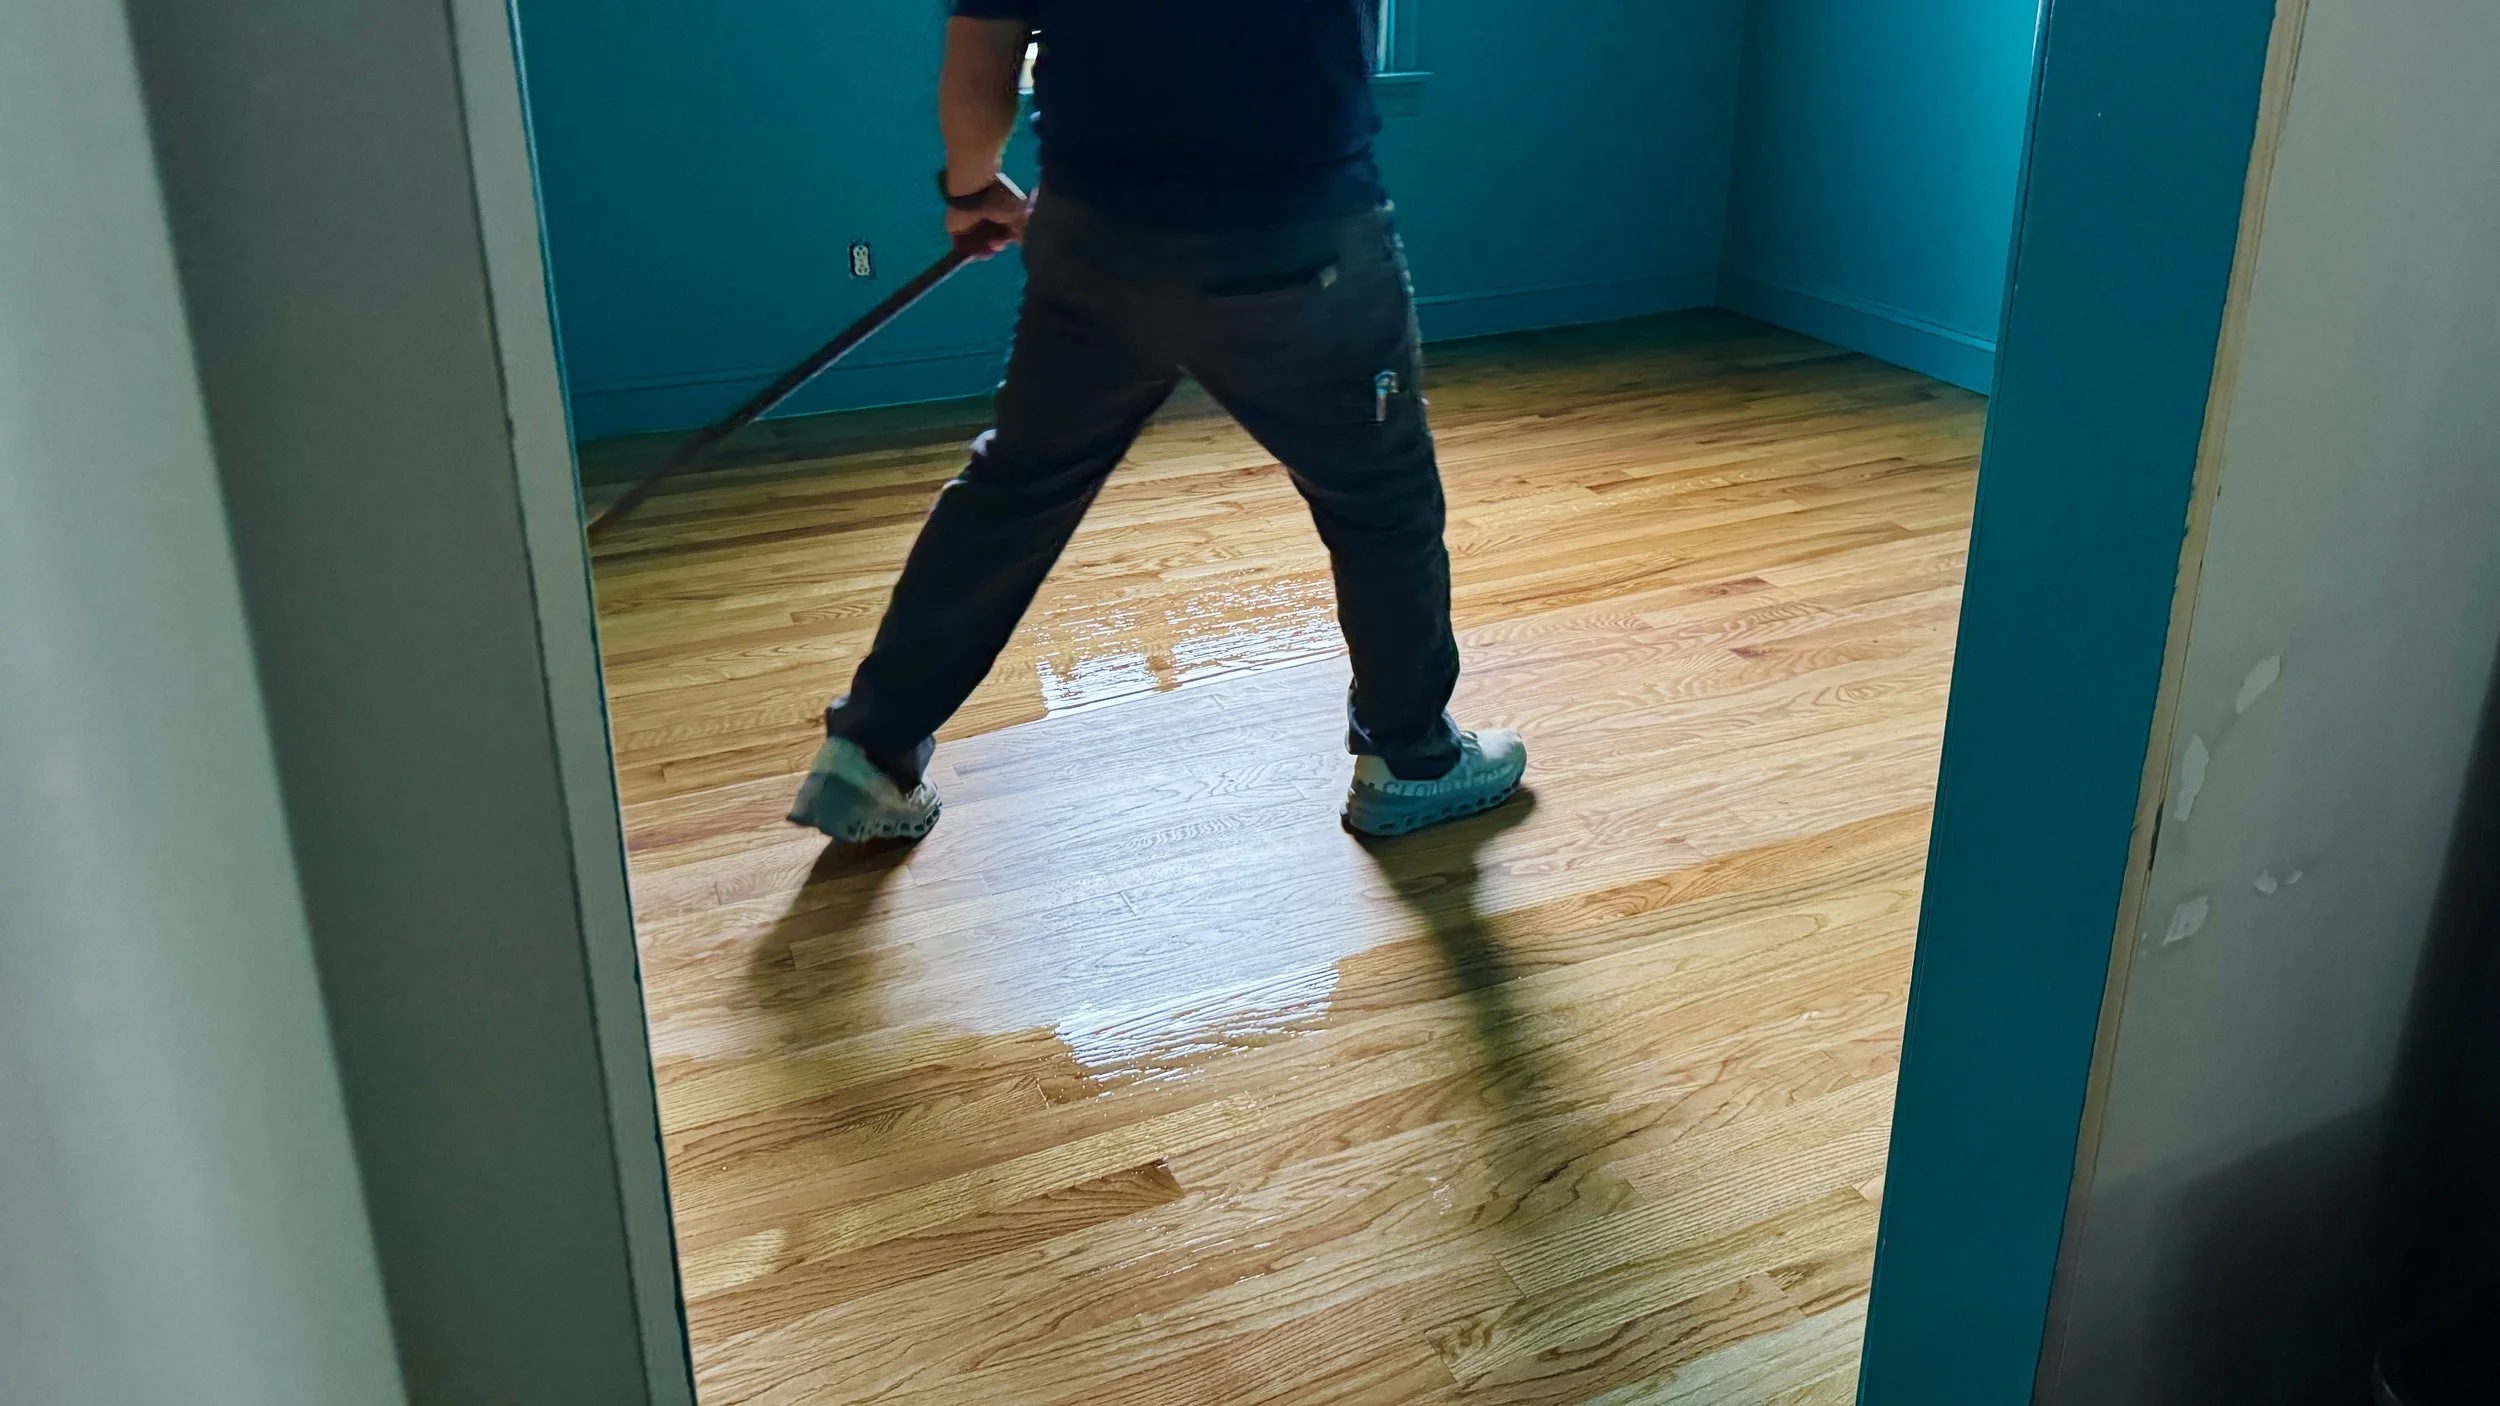
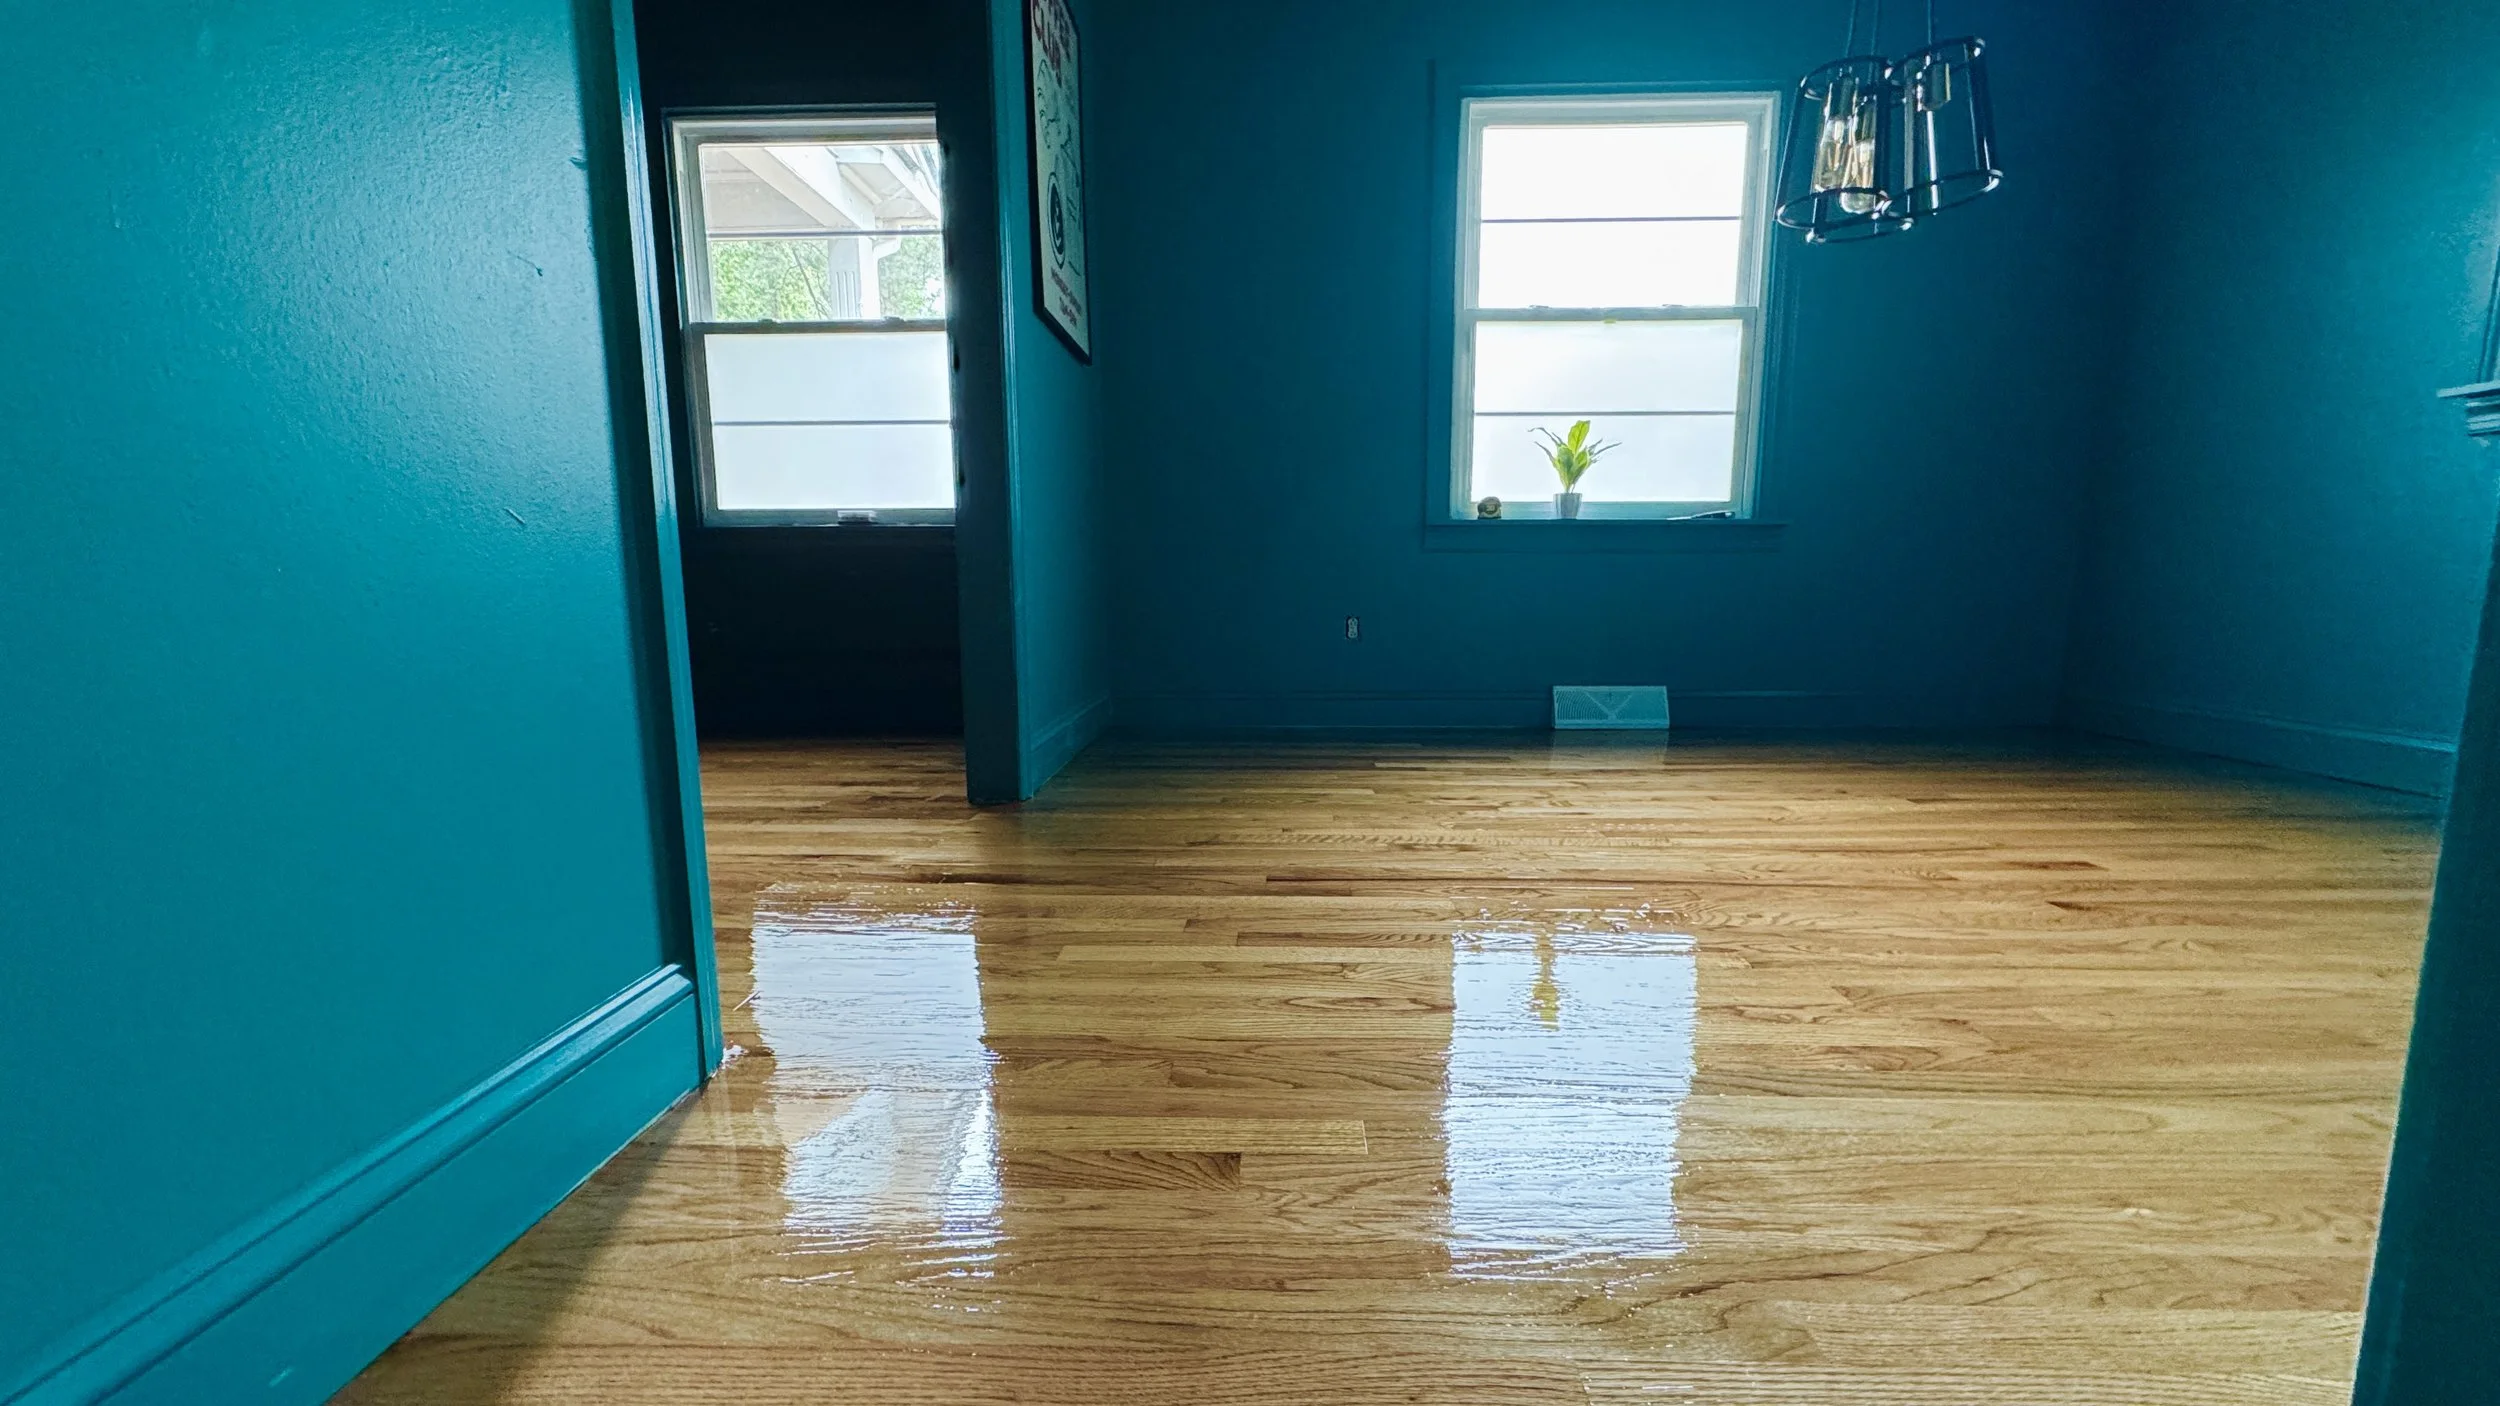
Hardwood Staining and Coating
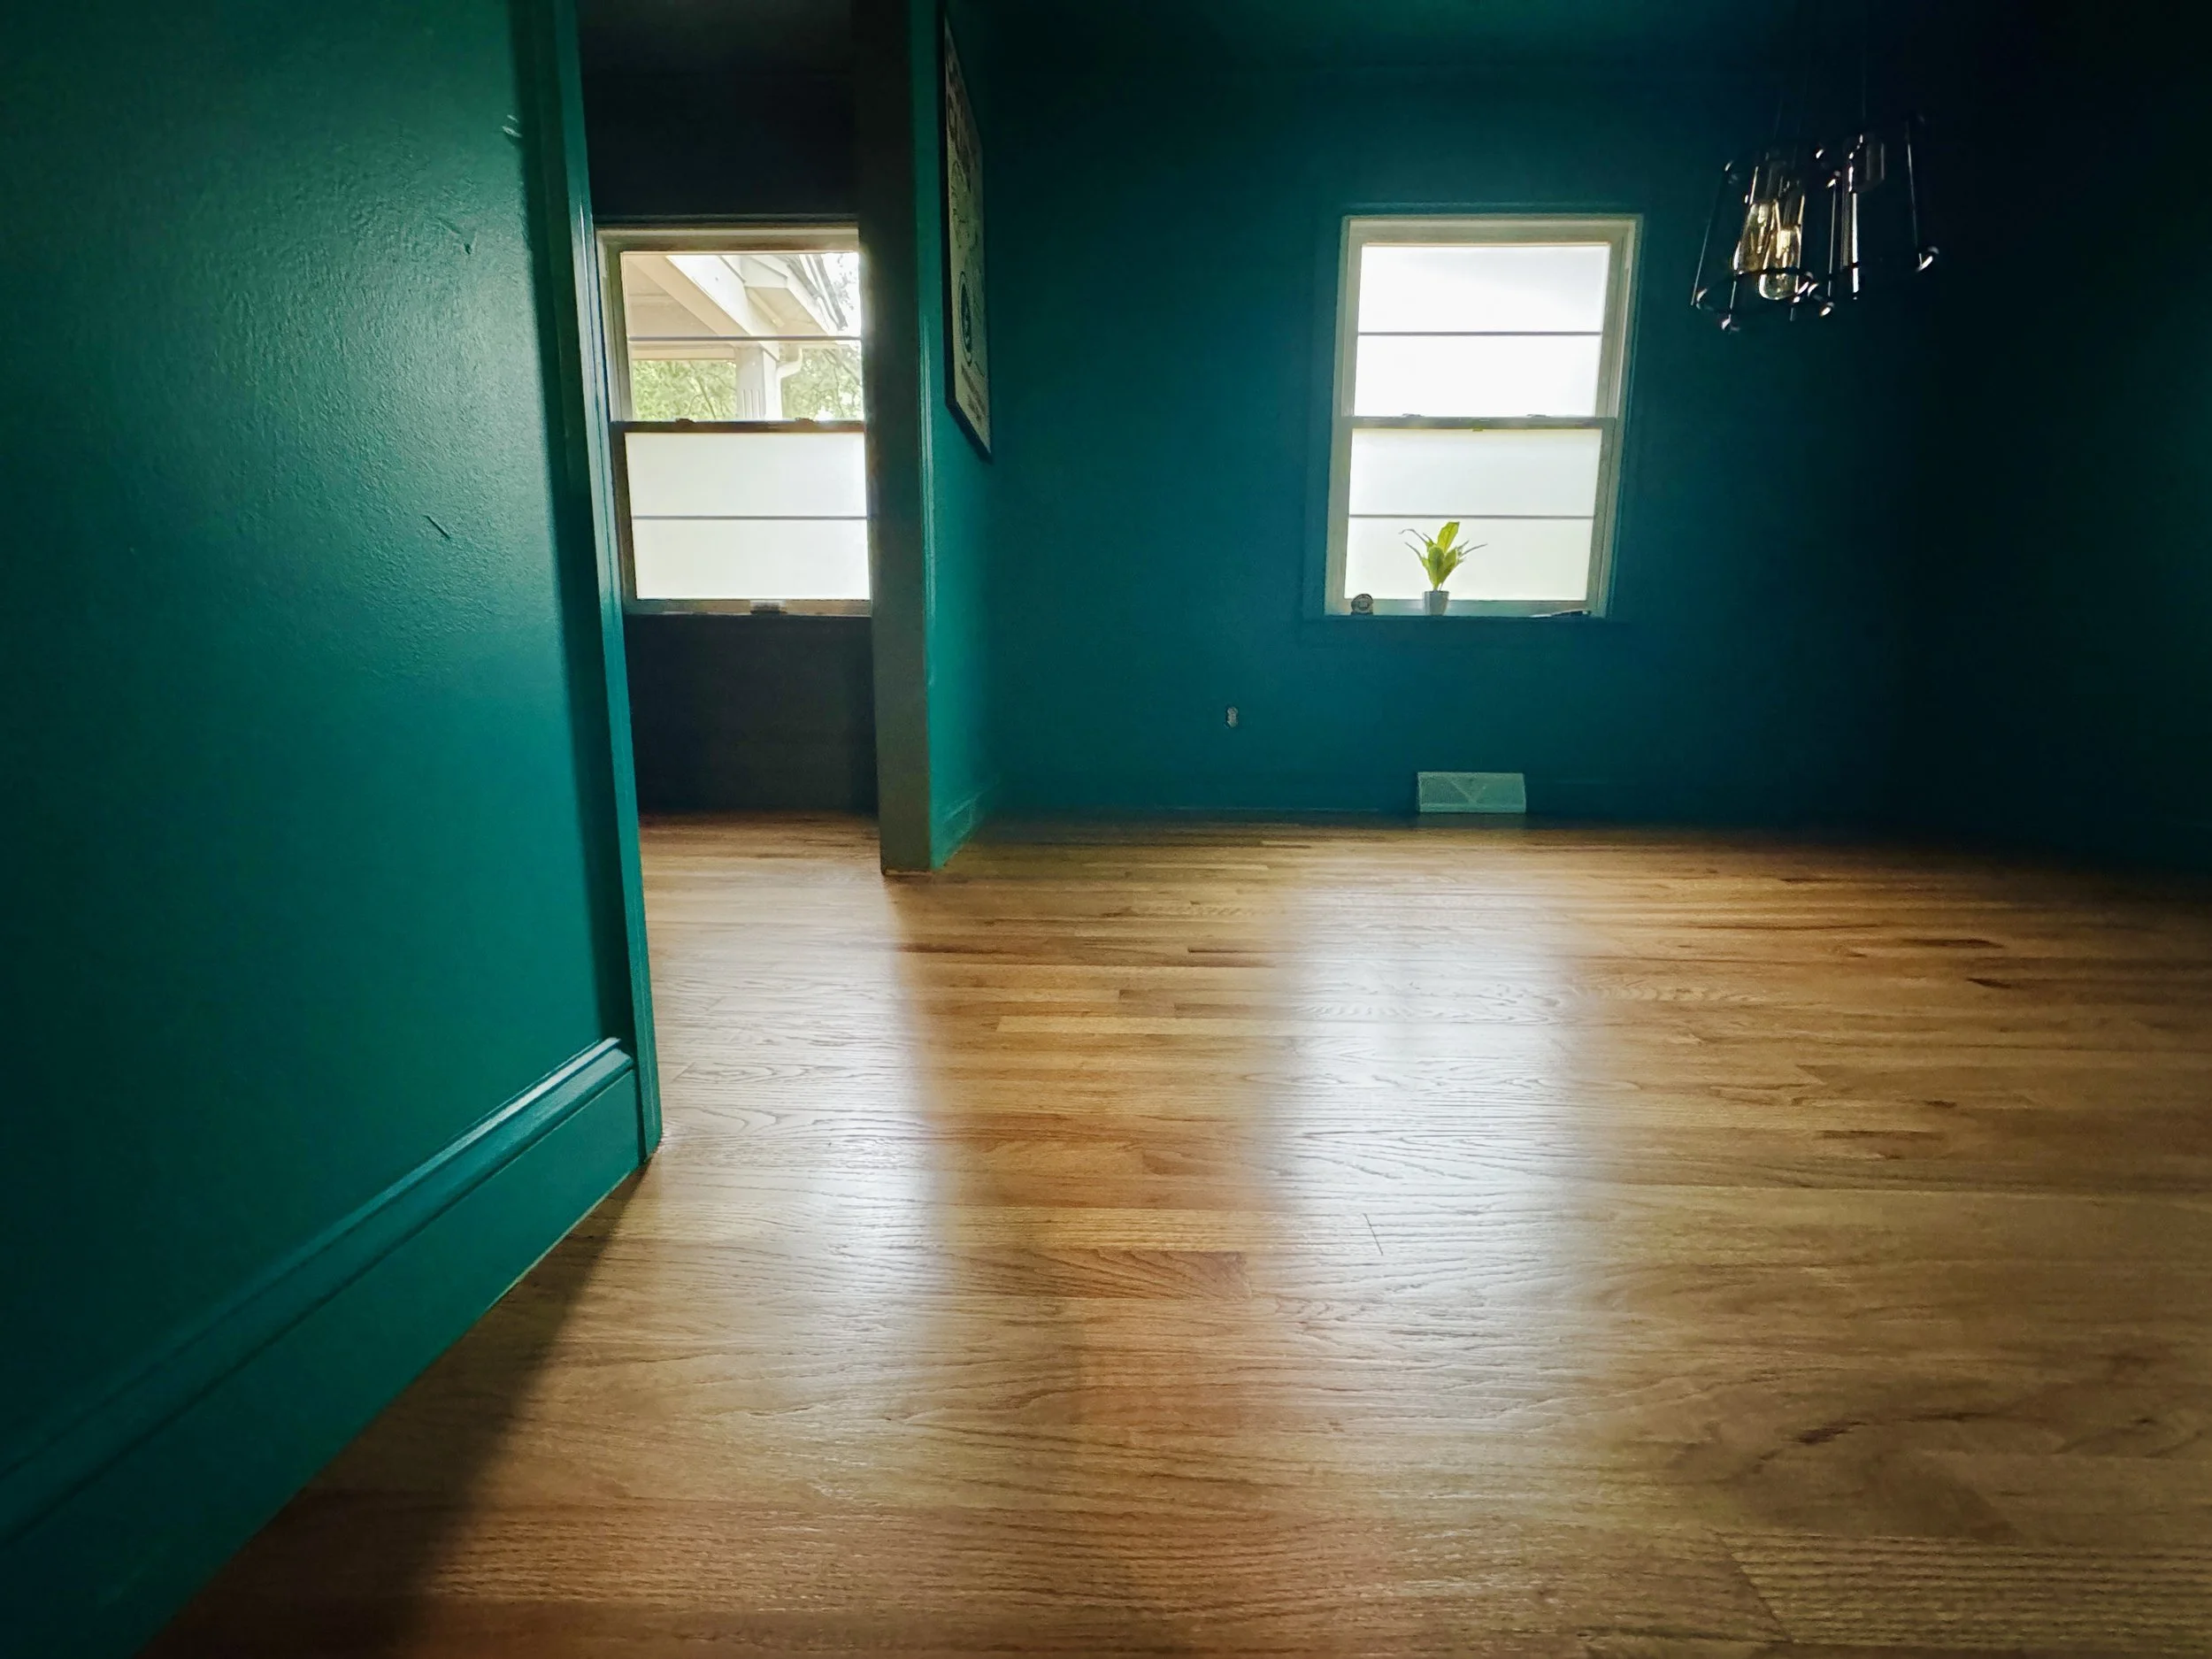
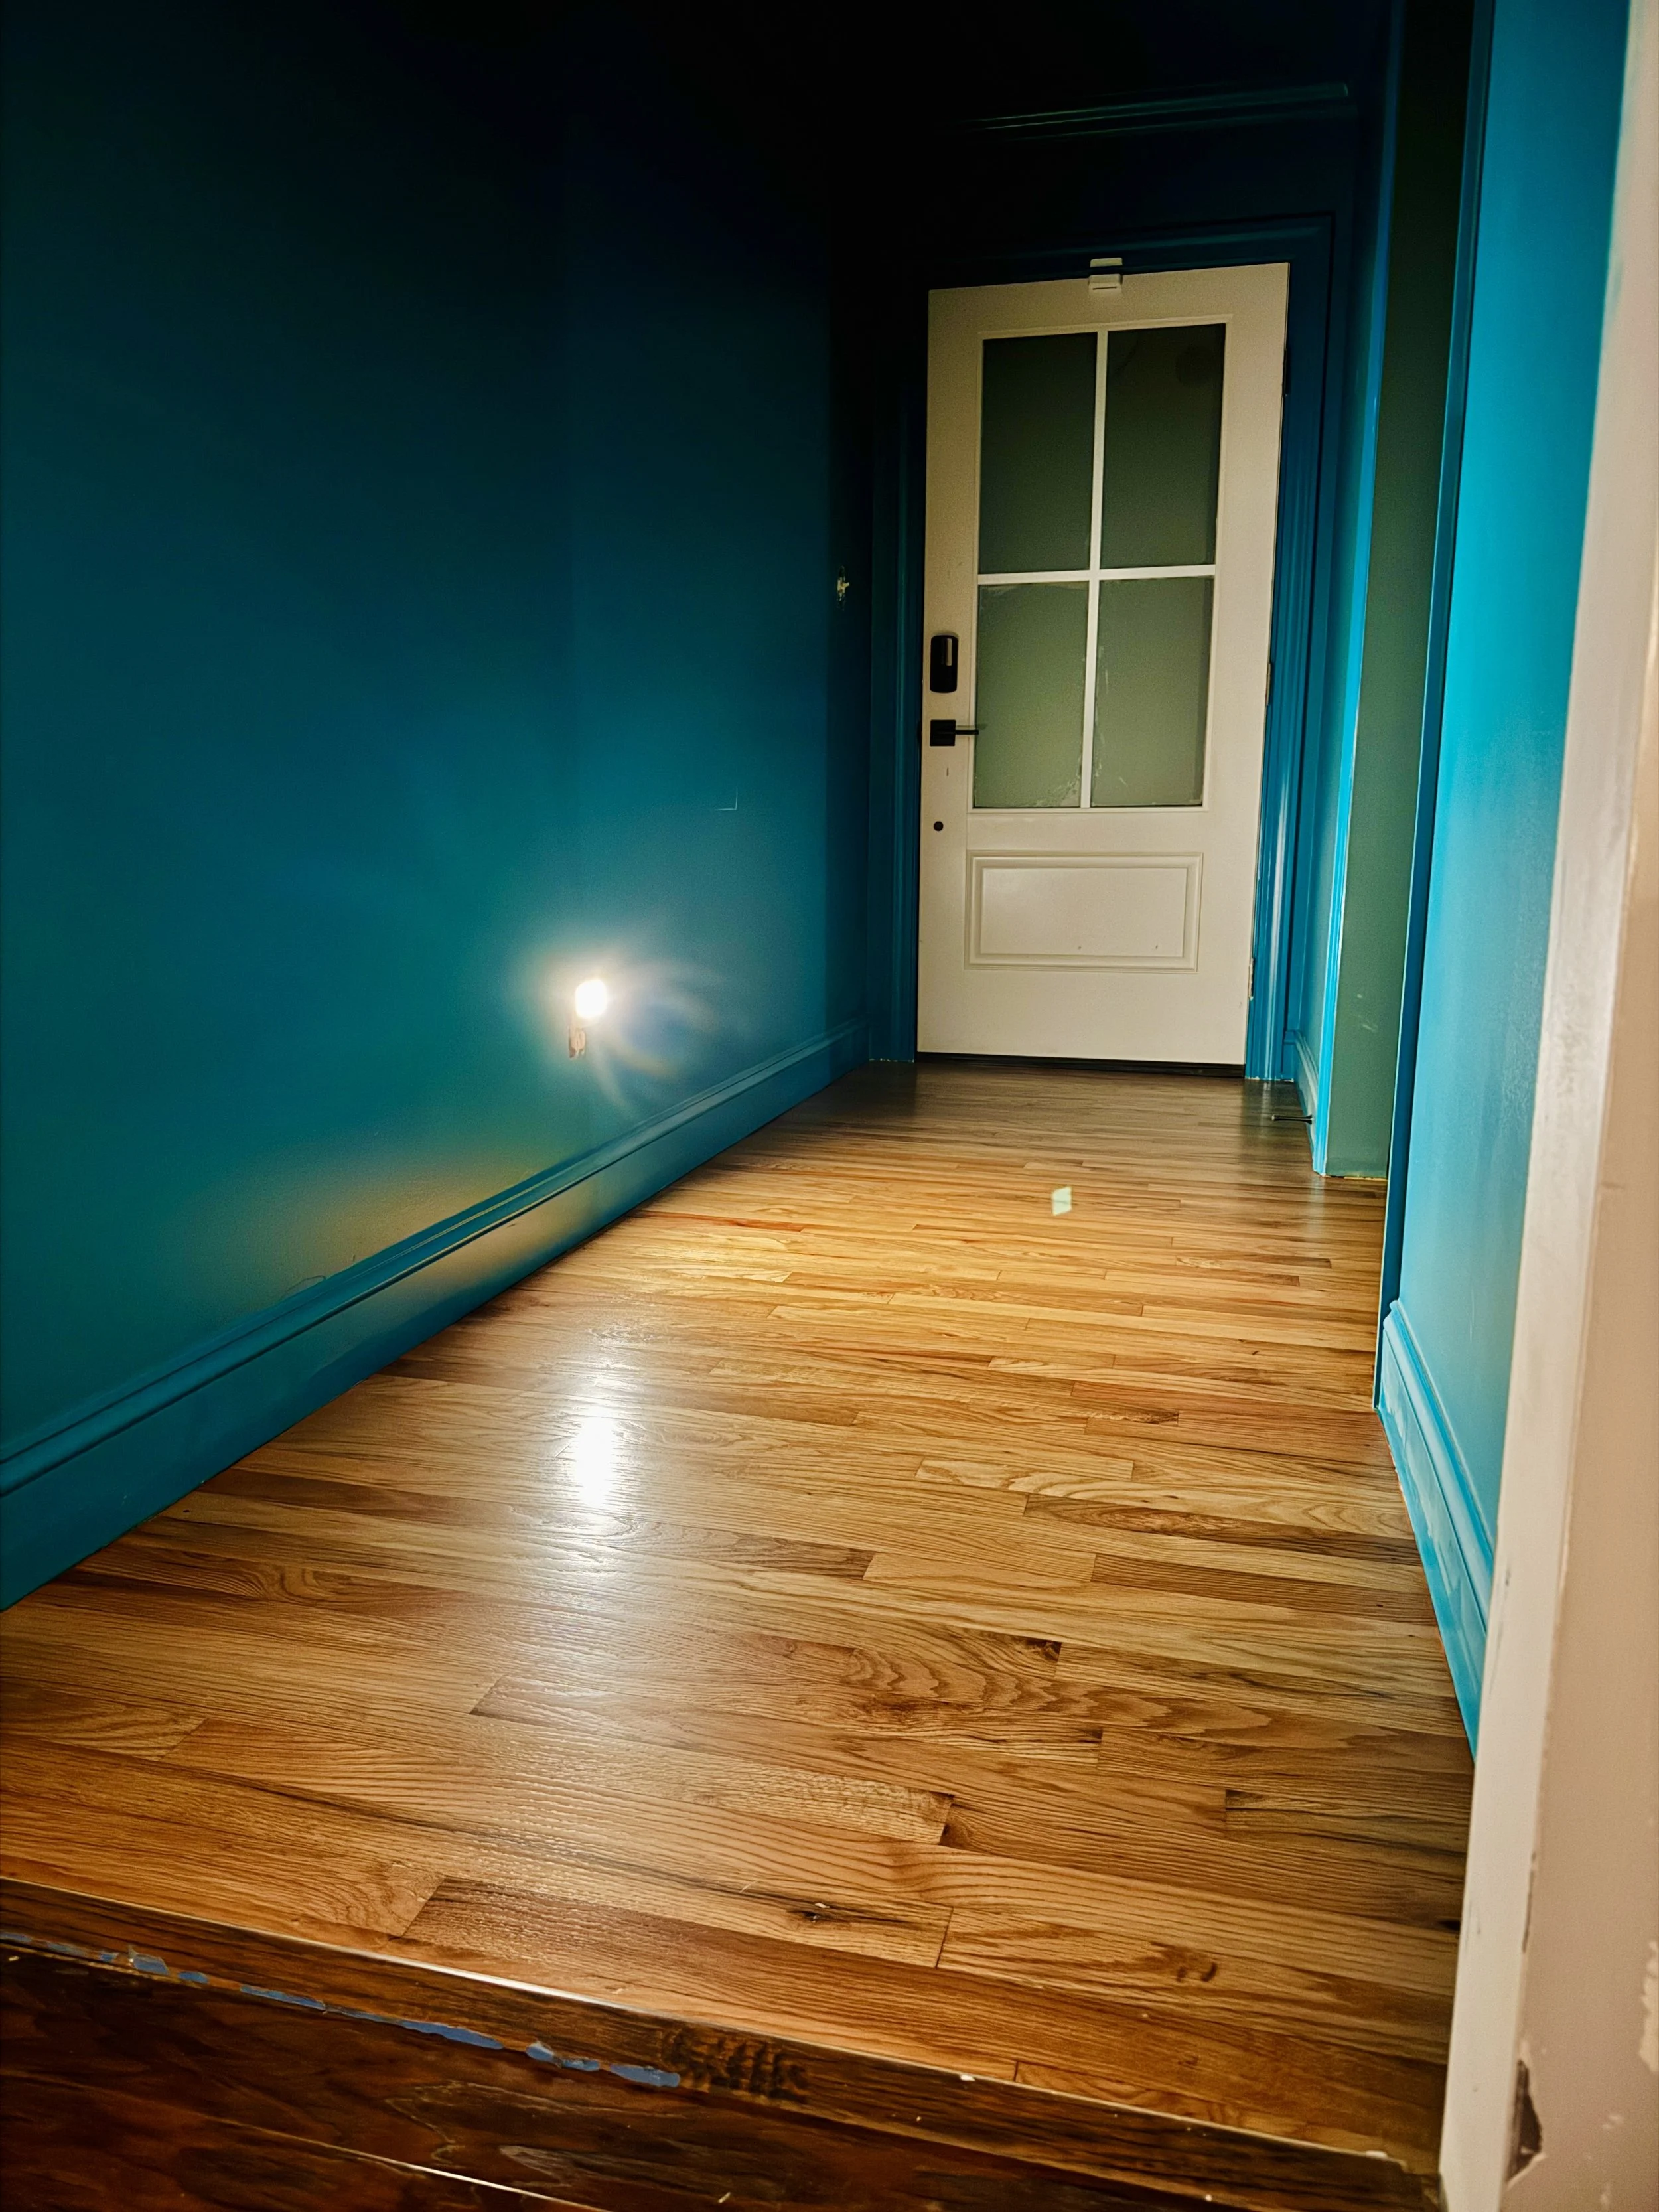
By the end of Day 1, the team had applied a natural stain and the first coat of oil-based polyurethane to the red oak floors. The following gallery documents the progress from Day 1 through Day 3, as the team returned every 24 hours to build up the finish for a total of 3 poly coats.
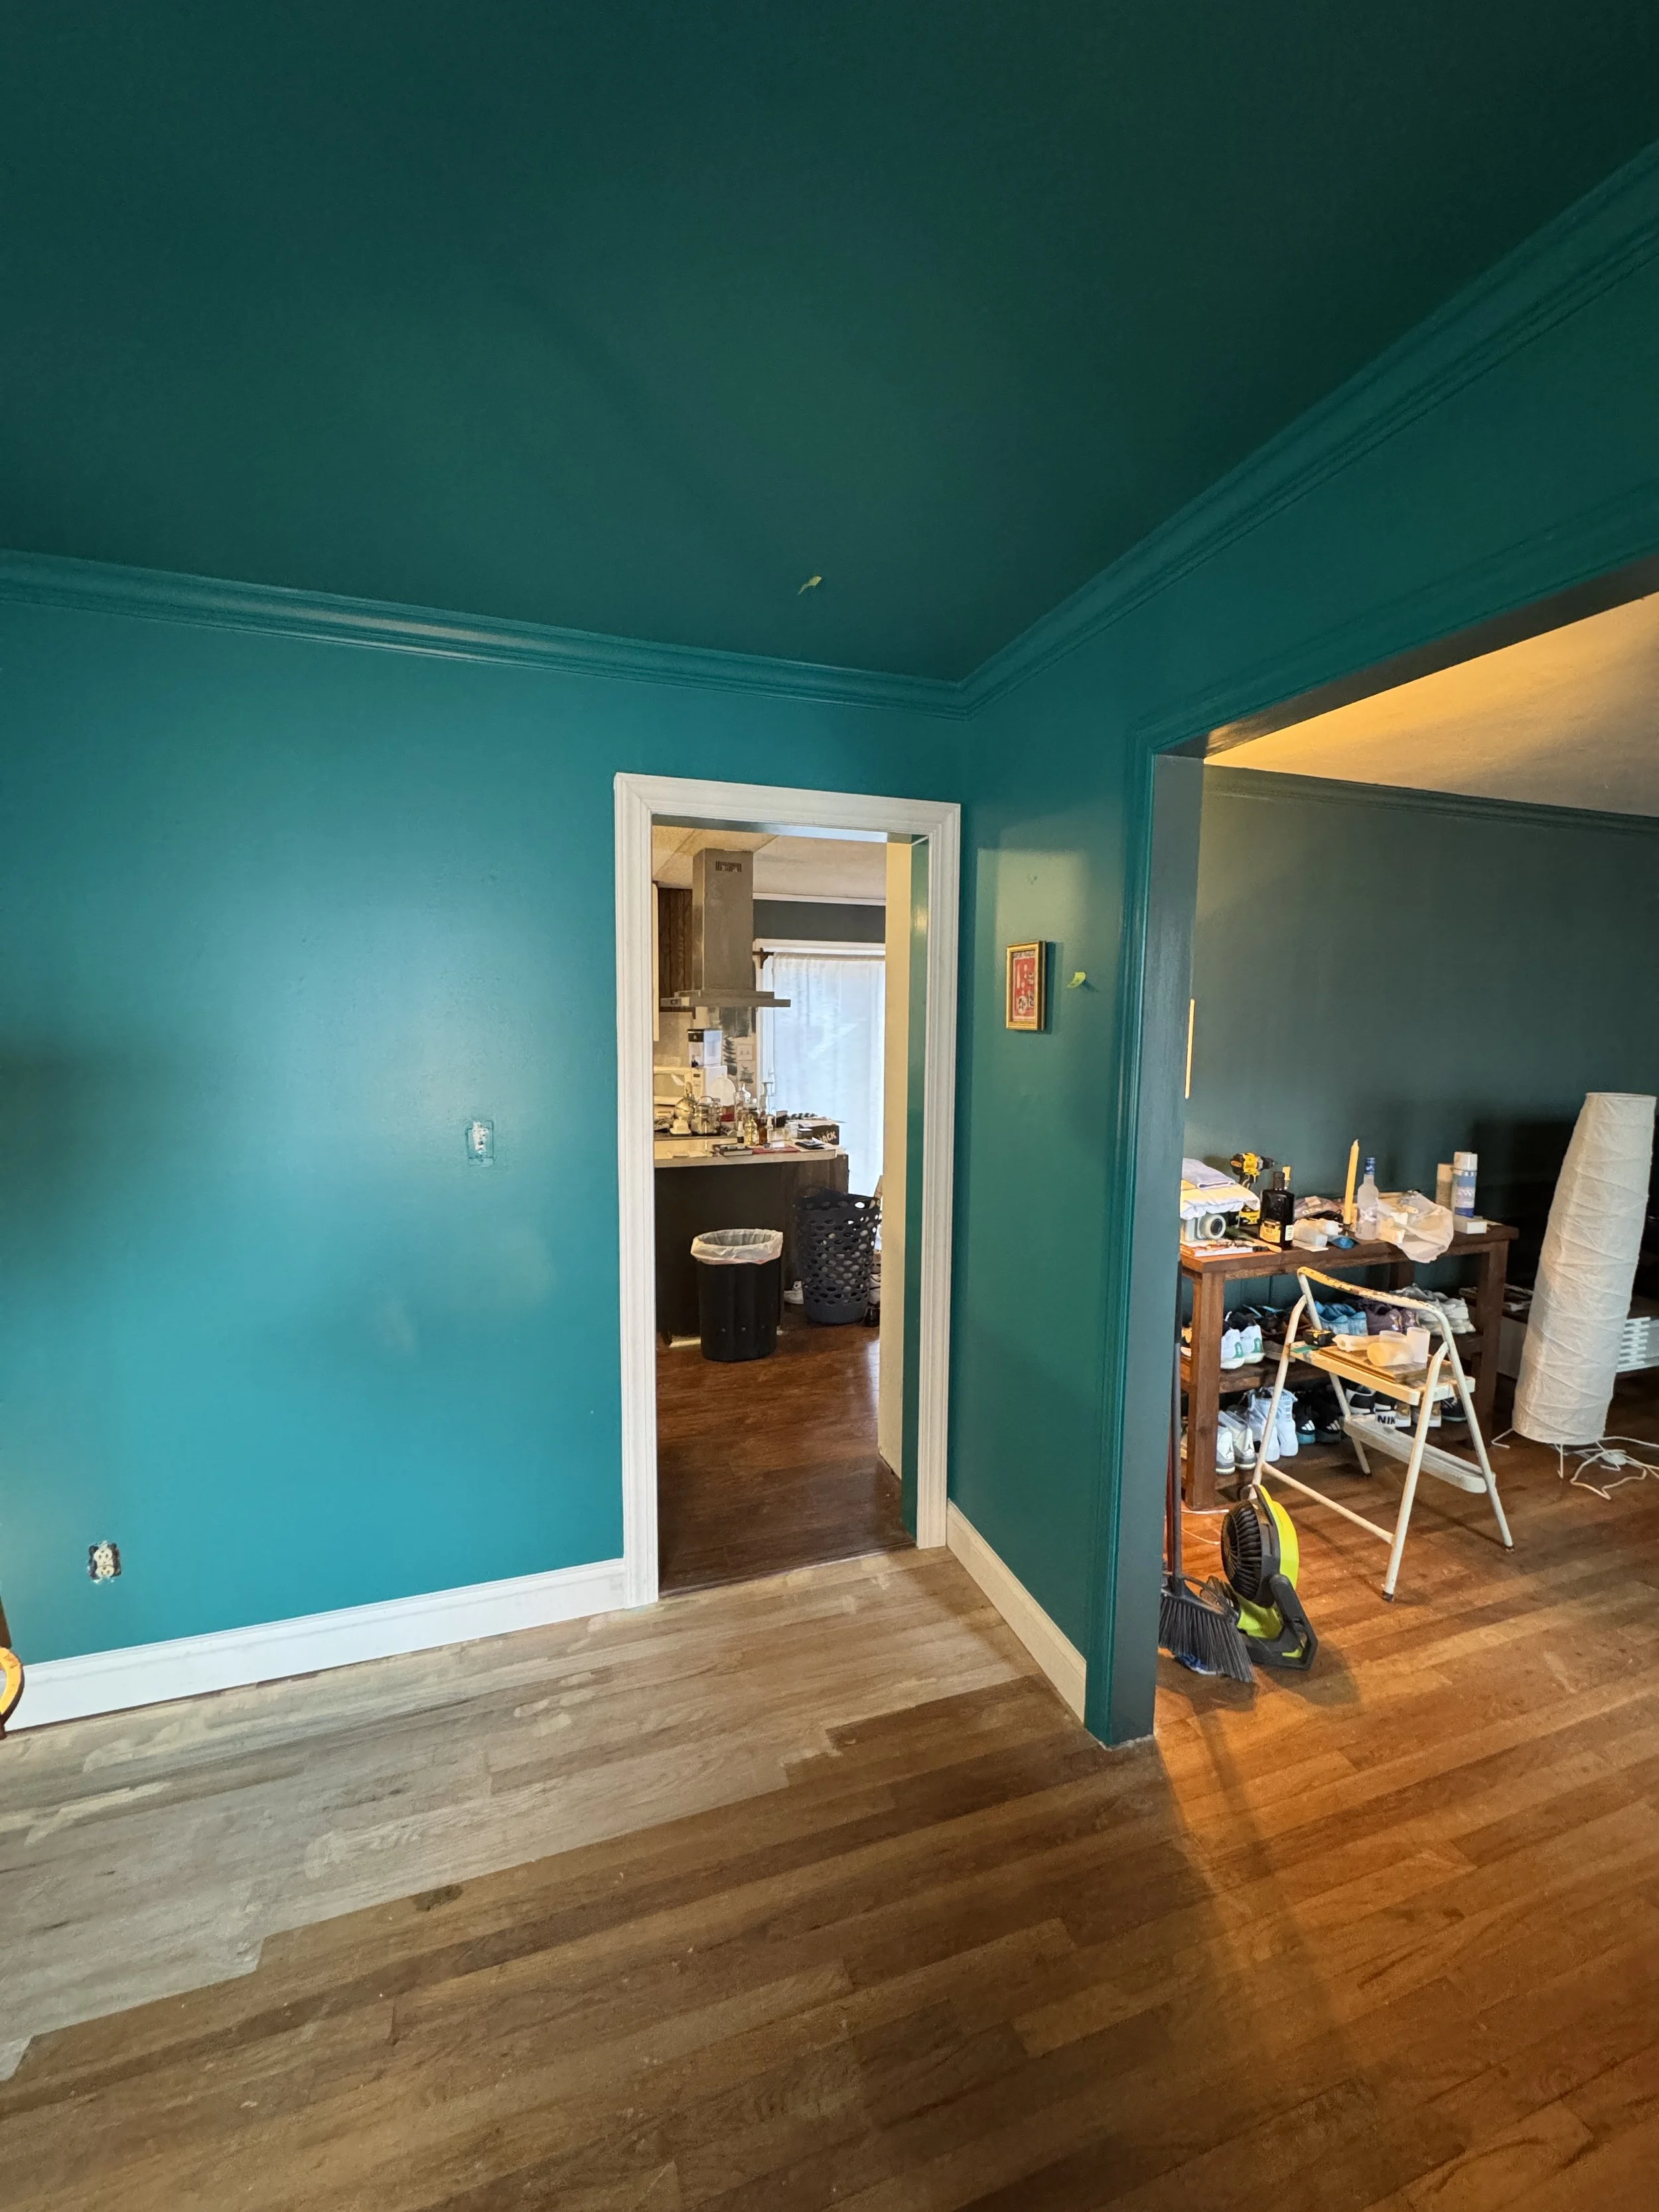
I decided on a semi-gloss finish to help bounce more light around the space, providing a bright counterpoint to the dark, sophisticated aesthetic of these three rooms: Foyer, Living, and Dining.
Please note that these photos were taken immediately after the polyurethane was applied to document the workflow. The high-shine "wet look" seen here will settle into a beautiful, smooth luster once the finish has fully cured.
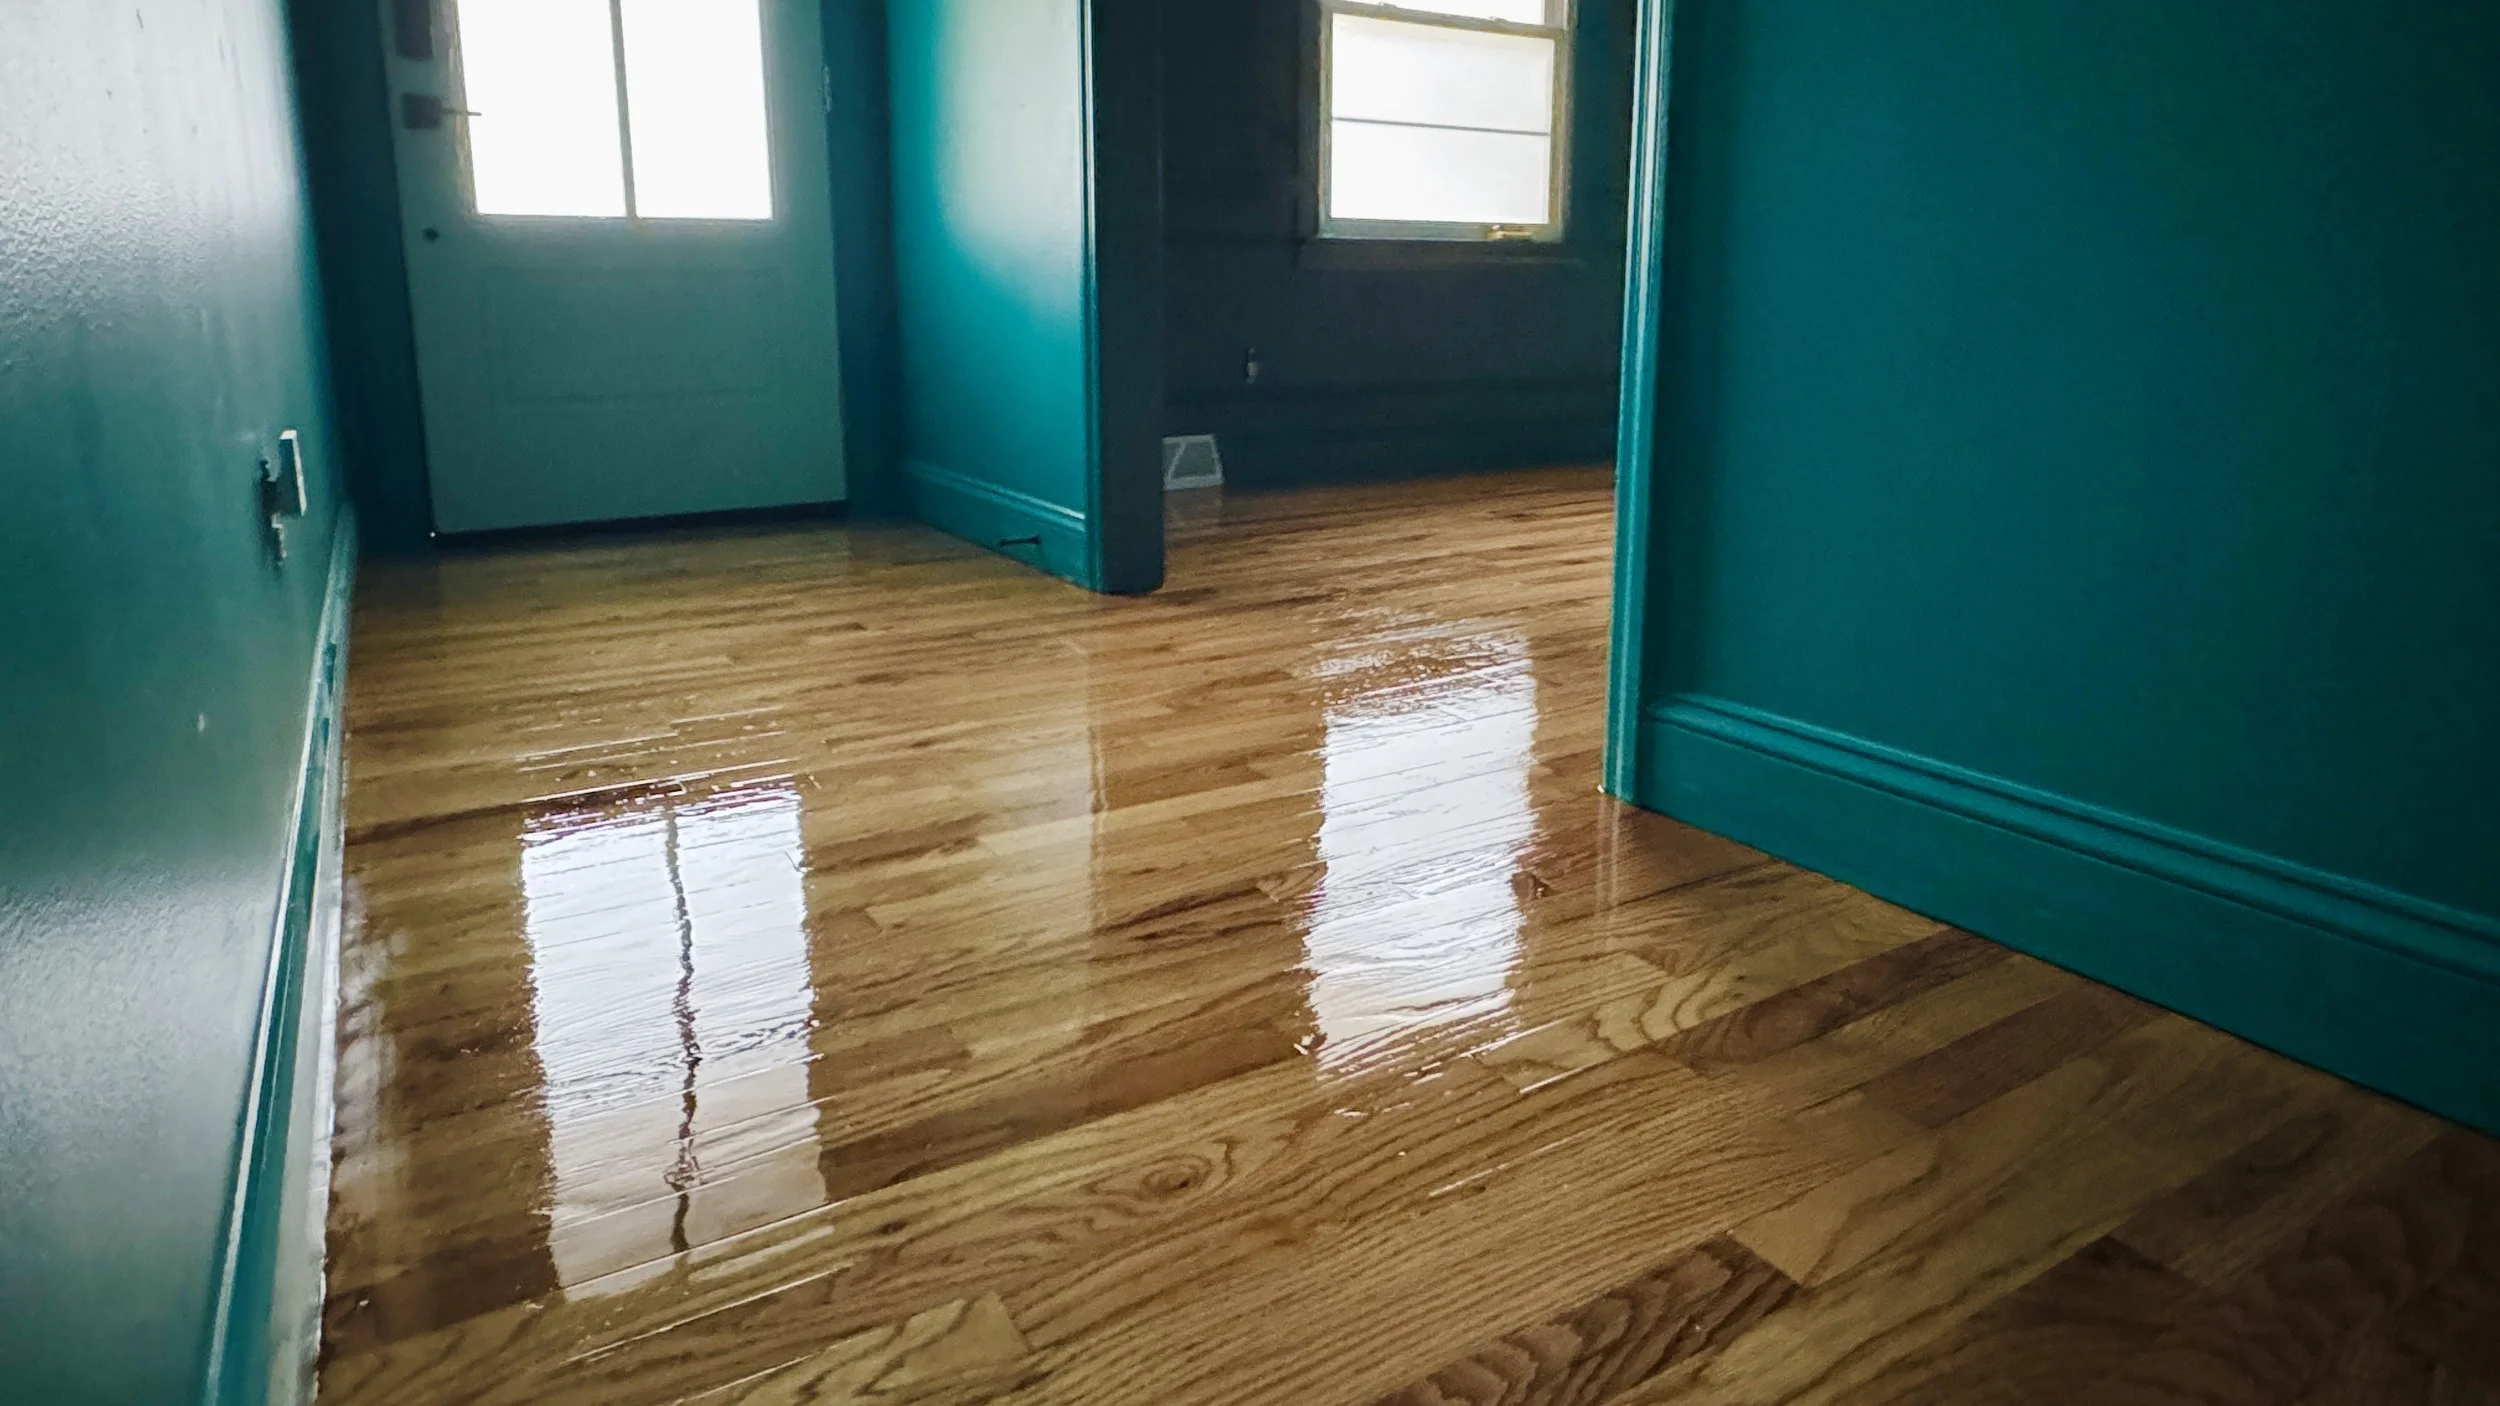
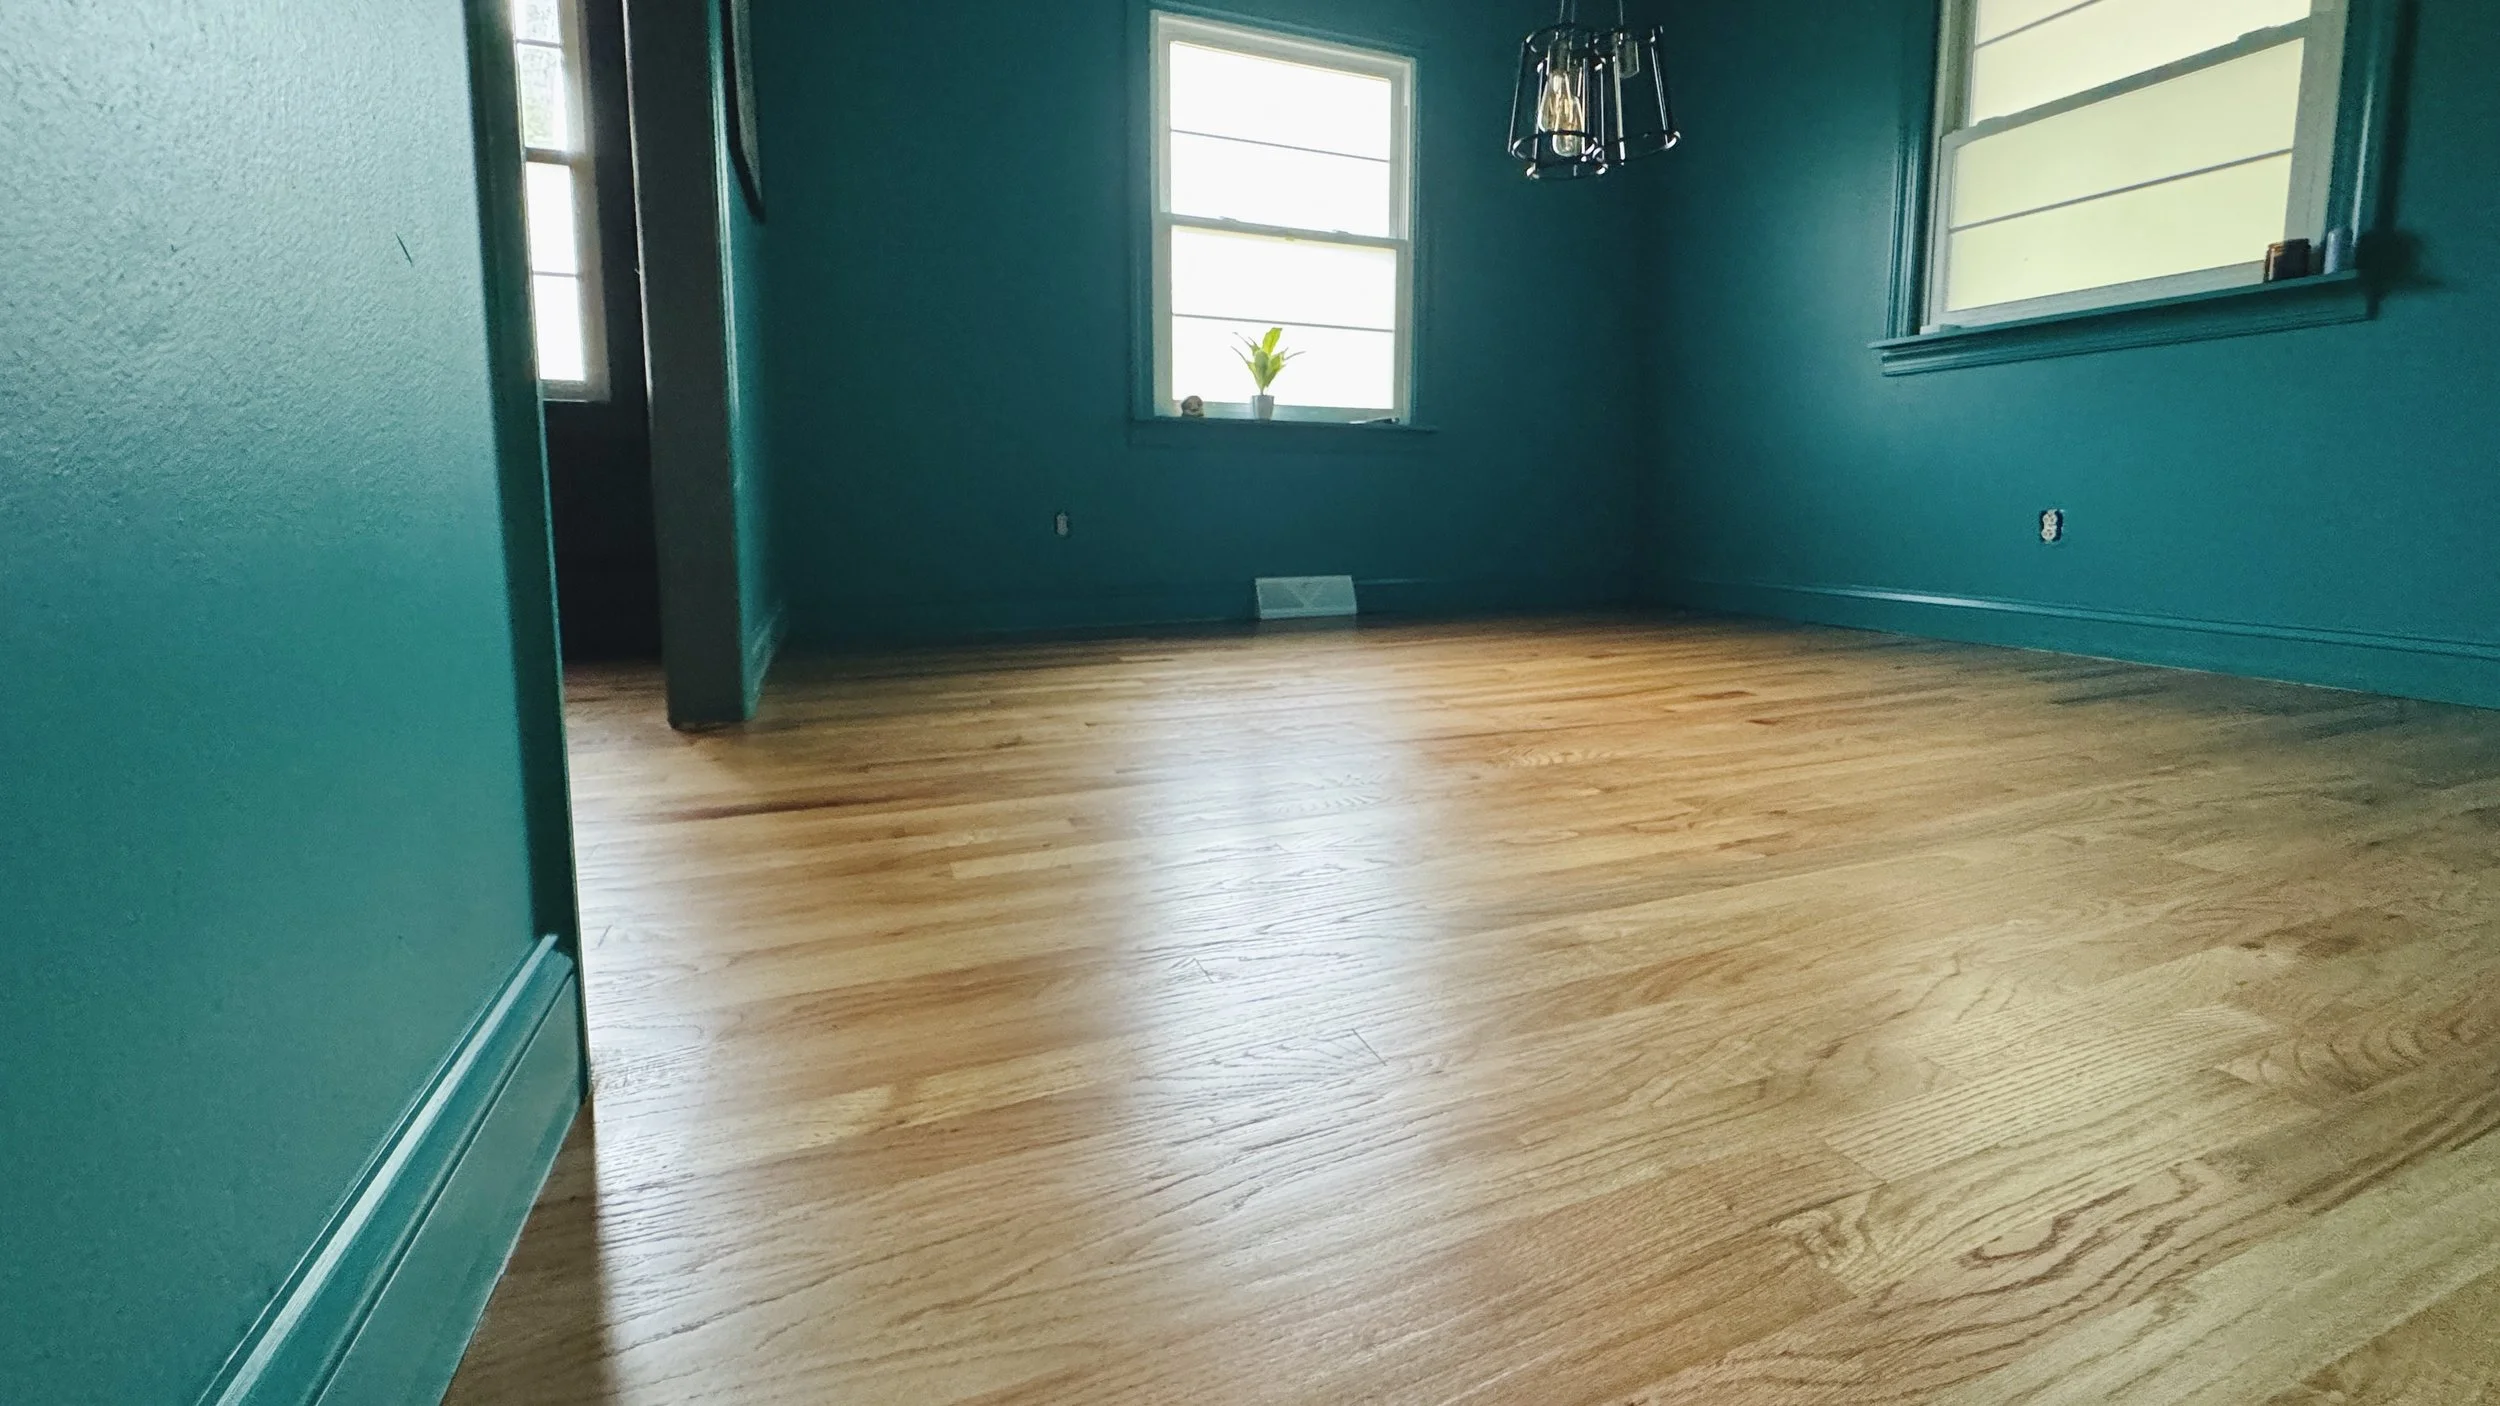
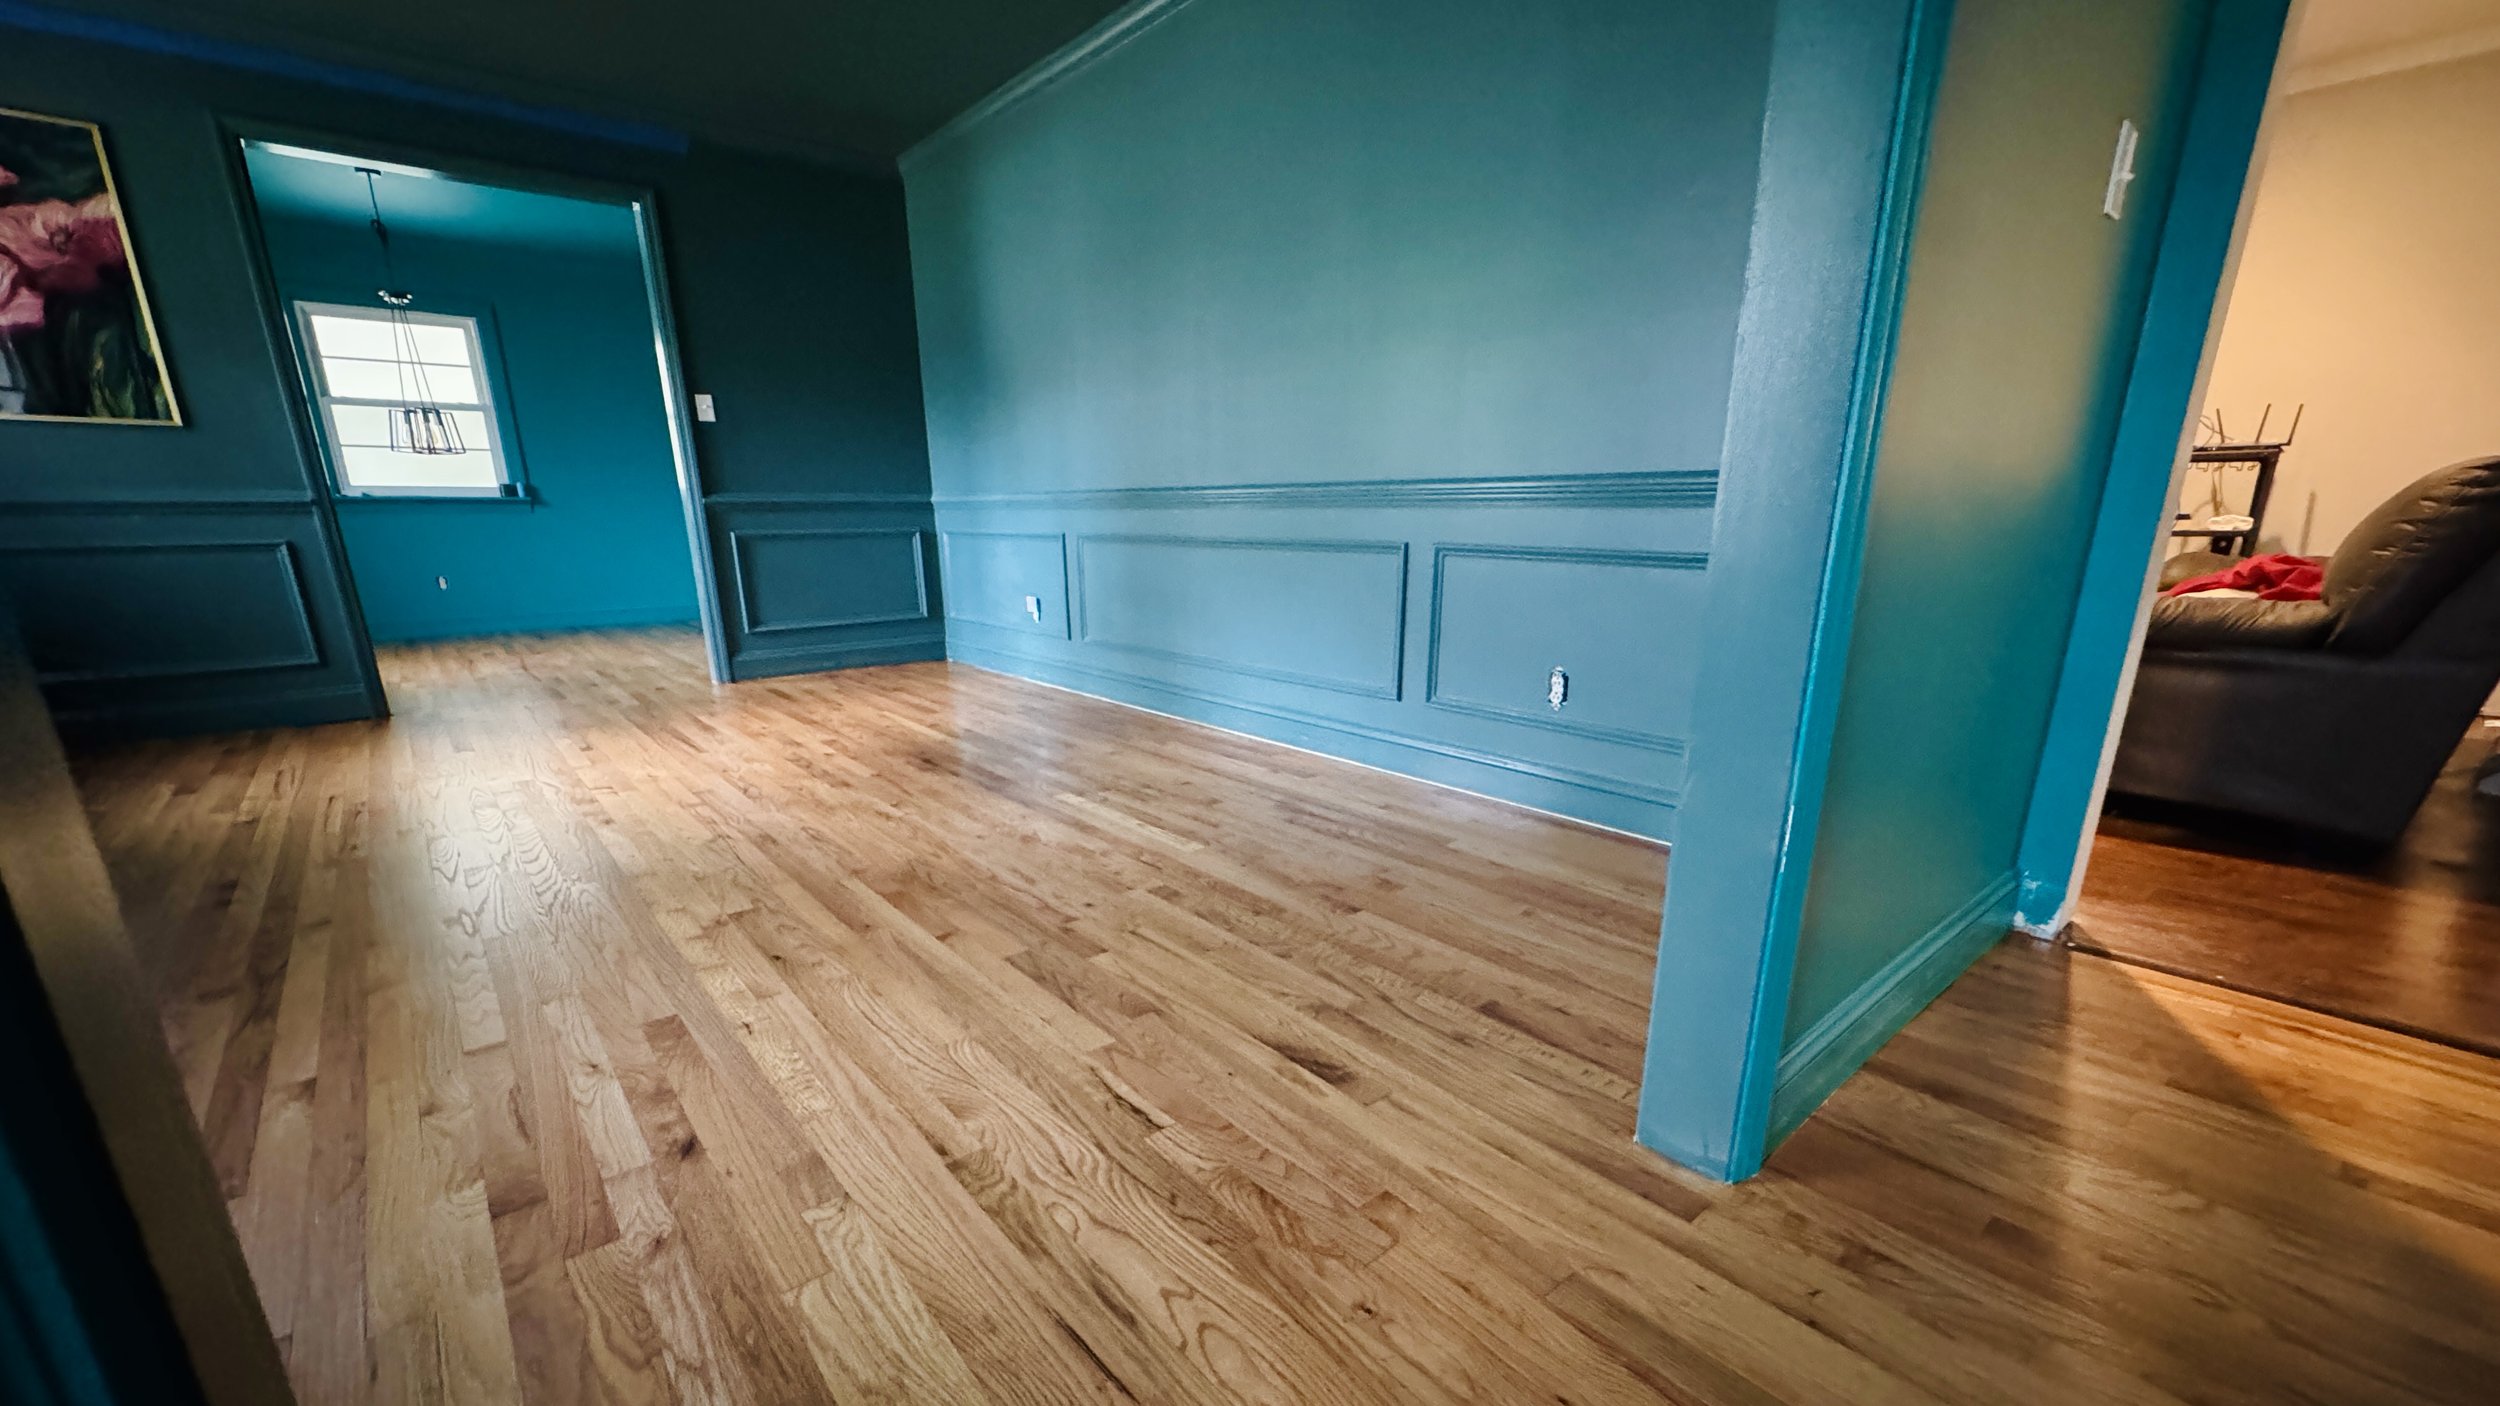
Red Oak Hardwood Flooring Natural Finish
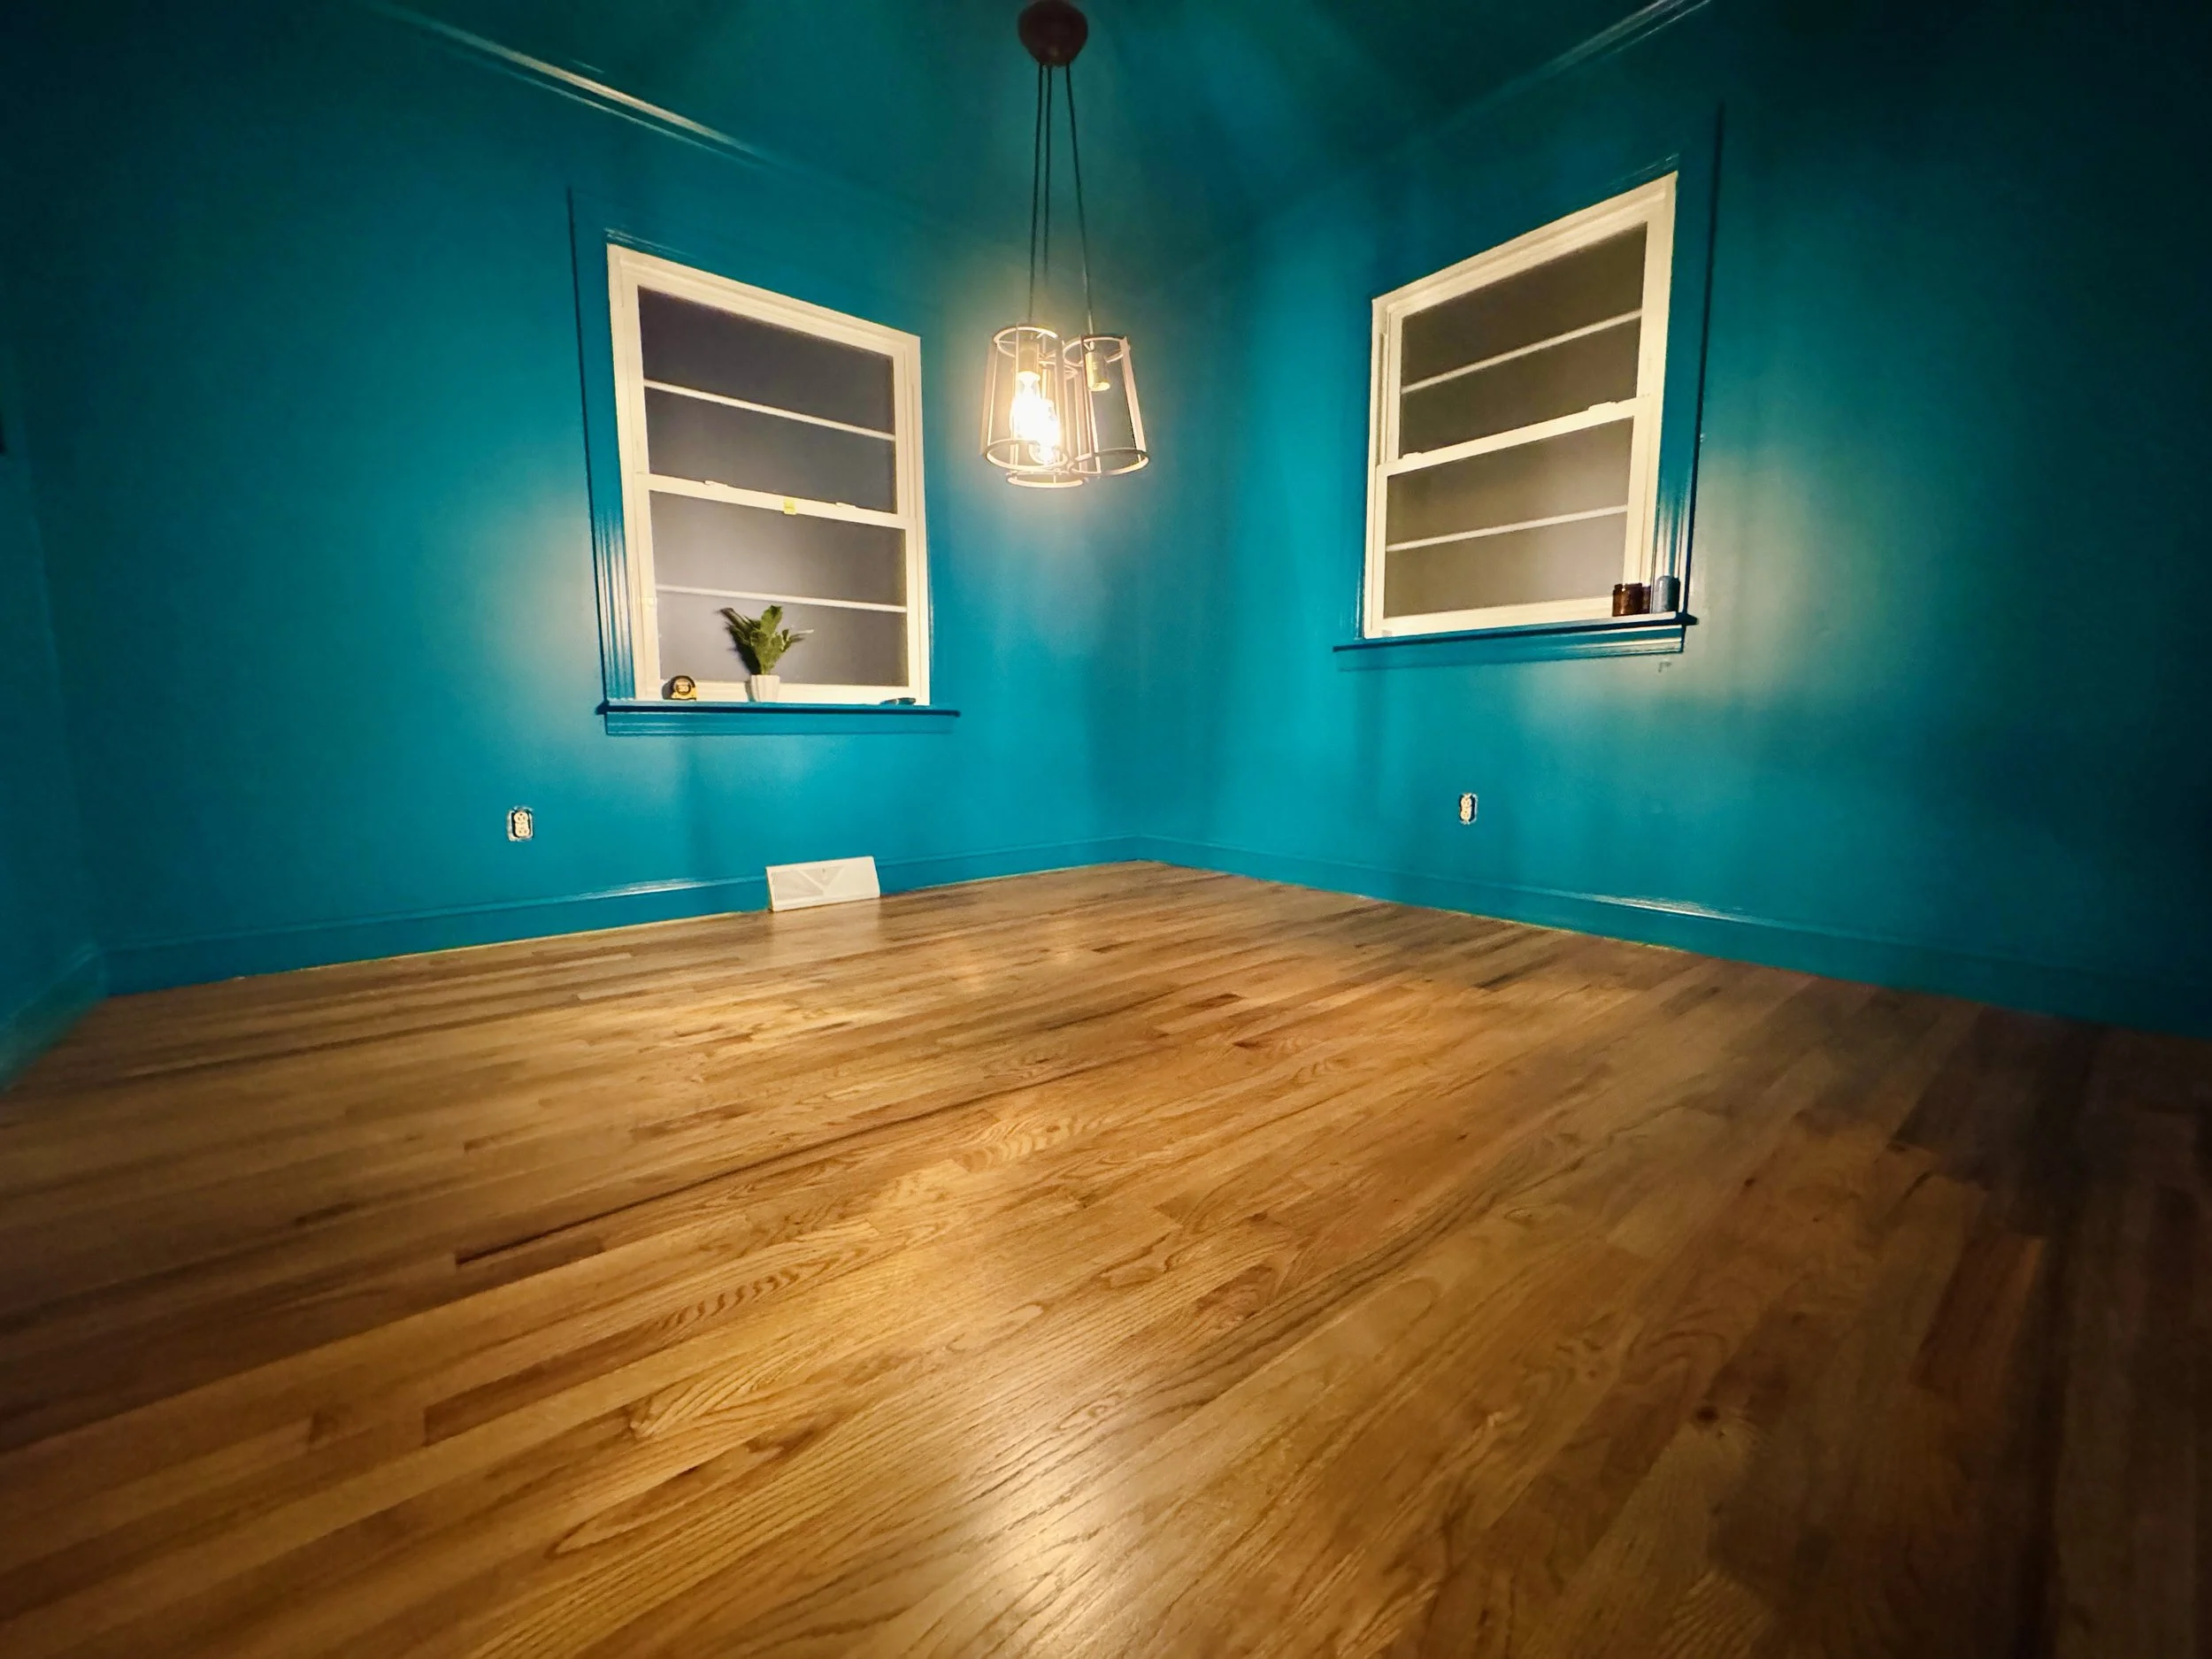
On the morning of Day 3, I captured a few photos to show how the polyurethane dried after the second coat but before the third coat. Consider these photos the final look since there wasn’t a difference from the 2 weeks later photos.
If you’re in the Raleigh area and want to have your floors refinished, contact Mateo Gaviria at 919-884-5805. He will be able to put you in touch with the team!